
How to Dial In Amp Settings for Metal
How to Dial In Amp Settings for Metal?

Metal guitar tone is a science. It's also an art. You can't just crank the gain knob to ten and hope for the best—though many players try exactly that. The difference between a crushing, professional metal tone and a fizzy mess comes down to understanding how your amp's controls interact with each other and with your guitar.
Getting amp settings dialed in properly means knowing what each control actually does to your signal. It means recognizing that more gain isn't always better, that the midrange frequencies you might be tempted to scoop out completely are often what make your guitar audible in a mix, and that the tightest palm-muted chugs require careful attention to your low-end response. This guide walks through the specific settings and techniques that separate bedroom tones from stage-ready metal sounds.
Understanding High Gain Tone Fundamentals
High gain amplification compresses and saturates your guitar signal, creating the sustained distortion that defines metal. But there's more happening under the hood than simple volume increase.
Your amp generates distortion in two stages. Preamp distortion comes first—it's where most modern metal amps create their gain. You're clipping the signal early in the circuit, which gives you controllable, consistent saturation regardless of volume. Power amp distortion happens when you push the output stage hard enough to make the power tubes break up. This adds warmth and compression but requires painful volume levels.
Most metal tones rely primarily on preamp gain. That's why a 100-watt amp at bedroom volume can still deliver crushing distortion—the preamp is doing the heavy lifting before the signal ever reaches the power section.
Frequency response matters just as much as gain structure. Metal demands tight low end (usually 80–200 Hz), aggressive upper mids (2–4 kHz for cut and presence), and controlled highs that add sizzle without icepick harshness. The pattern I see most often is players focusing entirely on gain while ignoring the frequency balance that actually defines their tone.
Speaker choice plays a bigger role than most players realize. A Celestion Vintage 30 emphasizes upper mids differently than a G12T-75. Cabinet construction, speaker size, and even the room you're playing in all affect the final tone you hear. You can dial in perfect settings on one rig and find they sound completely different through another speaker.
Author: Miles Arbordale;
Source: lamat-records.com
Essential Gain Settings for Distortion
Here's the uncomfortable truth: you probably need less gain than you think.
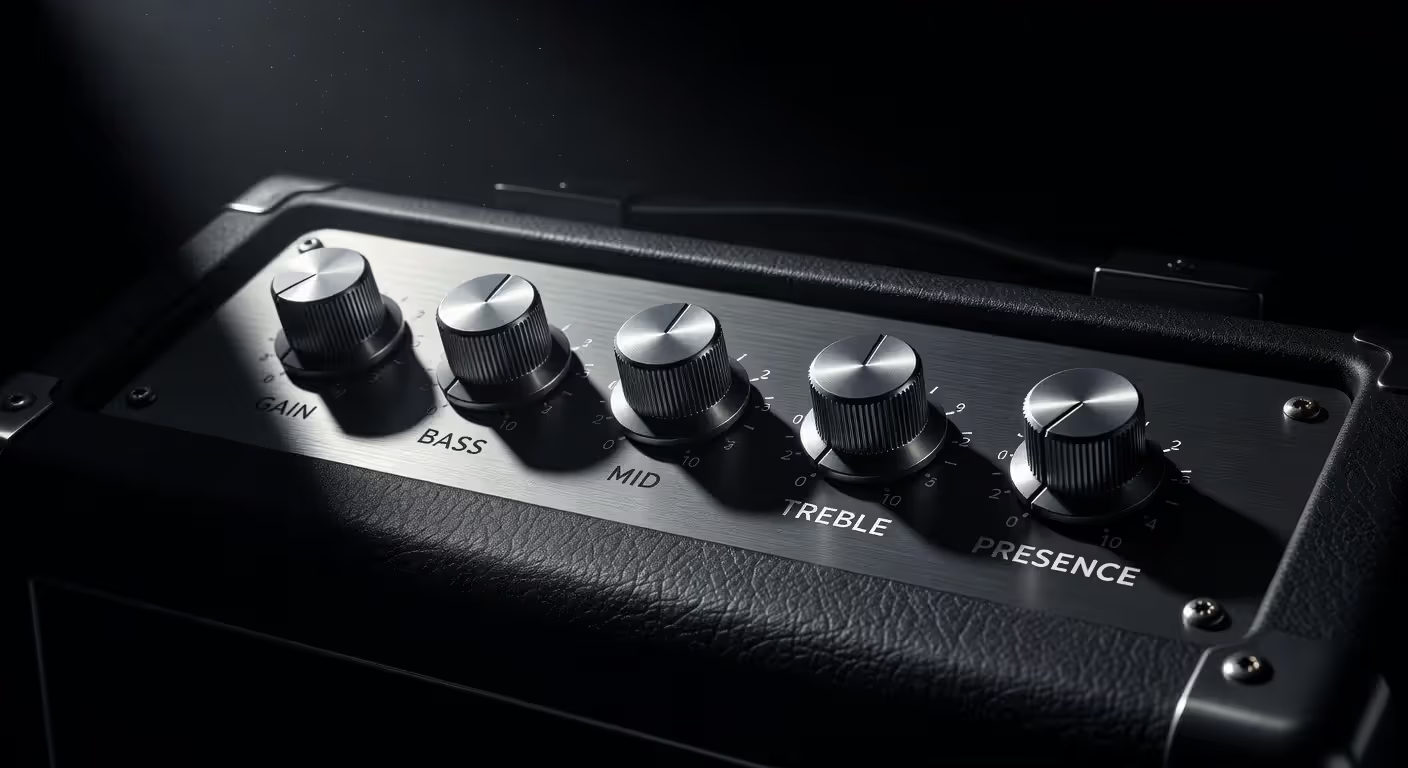
Gain settings for distortion in metal typically fall between 6 and 8 on a scale of 10. Push beyond that and you start losing note definition. Your palm mutes turn to mush. Your pick attack disappears under a blanket of compression and noise.
Different metal subgenres demand different approaches. Thrash metal sits around 6–7 on the gain dial—enough saturation for aggression but with enough clarity to hear rapid alternate picking. Death metal and metalcore push higher, often to 7–8, because the tones need to sustain longer and the playing style emphasizes sustained power chords over intricate riffing. Djent and modern progressive metal sometimes use slightly less gain (6.5–7.5) to keep those syncopated, palm-muted patterns tight and percussive.
Your guitar matters here too. Active pickups (EMG 81, Fishman Fluence) hit the preamp harder than passive pickups, which means you'll need less amp gain to reach the same saturation level. If you're running active pickups and your gain is above 8, you're probably drowning in fizz and compression.
Start lower than you think you need. Dial in your EQ first with moderate gain, then slowly increase distortion until you find the sweet spot where notes sustain nicely but still separate cleanly. Record yourself if possible—what sounds huge in your bedroom often sounds undefined in a mix.
One common mistake: compensating for a weak tone with more gain. If your sound lacks body or punch, the problem is usually in your EQ settings or speaker choice, not insufficient distortion. Adding gain will only make a thin tone fizzier.
EQ Settings That Shape Your Metal Guitar Tone
EQ is where you actually sculpt your metal tone. Gain gives you distortion. EQ gives you character.
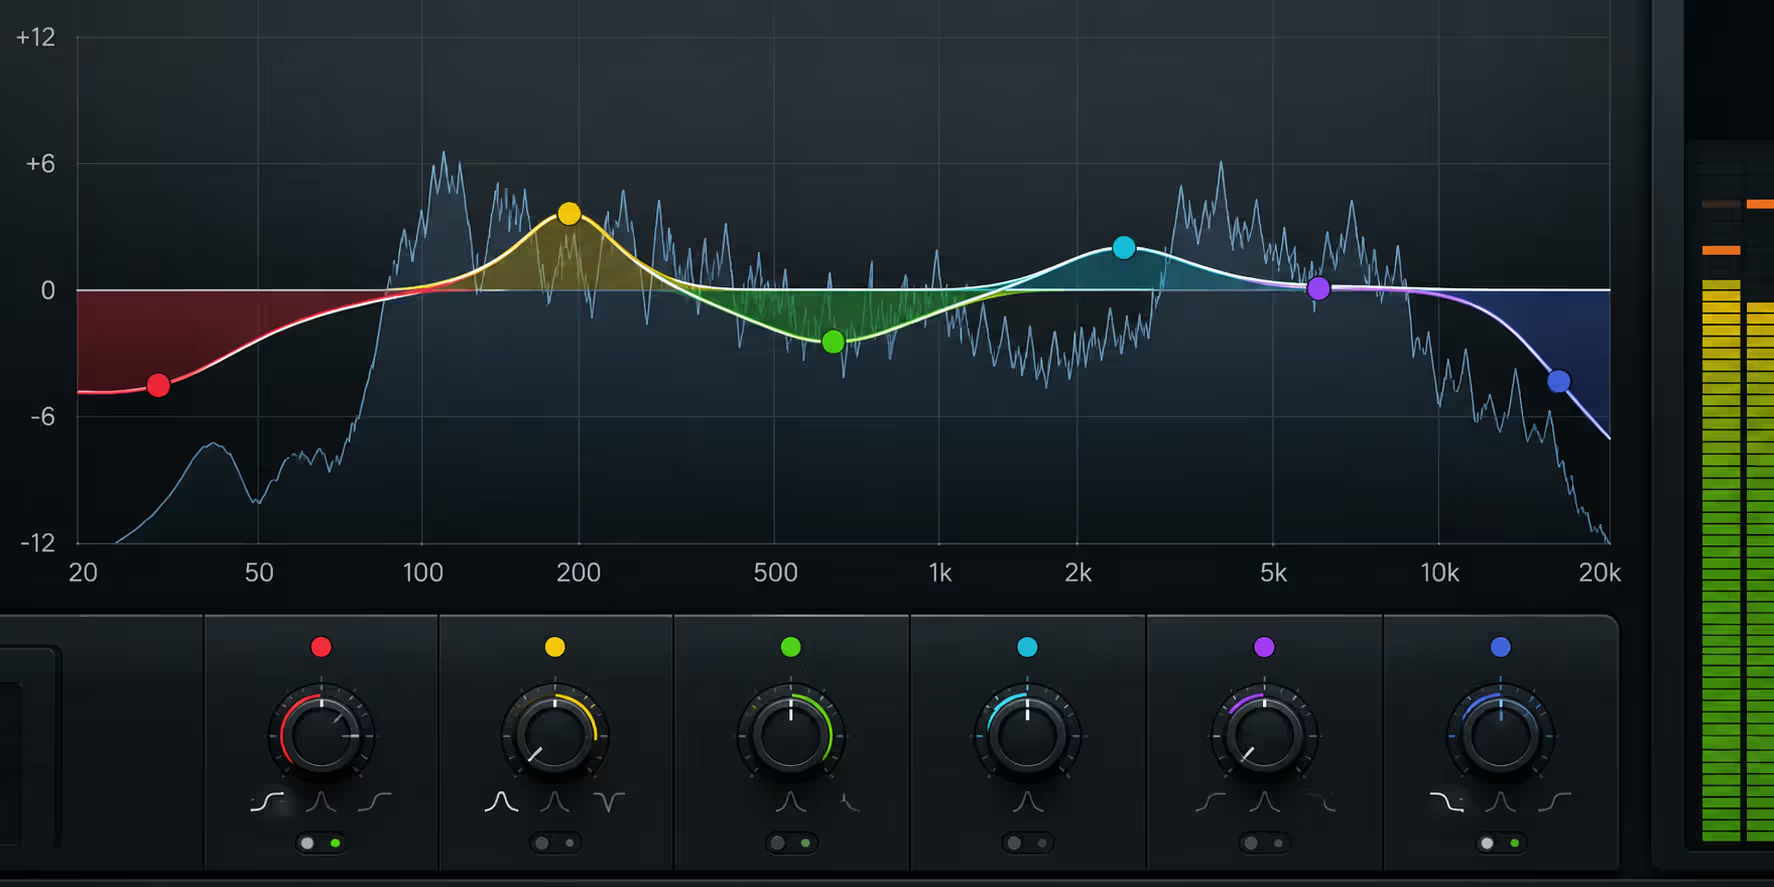
The classic "scooped" metal tone—bass and treble high, mids low—dominated the '90s. It sounds massive when you're playing alone. But in a full band mix with bass, drums, and vocals competing for space, scooped guitars vanish. They lack the midrange frequencies that cut through and make riffs intelligible.
Modern metal production has shifted toward more balanced, mid-forward tones. You still want powerful lows and crisp highs, but the midrange needs to be present—sometimes even boosted—to ensure your guitar occupies its own frequency space.
Bass Control for Tight Low End
Your bass control typically affects frequencies between 80 and 250 Hz. Too much and your tone becomes boomy and indistinct, especially during fast palm-muted sections. Too little and you lose weight and power.
For rhythm playing, start around 5–6 out of 10. If you're tuned to drop C or lower, you might need to reduce this to 4–5 to prevent mud. The lower your tuning, the more low-end energy your strings naturally produce, which means your amp needs to do less work in that range.
Test your bass setting by playing rapid palm-muted eighth notes on the low strings. Each note should feel punchy and distinct, not blurred together. If you can't hear where one note ends and the next begins, reduce bass by half a number and try again.
Midrange Shaping for Cut and Clarity
Midrange is your most powerful tone-shaping tool. It's also the most misunderstood.
The midrange control usually centers around 400–800 Hz (lower mids) or 1–2 kHz (upper mids), depending on your amp. Some amps give you separate controls or a sweepable mid control that lets you choose the center frequency.
Author: Miles Arbordale;
Source: lamat-records.com
For rhythm guitar, keep mids between 5 and 7. This sounds less impressive in isolation but ensures you'll be heard in a mix. For lead tones, you can push mids higher—up to 7 or 8—to help single notes sing above the band.
If your amp has a mid frequency sweep, try centering it around 750 Hz for rhythm and 1.5 kHz for leads. These frequencies give you body and presence respectively.
Avoid the temptation to scoop mids below 3 unless you're deliberately going for a specific vintage sound and you know you'll be the only guitar in the mix.
Treble and Presence Adjustments
Treble (typically 2–6 kHz) adds brightness and attack. Presence (usually 4–8 kHz and beyond) adds air and sizzle. They work together to define your high-frequency response.
Start with treble around 6–7. This gives you enough pick definition to hear your attack clearly without making the tone harsh or brittle. If you're using a bright guitar (maple fretboard, single-coil pickups), you might drop this to 5–6.
Presence is more sensitive. Small adjustments make big differences. Start at 5 and adjust by quarter-turns. Too much presence creates an icepick tone that's painful at volume. Too little sounds dull and buried.
A useful trick: set your treble first with presence at zero, then slowly add presence until the tone opens up and feels three-dimensional. Stop before it gets harsh.
Dialing Amp Settings for Rhythm Guitar
Rhythm playing demands different settings than lead work. Your goal is consistency, clarity, and power across multiple strings and complex chord voicings.
Slightly less gain helps here—around 6–7 instead of 7–8. You need enough saturation for sustain and aggression but not so much that chord tones blur together. When you're playing a power chord or a more complex voicing, every note should be audible.
Tighten your low end by keeping bass around 5 or slightly below. Rhythm playing often involves multiple guitars, bass, and kick drum all competing in the low frequencies. If your guitar bass is too high, you'll create mud that makes the entire mix feel sluggish.
Boost your mids to 6 or higher. This is where rhythm guitars live in a mix. You might think it sounds nasal or harsh when you're playing alone, but with a full band it's exactly what you need to stay present and powerful.
The biggest mistake I hear is too much gain and not enough mids. You need those midrange frequencies to cut through. When you scoop the mids, you disappear in the mix. It might sound heavy when you're alone in your room, but put a bassist and drummer behind you and suddenly you're gone.
— Nordstrom Ola
Your picking technique matters as much as your settings. Consistent pick attack creates consistent tone. If your rhythm playing sounds uneven, the problem might not be your amp—it might be your right hand.
Achieving a Tight Palm Muted Tone
Palm muting is the backbone of metal rhythm playing. Getting it tight and percussive requires specific attention to both amp settings and technique.
Lower bass settings help tremendously. When you palm mute, you're already emphasizing low frequencies by dampening the string's natural overtones. If your amp is also boosting bass, the result is a boomy, undefined thud instead of a tight chug. Keep bass between 4 and 5.5 for palm-muted sections.
Your gain setting affects tightness too. High gain compresses everything, which smooths out the percussive attack you want from palm mutes. If your palm mutes sound mushy, try reducing gain by one full number. You might be surprised how much tighter things get.
Many modern metal amps include a "tight" or "resonance" control that specifically affects low-end response. This control reduces flubby bass frequencies while preserving punch. If your amp has this feature, use it. Start around 6–7 and adjust until palm mutes feel focused and responsive.
A noise gate is nearly mandatory for tight palm-muted tones at high gain. Without one, the natural noise and feedback between notes smears your playing together. Set your gate threshold just above your noise floor—high enough to silence the hiss when you're not playing, but not so high that it cuts off your note sustain or makes your playing sound choppy.
Speaker response affects palm mute tightness significantly. Smaller speakers (10" or 12") generally respond faster than larger ones, which translates to tighter, more percussive low-end. A closed-back cabinet focuses bass more than an open-back design. These factors can make as much difference as your amp settings.
Common Amp Setting Mistakes and How to Fix Them
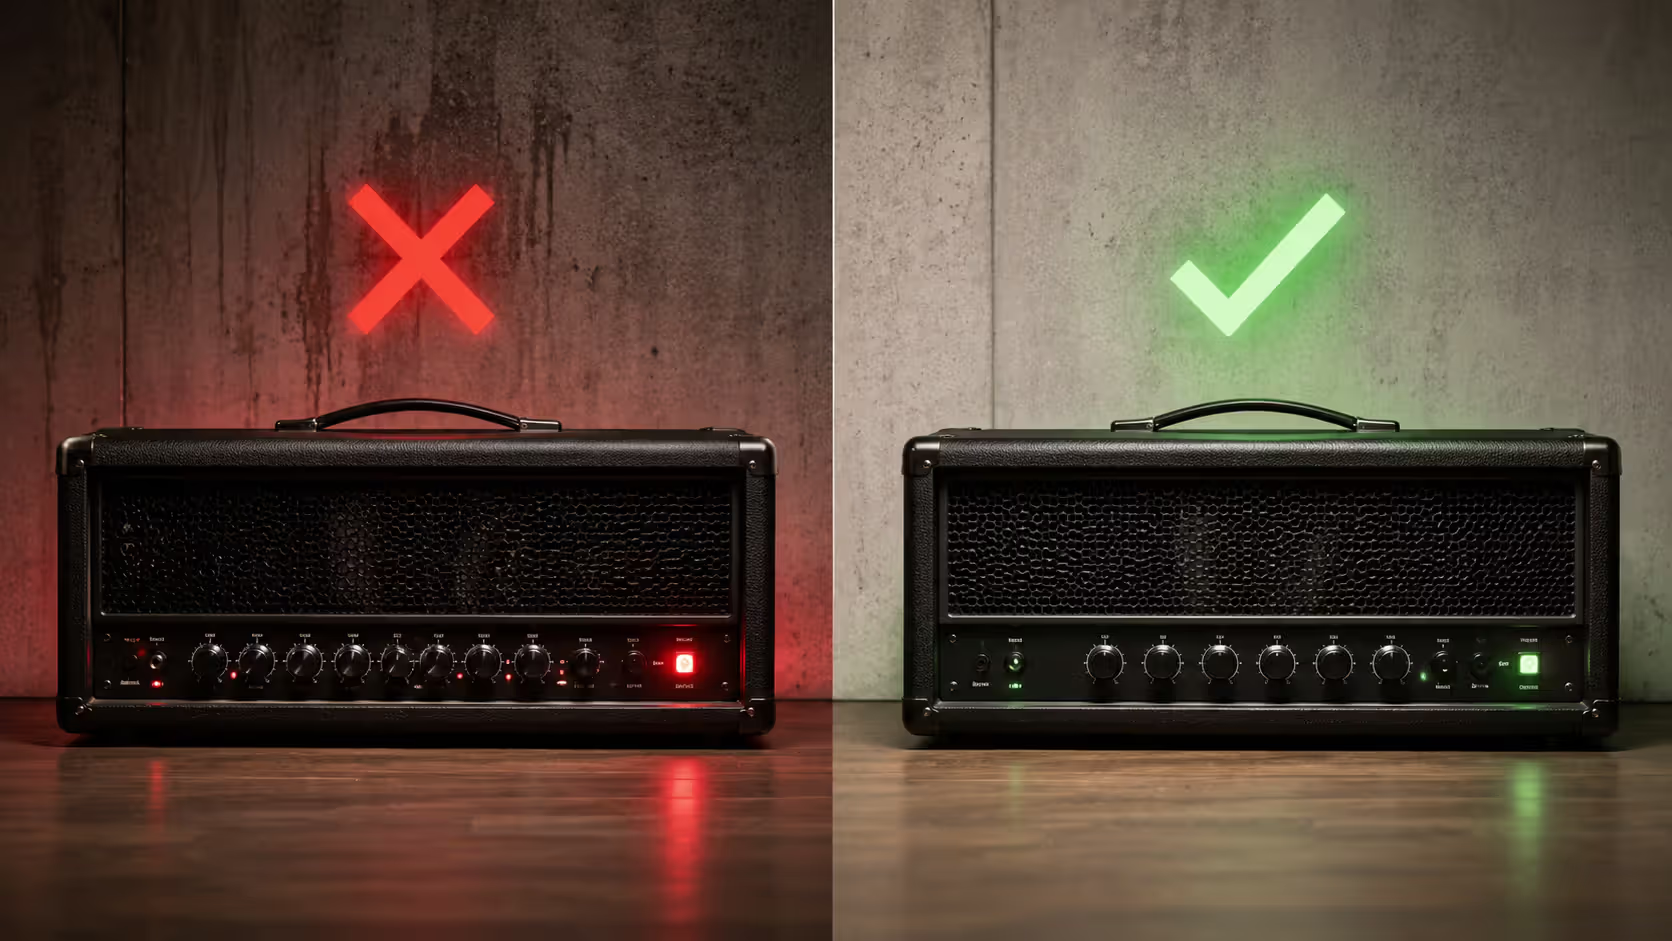
Too much gain is the universal beginner mistake. It feels powerful and aggressive when you're playing alone, but it destroys clarity and definition. The fix is simple but psychologically difficult: turn your gain down by two full numbers from where you think it should be. Play for ten minutes at that setting. Your ears will adjust, and you'll start hearing the improved note separation and dynamics.
Author: Miles Arbordale;
Source: lamat-records.com
Wrong EQ curves sabotage even good gain settings. The most common error is excessive mid scooping—bass at 8, mids at 2, treble at 8. This creates a hollow, scooped tone that sounds impressive in isolation but vanishes in a mix. Fix it by bringing mids up to at least 5, then reducing bass to 5–6 to compensate for the increased overall volume.
Poor master volume balance is subtler but equally problematic. If your master volume is too low, you're not driving your power section at all—you're getting pure preamp distortion, which can sound sterile and fizzy. If you can adjust it, try running your preamp gain slightly lower and your master volume slightly higher. This engages more power amp compression and warmth. The exact balance depends on your amp design and how loud you can play, but the principle holds: don't rely entirely on preamp gain.
Impedance mismatches between your amp and cabinet can make even perfect settings sound wrong. If your amp is set to 8 ohms but your cabinet is 16 ohms, you'll lose power and low-end response. Always match your amp's impedance setting to your cabinet's impedance. Check both before troubleshooting your tone.
Overlooking the effects loop causes issues too. If you're running time-based effects (delay, reverb) in front of the amp instead of in the loop, they'll get distorted along with your guitar signal. This creates a washy, unclear sound. High-gain metal tones almost always sound better with modulation and time effects in the loop, after the preamp distortion.
Metal Amp Settings Comparison by Subgenre
Different metal styles require different tonal approaches. This table gives you starting points for five common subgenres:
| Subgenre | Gain | Bass | Mid | Treble | Presence |
| Thrash Metal | 6–7 | 5–6 | 6–7 | 6–7 | 5–6 |
| Death Metal | 7–8 | 4–5 | 5–6 | 7–8 | 6–7 |
| Metalcore | 7–8 | 5–6 | 5–6 | 6–7 | 6–7 |
| Djent | 6.5–7.5 | 4–5 | 6–7 | 6–7 | 5–6 |
| Traditional Heavy Metal | 5–6 | 6–7 | 6–7 | 5–6 | 4–5 |
These numbers assume a scale of 0–10 on each control. They're starting points, not gospel. Your specific amp, guitar, and playing style will require adjustments.
Thrash emphasizes clarity and aggression with moderate gain. Death metal pushes saturation higher but tightens the low end to prevent mud at extreme tempos. Metalcore balances modern high-gain tones with enough mids to cut through dense productions. Djent requires exceptional low-end tightness for those syncopated, palm-muted patterns—notice the lower bass settings. Traditional heavy metal uses less gain overall, relying more on power amp drive and midrange presence for its classic tone.
Use these as starting points, then adjust based on what you hear. Your ears are the final authority.
FAQ: Metal Amp Settings Questions Answered
Getting your amp settings dialed in for metal is an iterative process. Start with the guidelines here, then trust your ears and adjust based on what you hear. Record yourself whenever possible—what sounds huge in your practice space might need adjustment for recording or live performance. Don't chase someone else's exact settings; chase the tone you hear in your head. Your guitar, amp, and playing style are unique, and your settings should reflect that. The goal isn't perfection on the first try—it's understanding what each control does so you can shape your tone with intention and confidence.
Related Stories
Read more
Read more

The content on this website is provided for general informational and educational purposes only. It is intended to explain concepts related to music production, recording, mixing, mastering, music industry roles, and distribution.
All information on this website, including articles, guides, and examples, is presented for general educational purposes. Results and success in music production may vary depending on skill level, equipment, and effort.
This website does not provide professional music production services or guarantees of commercial success, and the information presented should not be used as a substitute for consultation with qualified music producers, audio engineers, or music industry professionals.
The website and its authors are not responsible for any errors or omissions, or for any outcomes resulting from decisions made based on the information provided on this website.