

How to Dial In Bass Compressor Settings
How to Dial In Bass Compressor Settings?

Getting bass to sit just right in your mix requires more than luck—it demands smart compression. When you apply the correct bass compressor settings, your low end becomes the glue that holds everything together. It punches through crowded arrangements and prevents your bottom end from either overwhelming the track or vanishing into nothing. That line between amateur and professional bass tone? It's usually just properly configured compression.
This guide walks you through the exact process for setting up compression on bass guitar, delivering tracks that sound controlled, powerful, and radio-ready.
Why Compression Matters for Bass Guitar
Bass guitar creates a unique mixing challenge. The volume variation between notes can be extreme. A gentle fingered note might register 15–20 dB quieter than an aggressive slap or hard-picked attack. Leave this unchecked, and your bass becomes unpredictable—overpowering some sections while getting buried in others.
Compression tackles this by narrowing the gap between your loudest and quietest notes. The result is even bass levels with compression, where every note maintains presence and clarity. Your bassist doesn't need flawless technique—the compressor irons out the inevitable inconsistencies.
Volume control is just the beginning, though.
Compression sculpts character. Quick attack settings control harsh pick transients. Slower attack preserves that initial low-frequency punch that makes bass feel physically present in a room. Proper configuration transforms a wandering, inconsistent bass performance into the reliable foundation that locks with drums and supports your melodic elements.
Bass dynamics control applies across every musical style. Rock demands impact. Funk requires crisp articulation. Jazz needs expressive space. Hip-hop wants deep subsonic weight. Your compressor delivers all these qualities when configured correctly.
Here's another benefit: properly compressed bass occupies its space without competing for sonic real estate. It becomes reliable and predictable, creating room for other instruments to fit around it. This makes mixing easier and produces more professional final results.

Author: Miles Arbordale;
Source: lamat-records.com
Understanding Compressor Parameters for Bass
Before adjusting any controls, you need to grasp how each parameter affects your bass signal. Let's break down the components.
Threshold and Ratio Explained
Threshold establishes the volume point where compression activates. Audio remaining below this level remains unaffected. Everything exceeding it gets reduced.
Imagine threshold as a volume ceiling. Position it at -20 dB, and compression only affects peaks exceeding -20 dB. Decreasing the threshold value brings more of your signal under compression's influence. With bass, you generally want to catch the prominent peaks while allowing quieter passages through—at least as your starting approach.
The compressor ratio for bass controls reduction intensity. At 4:1, when input exceeds threshold by 4 dB, output only increases by 1 dB. Higher numbers mean more aggressive reduction.
Different ratios produce distinct results:
- 2:1 to 3:1: Subtle, natural-sounding compression. Perfect for jazz or acoustic bass requiring organic dynamics.
- 4:1 to 6:1: The versatile middle ground for most bass applications. Provides obvious control without sounding crushed.
- 8:1 to 10:1: Intense compression. Applied in funk, metal, or situations demanding absolute consistency.
- 20:1 and beyond: Limiting range. Stops peaks completely but risks unnatural artifacts when pushed.
Setting threshold for bass typically begins around -15 to -10 dB, varying with your input level. Target 3–6 dB of gain reduction on peak notes. Exceeding 10 dB usually means you're applying excessive force.
Attack and Release Times
Here's where compression becomes genuinely creative. Attack and release for bass influence tone and groove more dramatically than other parameters.
Attack time governs how quickly compression engages once signal exceeds threshold. Quick attack (below 10 ms) responds instantly, controlling transients aggressively. Slower attack (30–60 ms) allows the initial note impact through before compression begins working.
For bass, attack timing proves absolutely critical. Excessive speed eliminates punch—notes lose their physical impact and sound dull. Insufficient speed allows peaks through uncontrolled, undermining compression's purpose.
Here's a practical framework:
- Fast attack (1–10 ms): Applied when controlling aggressive techniques, slap bass, or sharp pick attacks. Creates smoothness but can diminish impact.
- Medium attack (15–30 ms): The most frequently used range. Retains some transient character while managing dynamics.
- Slow attack (40–80 ms): Permits the initial impact through, then compresses the sustaining portion. Excellent for enhancing apparent punch.
Release time governs how quickly compression stops once signal falls below threshold. Quick release (50–150 ms) creates responsive compression that tracks rapid note changes. Slower release (300 ms–1 second) produces smoother, more consistent compression character.
With bass, release often correlates with your song's tempo. Configure it so compression recovers between notes or at phrase boundaries. Excessively fast release creates pumping—an audible breathing artifact. Overly slow release blurs notes together.
Solid starting point: position release between 100–400 ms, then refine by ear until it grooves naturally with your track.
Knee, Makeup Gain, and Output
Knee determines how gradually compression engages around the threshold point. Hard knee creates abrupt compression onset—very precise but sometimes audibly obvious. Soft knee gradually increases compression, producing more transparent, musical results.
Most bass compression benefits from soft knee configuration. The effect sounds less mechanical, particularly with moderate ratios.
Makeup gain restores volume lost during compression. When you're reducing peaks by 5 dB, adding 5 dB of makeup gain brings overall level back to the original. This maintains similar volumes between compressed and uncompressed signals, allowing accurate effect assessment.
Never skip this step. Our ears perceive louder as better, which can trick you into thinking compression improves things when you're just hearing increased volume.
Output level provides your final volume adjustment. Some compressors separate makeup gain and output level; others combine them. Regardless, match your compressed output to input level for honest comparison.
Step-by-Step Process for Setting Your Bass Compressor
Theory provides foundation. Now let's get hands-on. Here's the precise process for dialing in compressing bass guitar from scratch.
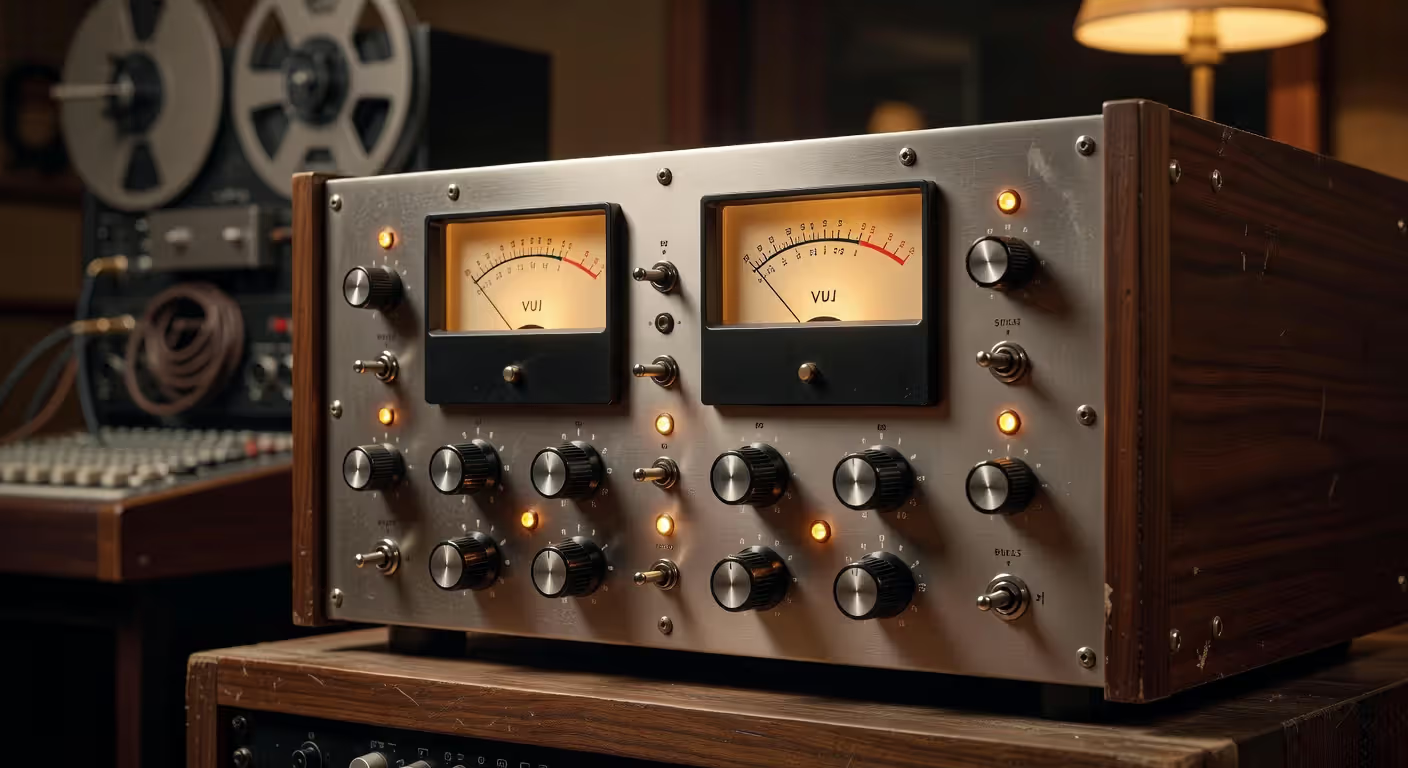
Step 1: Begin with neutral settings. Configure ratio at 4:1, attack near 25 ms, release around 200 ms, and threshold maximized (no compression occurring yet). Enable soft knee if available.
Step 2: Establish your threshold. Play your bass part's loudest section. Gradually decrease threshold until your meter displays 3–6 dB of gain reduction on peaks. This becomes your working range. Below 3 dB produces minimal effect. Above 8 dB quickly becomes aggressive.
Step 3: Refine the ratio. With threshold configured, experiment with ratio values. Test 3:1, then 6:1, then return to 4:1. Listen for control level. If dynamics still feel excessive, increase ratio. If the tone sounds lifeless, reduce it.
Step 4: Configure attack time. This parameter shapes tone most dramatically. Begin at 25 ms. Decrease to 10 ms and listen—does punch disappear? Increase to 40 ms and listen again—does it sound more aggressive? Find the position where initial impact hits hard while sustain remains controlled.
I consistently observe people setting attack too quickly, then questioning why their bass sounds weak. Allow those transients through.
Author: Miles Arbordale;
Source: lamat-records.com
Step 5: Configure release time. Play along with your full track. Adjust release until compression breathes naturally with the music. If you hear pumping or the compressor struggling, increase release time. If notes blend together excessively, decrease it.
Useful technique: tap tempo with your foot and adjust release so the compressor resets between beats or on rhythmic subdivisions.
Step 6: Apply makeup gain. Check your gain reduction meter. With 5 dB of reduction showing, add approximately 5 dB of makeup gain. Then A/B between bypassed and compressed. Volume should match closely, with the compressed version sounding tighter and more consistent.
Step 7: Evaluate in context. Soloed bass can mislead. Play your complete mix and assess how bass sits with drums, guitars, and vocals. Make minor adjustments. Sometimes you need more compression than expected; sometimes restraint works better.
That establishes the foundation. Now let's examine how genre affects these configurations.
Genre-Specific Bass Compressor Settings
Musical context changes everything. Jazz upright bass and metal bass guitar require completely different compression approaches. Here are proven starting configurations for common genres.
| Musical Style | Threshold Level | Ratio Setting | Attack Time | Release Time | Makeup Gain Range |
| Rock | -12 dB | 4:1 | 20 ms | 150 ms | +3 to +5 dB |
| Funk | -15 dB | 6:1 | 10 ms | 100 ms | +5 to +7 dB |
| Jazz | -8 dB | 2.5:1 | 40 ms | 300 ms | +2 to +3 dB |
| Metal | -18 dB | 8:1 | 15 ms | 120 ms | +6 to +8 dB |
| Pop | -10 dB | 5:1 | 25 ms | 180 ms | +4 to +6 dB |
| Hip-Hop | -14 dB | 6:1 | 30 ms | 200 ms | +5 to +7 dB |
Rock bass must synchronize tightly with the kick drum. Moderate compression using medium attack preserves impact while maintaining solid low end. You're seeking consistency without completely eliminating the player's expressive dynamics.
Funk bass requires serious control. Slaps, pops, and ghost notes create massive dynamic variations. Higher ratios with quicker attack times manage peaks, but avoid destroying the snap. The groove depends on those transient details.
Jazz bass should maintain organic breathing. Light compression with slower attack and release preserves natural expression. You're only catching occasional loud notes, not reshaping the entire performance.
Metal bass must cut through dense walls of distorted guitars. Aggressive compression with higher ratios maintains presence and tightness. Attack runs slightly faster to manage pick noise, but not so fast that it sounds neutered.
Pop bass fits into dense mixes alongside synths, vocals, and programmed drums. Moderate-to-heavy compression creates consistent foundation that supports without dominating. Attack and release balance impact with smoothness.
Hip-hop bass frequently emphasizes sub frequencies. Compression prevents those lows from booming uncontrollably while preserving weight. Slightly slower attack maintains the initial thump providing physical impact.
These represent starting points, not absolute rules. Every song differs. Use these configurations as foundation, then adjust based on what you're hearing.
Common Bass Compression Mistakes to Avoid
Even seasoned engineers fall into these traps. Here's what to watch for.
Over-compression destroys the performance. More doesn't equal better. When your bass sounds flat, lifeless, or suffocated, you've pushed too far. Reduce the ratio or increase threshold. Some dynamic variation is healthy—it makes music feel human.
Excessive attack speed destroys punch. This represents the number one error. Engineers hear peaks and instinctively crush them with 1 ms attack. The outcome? Bass that sounds like a pillow. Allow the transient through. That initial attack creates the powerful feeling.
Neglecting low-end accumulation. Compression doesn't merely reduce volume—it can emphasize certain frequencies. Heavy compression on bass sometimes causes low-mid buildup around 150–300 Hz, muddying your mix. If compressed bass sounds boomy, examine your EQ. You might need to reduce those frequencies before or after compression.
Ignoring your ears. Meters provide useful information, but don't tell the complete story. You can achieve perfect gain reduction numbers while sounding terrible. Listen carefully. When it sounds right, it is right. When it sounds wrong, no amount of "correct" settings will salvage it.
Incorrect detection mode. Most compressors offer peak or RMS detection. Peak mode responds to brief transients—useful for controlling aggressive playing. RMS mode averages signal over time—better for smooth, transparent compression. For bass, RMS typically sounds more musical, though playing style matters.
Compressing without context. Soloed bass might sound fantastic but disappear in the mix, or the reverse. Always verify compression settings within your full track. What works isolated might fail with drums and guitars competing.
Overlooking the performance. Sometimes the issue isn't your settings—it's the take. When your bassist's dynamics vary wildly, compression can only accomplish so much. Well-played bass requires less corrective compression and sounds superior.
One more consideration: tightening low end with compression demands subtlety. Excessive compression produces lifeless thud. Insufficient compression leaves low end wandering. The ideal zone is where bass feels controlled yet retains energy and motion.
Parallel Compression and Advanced Techniques for Bass
Once you've mastered basic compression, these techniques elevate your bass dynamics control significantly.
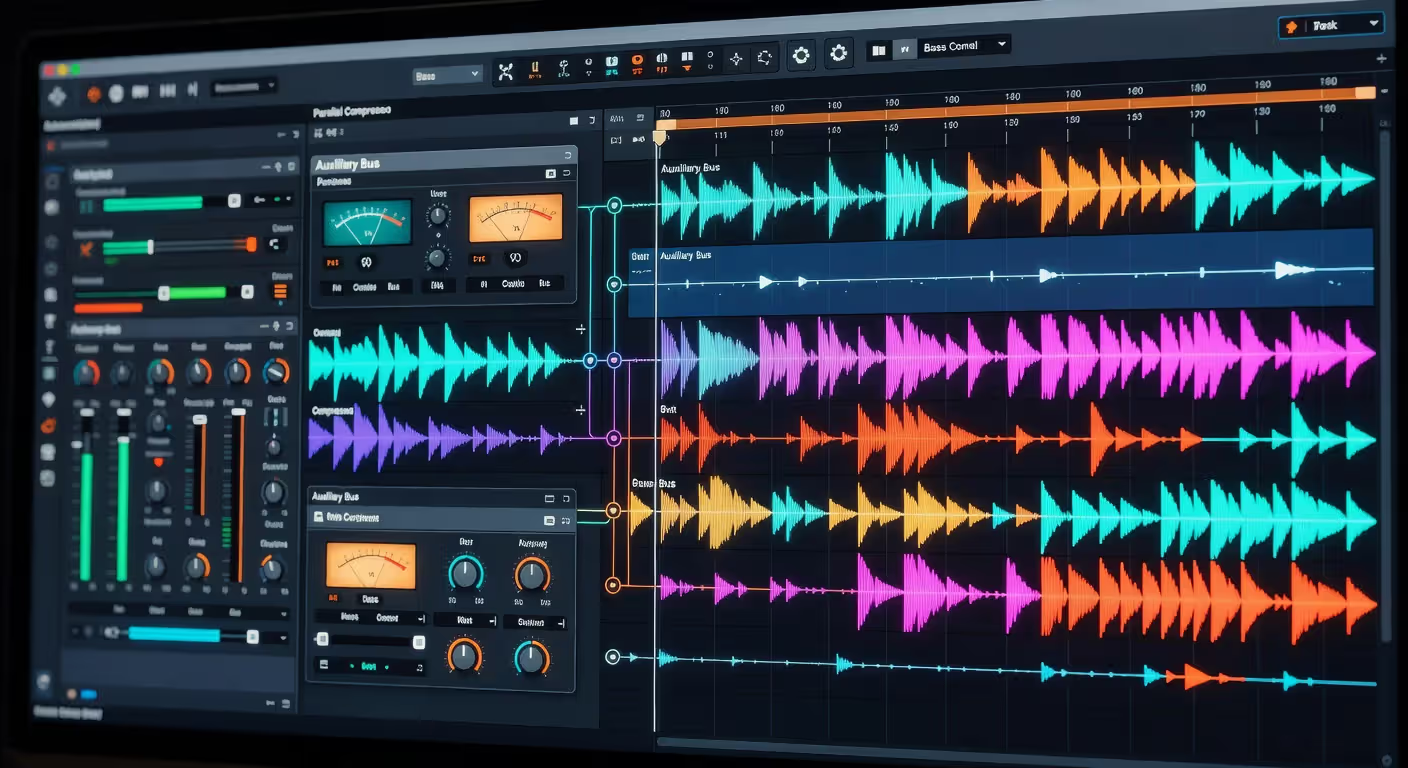
Parallel compression combines a heavily compressed signal with your original uncompressed signal. This delivers compression's consistency while retaining the natural dynamics and transients of the dry signal.
Setup process:
- Route your bass to an auxiliary track or bus.
- Insert a compressor on that bus with aggressive settings—8:1 ratio, quick attack, moderate release, substantial gain reduction.
- Mix the compressed signal back with the original by adjusting the bus fader level.
The outcome? Even bass levels with compression, but with greater punch and vitality than insert compression alone provides. Begin with the parallel track around 20–30% of the dry signal volume and refine to taste.
This technique appears throughout modern mixes. It's especially effective for rock and pop where consistency matters but you refuse to sacrifice impact.
Author: Miles Arbordale;
Source: lamat-records.com
Multiband compression divides your bass signal into frequency bands, compressing each independently. This proves powerful for tightening low end with compression without affecting midrange attack characteristics.
Typical approach:
- Low band (20–150 Hz): Moderate compression (4:1) controlling sub rumble and keeping lows tight.
- Mid band (150 Hz–1 kHz): Light compression (3:1) preserving note definition and articulation.
- High band (1 kHz+): Minimal or no compression, maintaining string noise and pick attack.
Multiband compression solves problems single-band compressors cannot. When your bass has boomy lows but weak mids, you can compress lows more heavily while leaving mids dynamic. It's surgical precision.
The drawback? It's easy to overdo and create unnatural, disconnected sound. Apply multiband compression when addressing specific problems, not as default practice.
Serial compression employs two compressors in sequence, each performing moderate work instead of one compressor working hard. The first compressor might catch peaks with quick attack and moderate ratio. The second provides gentle overall level control with slower attack and lower ratio.
This approach sounds more transparent than a single compressor handling everything. It's common in mastering but works excellently on bass. Consider it two gentle stages rather than one aggressive stage.
Practical example: first compressor at 4:1 catching 3–4 dB of peaks, second compressor at 2.5:1 catching another 2–3 dB. Total gain reduction matches a single compressor, but the sound becomes smoother and more natural.
I usually hit bass pretty hard—somewhere around 6 to 8 dB of gain reduction. You want it to be consistent, sitting right there in the track without jumping out or disappearing. The attack is key. If you kill the attack, you kill the bass. Let it punch through, then grab the sustain.
— Lord-Alge Chris
These advanced techniques aren't required for every track. But when basic compression doesn't quite deliver, they're powerful tools for your arsenal.
FAQ: Bass Compression Questions Answered
Achieving excellent bass compressor settings isn't about magic numbers or secret formulas. It's about understanding each control's function, beginning with sensible defaults, and then trusting your ears to guide you toward the right sound for your track. Compression should make your bass feel solid, consistent, and powerful—not squashed or lifeless. Invest time experimenting with attack and release times especially, since those parameters shape your bass's character and punch more than anything else. And remember: every bass, every player, and every song is unique. Previous success doesn't guarantee current results, and that's perfectly fine. Stay flexible, listen critically, and you'll achieve professional results consistently.
Related Stories

Read more
Read more


The content on this website is provided for general informational and educational purposes only. It is intended to explain concepts related to music production, recording, mixing, mastering, music industry roles, and distribution.
All information on this website, including articles, guides, and examples, is presented for general educational purposes. Results and success in music production may vary depending on skill level, equipment, and effort.
This website does not provide professional music production services or guarantees of commercial success, and the information presented should not be used as a substitute for consultation with qualified music producers, audio engineers, or music industry professionals.
The website and its authors are not responsible for any errors or omissions, or for any outcomes resulting from decisions made based on the information provided on this website.