
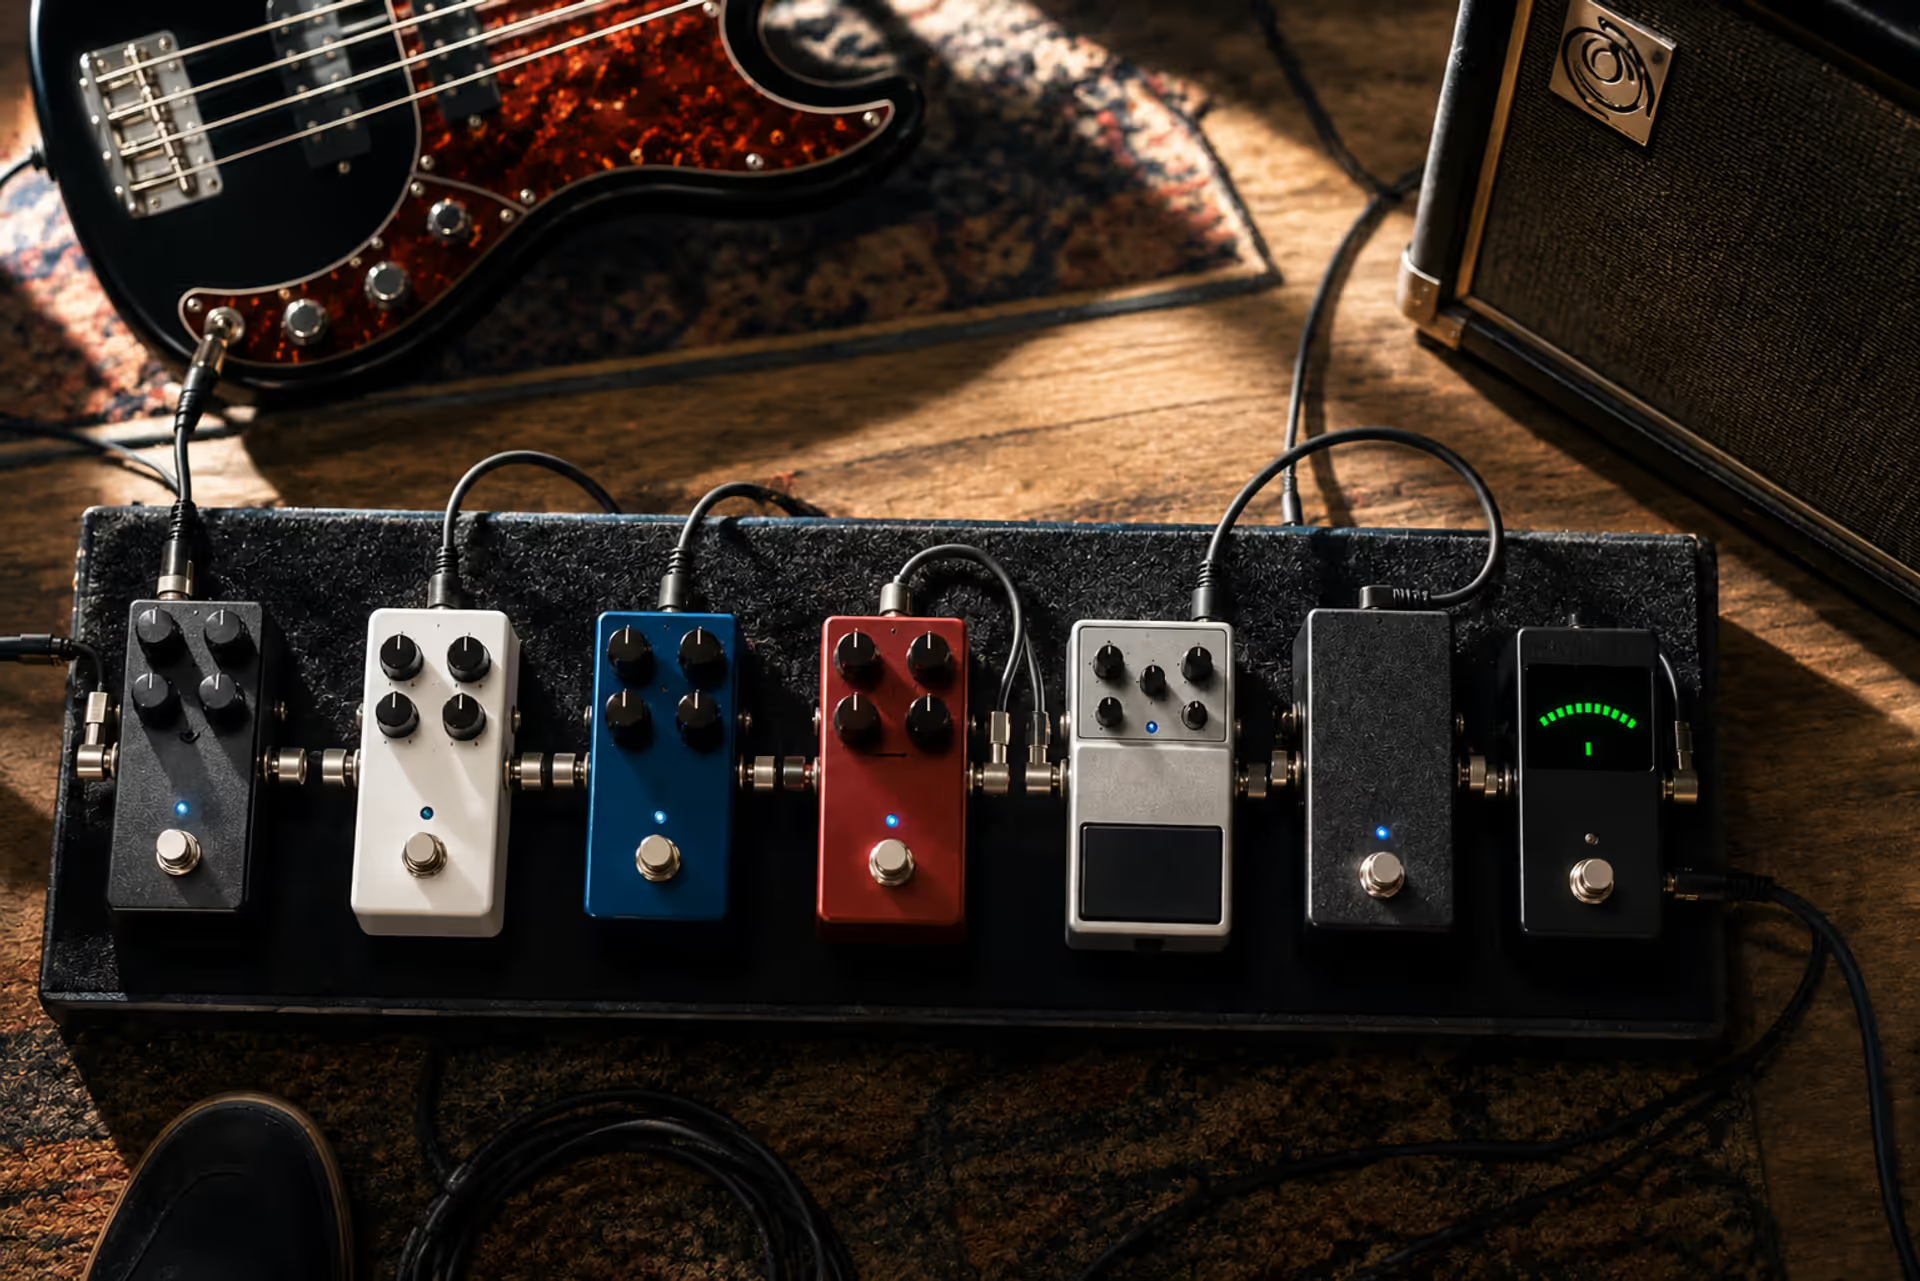
How to Set Up Your Bass Pedal Chain Order
How to Set Up Your Bass Pedal Chain Order?

Setting up your bass pedalboard can feel overwhelming. You've got a handful of stompboxes, a tangle of cables, and a nagging question: does the order actually matter?
It does. A lot.
The sequence in which you connect your bass effects pedals directly shapes your tone, preserves your low end, and determines whether your signal stays clean or turns into a noisy mess. Unlike guitar pedal chains, bass setups demand extra attention to frequency response and impedance matching. Get the order wrong, and you'll lose punch, clarity, or both.
This guide walks you through the logic behind bass pedal chain order, shows you the standard signal flow, and helps you build a pedalboard that fits your playing style.
Why Pedal Order Matters for Bass Tone
Every pedal you connect changes your signal in some way. Some boost it. Some color it. Some split or delay it. The trick is understanding how these changes interact when you stack effects.
Signal flow is simple: your bass outputs a raw electrical signal that travels through each pedal in sequence before reaching your amp. Each pedal processes the signal it receives from the previous one. So if you put a distortion pedal after a delay, the distortion affects the delayed repeats. If you reverse them, the delay repeats your distorted tone. Two completely different sounds.
Bass presents unique challenges. Your low frequencies carry more energy than guitar frequencies, and they're more sensitive to impedance mismatches. A pedal designed for guitar might attenuate your fundamental frequencies or introduce phase issues that make your tone sound thin or hollow.
Ordering bass effects pedals requires you to think about how each effect interacts with your low end. Compression before distortion tightens your attack and makes the distortion more consistent. Compression after distortion can squash your dynamics too much and kill your tone's natural breathing room.
The pattern I see most often is bassists copying guitar pedal chains and wondering why their tone lacks weight. Bass effects routing follows similar principles to guitar, but the stakes are higher. You can't afford to lose low-end clarity or introduce mud into the 80–200 Hz range where your fundamental notes live.
Author: Savannah Quillmere;
Source: lamat-records.com
Standard Bass Pedal Chain Order Explained
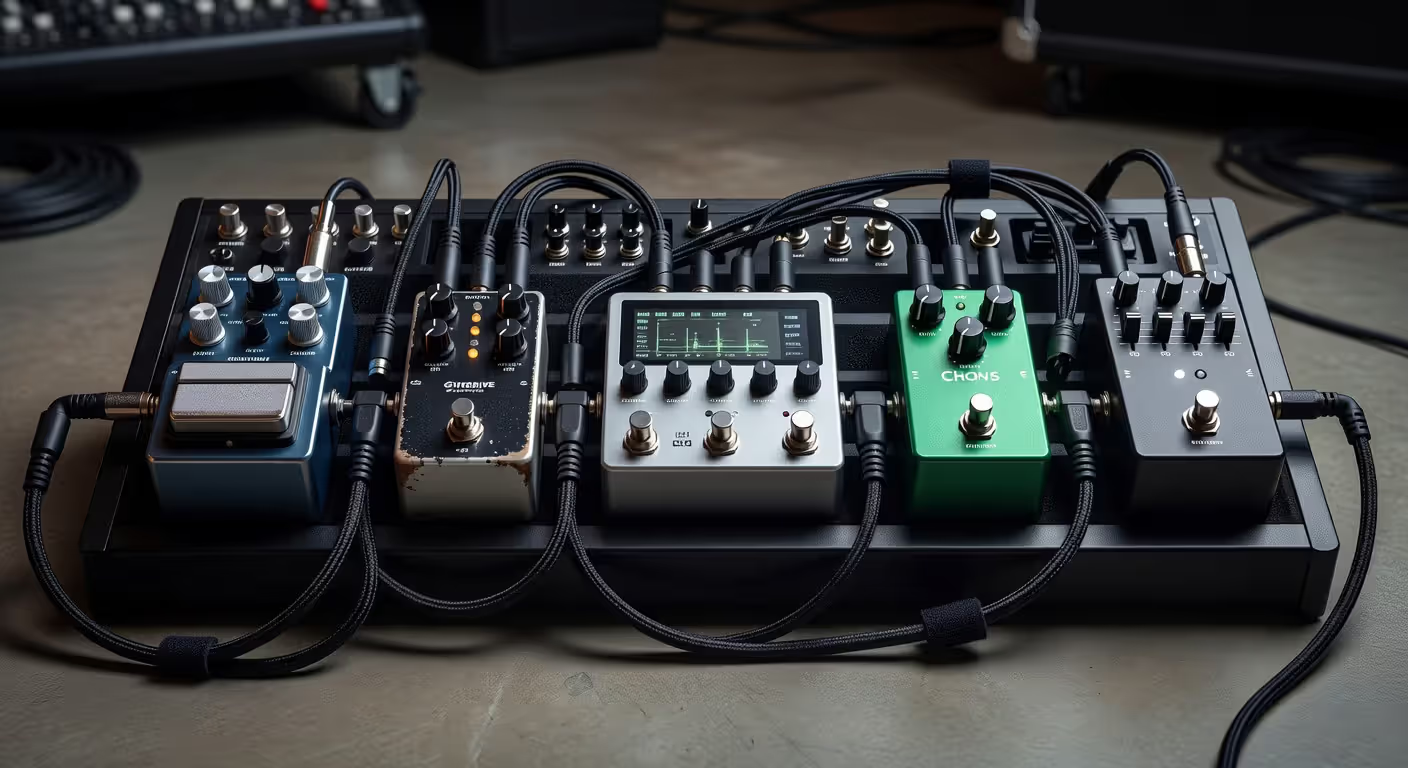
The conventional bass pedalboard signal flow follows a logical sequence: tuner → compression → gain effects → modulation → time-based effects → EQ/preamp → amp. This order preserves your clean signal where it matters and applies coloration at the right stages.
Here's why this sequence works.
Tuners and Compressors at the Start
Your tuner should always come first. It needs to read your bass's raw signal without any processing. Most tuners include a mute function, which lets you tune silently between songs—a lifesaver at gigs.
Compression comes next. A compressor evens out your dynamics by reducing the volume difference between your softest and loudest notes. Placing it early in the effects chain for bass guitar ensures it responds to your actual playing, not to colored or distorted tones. This gives you consistent input levels for everything downstream.
Compressors also help control the huge dynamic range of bass, especially if you slap or play with aggressive fingerstyle technique. Without compression, your distortion or overdrive pedals will respond unpredictably to volume spikes.
Gain-Based Effects in the Early Chain
Overdrive, distortion, and fuzz pedals belong in the early-to-middle section, right after compression. These effects work best when they receive a consistent, full-frequency signal.
Why early? Because gain-based effects generate harmonics and overtones. If you place them after modulation or delay, those effects will process the distorted signal—which can sound great in some contexts but usually creates a muddy, unfocused mess on bass.
Octave pedals typically go here too, though placement depends on the type. Analog octave-down pedals (like the classic Boss OC-2) track best when they receive a clean, compressed signal. Digital octave and pitch-shift pedals are more forgiving and can sometimes work later in the chain. Test both positions and trust your ears.
One counterintuitive tip: if you're stacking multiple drive pedals, put the one with more low-end cut first. This prevents frequency buildup that turns your tone into boomy sludge.
Modulation and Time-Based Effects Placement
Chorus, flanger, phaser, and envelope filters go in the middle of your chain, after gain effects but before delays and reverbs. Modulation effects work by altering pitch, phase, or frequency content. You want them to process your core tone, not your ambient effects.
Delay and reverb come near the end. These time-based effects create space and depth by repeating or sustaining your signal. Placing them late ensures they repeat your fully shaped tone—complete with drive, modulation, and EQ—rather than a raw or partially processed signal.
Here's a common mistake: putting delay before distortion. The distortion will clip and distort your delay trails, creating a harsh, unnatural sound. On bass, where clarity is king, this usually sounds terrible.
EQ and Preamp Pedals at the End
Your EQ or preamp pedal should be the last thing before your amp (or DI box). This position lets you shape your final tone after all your effects have done their work. You can boost or cut specific frequencies to fit the mix, add presence, or compensate for a boomy stage.
Preamp pedals often include DI outputs, making them perfect for going straight to a PA or recording interface. Placing them at the end of your bass pedalboard signal flow ensures your entire effects chain hits the board or interface with proper impedance and level.
The signal path is like a recipe—the order you add ingredients changes the final dish. With bass, you can't hide mistakes in the low end. Every choice in your chain is audible.
— Wooten Victor
Here's a reference table showing standard placement:
| Effect Type | Typical Position | Reason for Placement |
| Tuner | 1st | Needs unprocessed signal; includes mute function |
| Compressor | 2nd | Controls dynamics before tone shaping begins |
| Octave (analog) | 3rd | Tracks best with clean, compressed signal |
| Overdrive/Distortion | 4th–5th | Generates harmonics from full-frequency input |
| Modulation (chorus, flanger) | 6th–7th | Processes core tone without affecting ambience |
| Delay | 8th | Repeats fully shaped tone |
| Reverb | 9th | Adds space to complete signal |
| EQ/Preamp | Last | Final tone shaping before amp or DI |
Common Bass Pedalboard Mistakes to Avoid
Even experienced players make ordering bass effects pedals mistakes that sabotage their tone. Here are the big ones.
Putting modulation before compression. Your compressor will exaggerate the volume swells created by chorus or flanger, making your tone sound uneven and wobbly. Compression first, modulation later.
Running too many buffers in series. Most pedals use buffered bypass to maintain signal strength. But stack too many buffers, and you'll notice high-end harshness and a slightly sterile tone. The simpler option usually wins here—use true-bypass pedals where you can, and place one good buffer at the start if your cable runs are long.
Ignoring phase issues. Some pedals (especially phasers and flangers) can create phase cancellation when blended with your dry signal. This makes your bass disappear in a band mix. Always test your pedals at rehearsal volume with your band, not just at bedroom levels.
Daisy-chaining power without isolated outputs. This introduces ground loop hum and digital noise, especially if you mix analog and digital pedals. Invest in an isolated power supply. Your tone will thank you.
Overloading your signal. Stacking multiple gain pedals or boosters without checking levels between them can push your signal into clipping territory. Each pedal should add character, not volume. Set levels so your effected tone matches your clean volume.
Author: Savannah Quillmere;
Source: lamat-records.com
How to Arrange Effects Based on Your Playing Style
The standard order is a starting point, not a law. Different genres and techniques call for variations in arranging bass effects.
Funk and R&B players often prioritize envelope filters and compression. Try putting your envelope filter before compression for a more dynamic, responsive quack, or after for a smoother, more consistent sweep. Both work—it depends on whether you want the filter to respond to your pick attack or to a leveled signal.
Metal and hard rock bassists stack multiple drive pedals. A common setup: light overdrive → heavier distortion → noise gate. The gate goes last to clamp down on the accumulated hiss and hum from high-gain pedals. Some players put a clean blend pedal early in the chain to preserve their low end while adding grit up top.
Jazz and fusion players lean on compression and subtle modulation. A compressor with a slow attack preserves your note's natural transient while controlling the sustain. Chorus set to a mild, slow rate adds warmth without making you sound like a 1980s pop record.
Experimental and ambient bassists break the rules constantly. Reverse delay before fuzz? Reverb into distortion? These "wrong" orders create unique textures. Just know why you're breaking the rule so you can replicate the sound later.
One approach that works across genres: parallel signal chains. Split your signal with a junction box or ABY pedal, run effects on one path while keeping the other clean, then blend them back together. This preserves your fundamental tone while adding processed color on top.
Building Your First Bass Pedalboard Step-by-Step
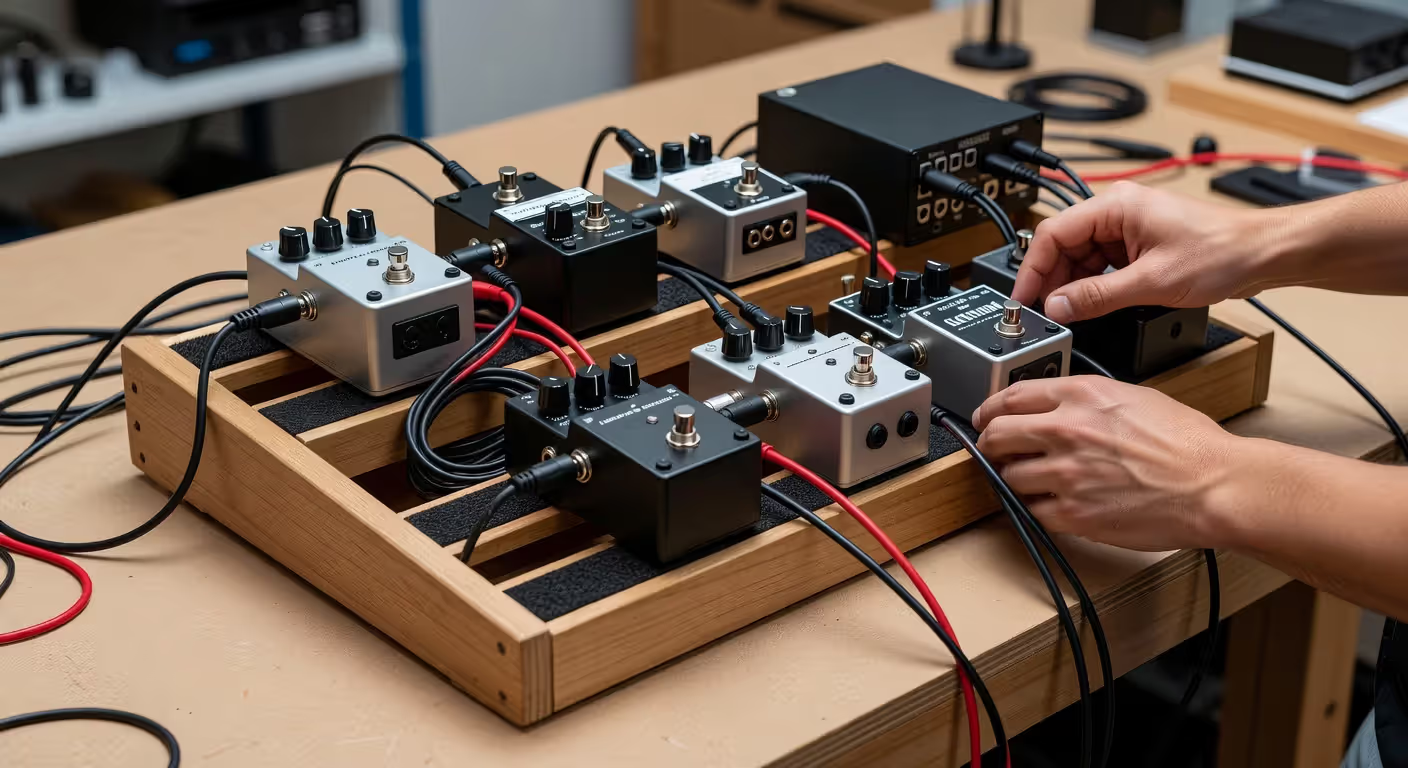
You've got your pedals. Now let's build a board that's practical, reliable, and sounds great.
Step 1: Choose your board size. Measure your pedals and add 20% for cable routing and future expansion. Pedaltrain, Templeboard, and similar manufacturers offer boards in standard sizes. For 4–6 pedals, a medium board (around 24 inches wide) works well.
Step 2: Arrange pedals without cables. Place them on the board in your planned signal order. Put your most-used pedals where your foot naturally lands. Tuner and compressor often go in the back row since you set them and forget them.
Step 3: Plan your power. Count the power requirements for each pedal (9V, 12V, 18V, milliamp draw). Get an isolated power supply with enough outputs and current capacity. Mount it under the board with Velcro or zip ties.
Step 4: Cable routing. Use short patch cables—the shortest possible distance between pedals. Solderless cable kits let you make custom lengths. Route power cables separately from signal cables to reduce interference. Keep everything flat so the board sits stable.
Step 5: Test your signal flow. Connect everything, plug in, and play. Check for hum, buzz, or tone loss. If something sounds off, isolate it by bypassing pedals one at a time. Most issues come from bad cables or ground loops, not the pedals themselves.
Step 6: Secure everything. Once you're happy with the sound, use Velcro (hook side on the board, loop side on pedals) to lock everything down. Label your power cables if you're using a multi-output supply.
A well-built bass pedalboard should survive transport, power up without noise, and let you switch effects mid-song without tap-dancing.
Author: Savannah Quillmere;
Source: lamat-records.com
Advanced Bass Effects Routing Techniques
Once you've mastered the basics, these techniques open up new tonal possibilities.
Effects loops let you insert pedals into your amp's preamp-to-power-amp signal path. Time-based effects (delay, reverb) often sound better in the loop because they're processing a line-level signal instead of an instrument-level one. Check your amp's manual—some bass amps have series loops, others have parallel loops with blend controls.
Parallel chains preserve your clean low end while adding effects on top. Use a blender pedal or a true bypass looper with a blend knob. Send distortion or modulation through the effect path, keep your dry signal clean, and mix to taste. This is huge for bass because you never lose your fundamental.
Stereo setups require two amps or a stereo DI. Stereo chorus, delay, and reverb create width and space that's impressive in the studio or with in-ear monitors. Live, it's less useful unless you're running two bass cabs or going direct to a stereo PA. Most bassists don't need stereo, but if you're recording or doing ambient work, it's worth exploring.
Programmable switchers let you engage multiple pedals with one stomp. The Boss ES-8 and similar units can rearrange your pedal order on the fly, store presets, and even include MIDI control. These are overkill for most players, but if you're switching between complex tones song-to-song, they're game-changers.
Looper pedals can go anywhere, but most players put them at the very end of the chain. This way, your loops include all your effects. If you want to loop a clean phrase and then add effects on top, put the looper earlier—right after compression, for example.

Author: Savannah Quillmere;
Source: lamat-records.com
Frequently Asked Questions About Bass Pedal Order
Getting your bass pedal chain order right isn't about following rigid rules—it's about understanding how your signal flows and making intentional choices that serve your tone. Start with the standard order, experiment when it makes sense, and always trust your ears over what any guide tells you. Your pedalboard should make playing easier and your tone better, not add complexity for its own sake.
Related Stories
Read more
Read more

The content on this website is provided for general informational and educational purposes only. It is intended to explain concepts related to music production, recording, mixing, mastering, music industry roles, and distribution.
All information on this website, including articles, guides, and examples, is presented for general educational purposes. Results and success in music production may vary depending on skill level, equipment, and effort.
This website does not provide professional music production services or guarantees of commercial success, and the information presented should not be used as a substitute for consultation with qualified music producers, audio engineers, or music industry professionals.
The website and its authors are not responsible for any errors or omissions, or for any outcomes resulting from decisions made based on the information provided on this website.