
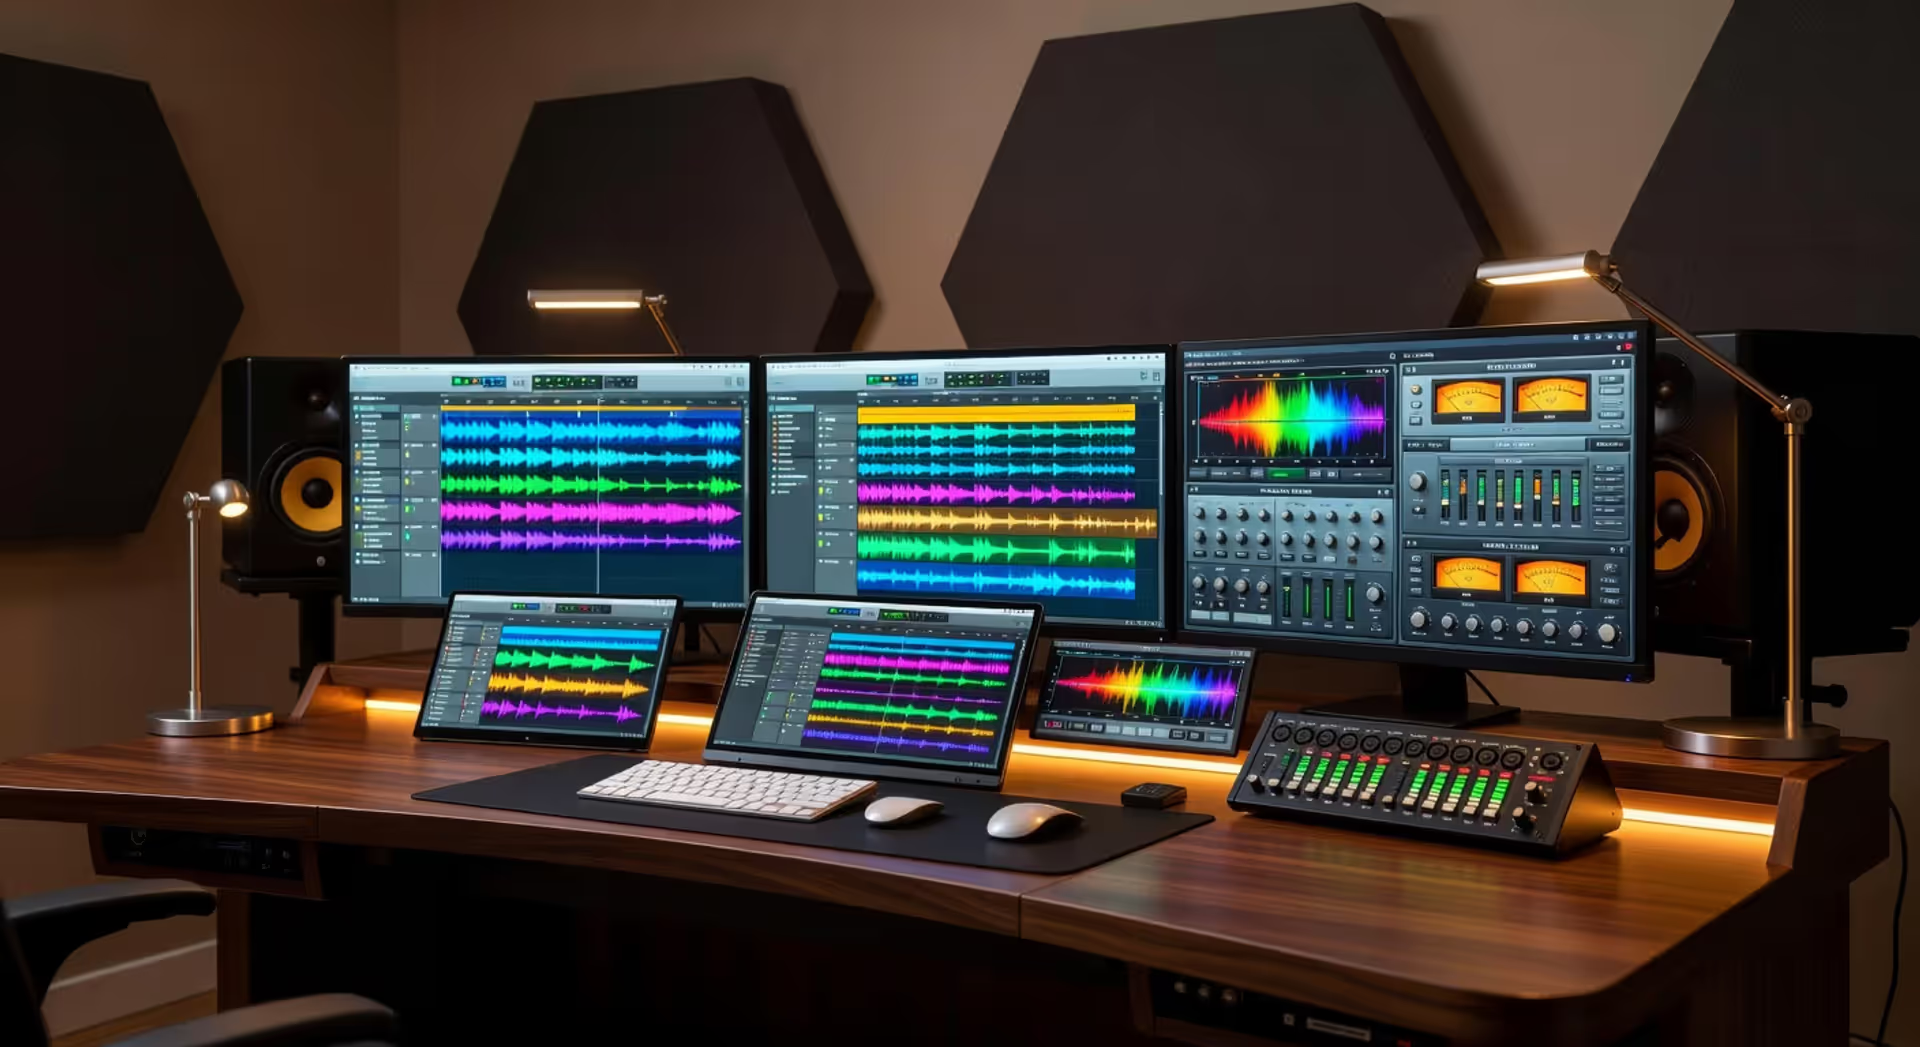
What Is a DSP in Music and How Does It Work
What Is a DSP in Music?
Content
Content
You've probably heard "DSP" tossed around in music forums or seen it listed on audio interface specs. Maybe you've wondered what it actually means beyond just another acronym in the already jargon-heavy world of audio production. Here's the thing: you're already using it. Right now, if you've ever opened a DAW, tweaked an EQ, or added reverb to a track, you've been working with DSP—whether you knew it or not.
The letters stand for "digital signal processing," but that definition doesn't tell you much. What matters is this: DSP is how computers manipulate sound mathematically. Rather than routing audio through physical circuits like vintage gear does, DSP converts your music into numbers, reshapes those numbers with algorithms, then converts everything back into sound you can hear. That process happens thousands of times per second, invisibly, while you work.
Why should bedroom producers care about the technical details? Because knowing how your tools actually function changes how you use them. You'll make smarter mixing decisions. You'll troubleshoot problems faster. And you'll stop blaming your gear when the real issue is understanding what's happening under the hood.
DSP Meaning in Audio Production
When you record a guitar, your audio interface captures those string vibrations and transforms them into numerical data—essentially a long list of measurements taken 48,000 times every second. That's where DSP begins. The computer can now apply mathematical operations to those numbers: filtering out unwanted frequencies, compressing dynamic range, adding artificial reflections to simulate a concert hall. Once processed, those modified numbers get converted back into an electrical signal that drives your speakers.
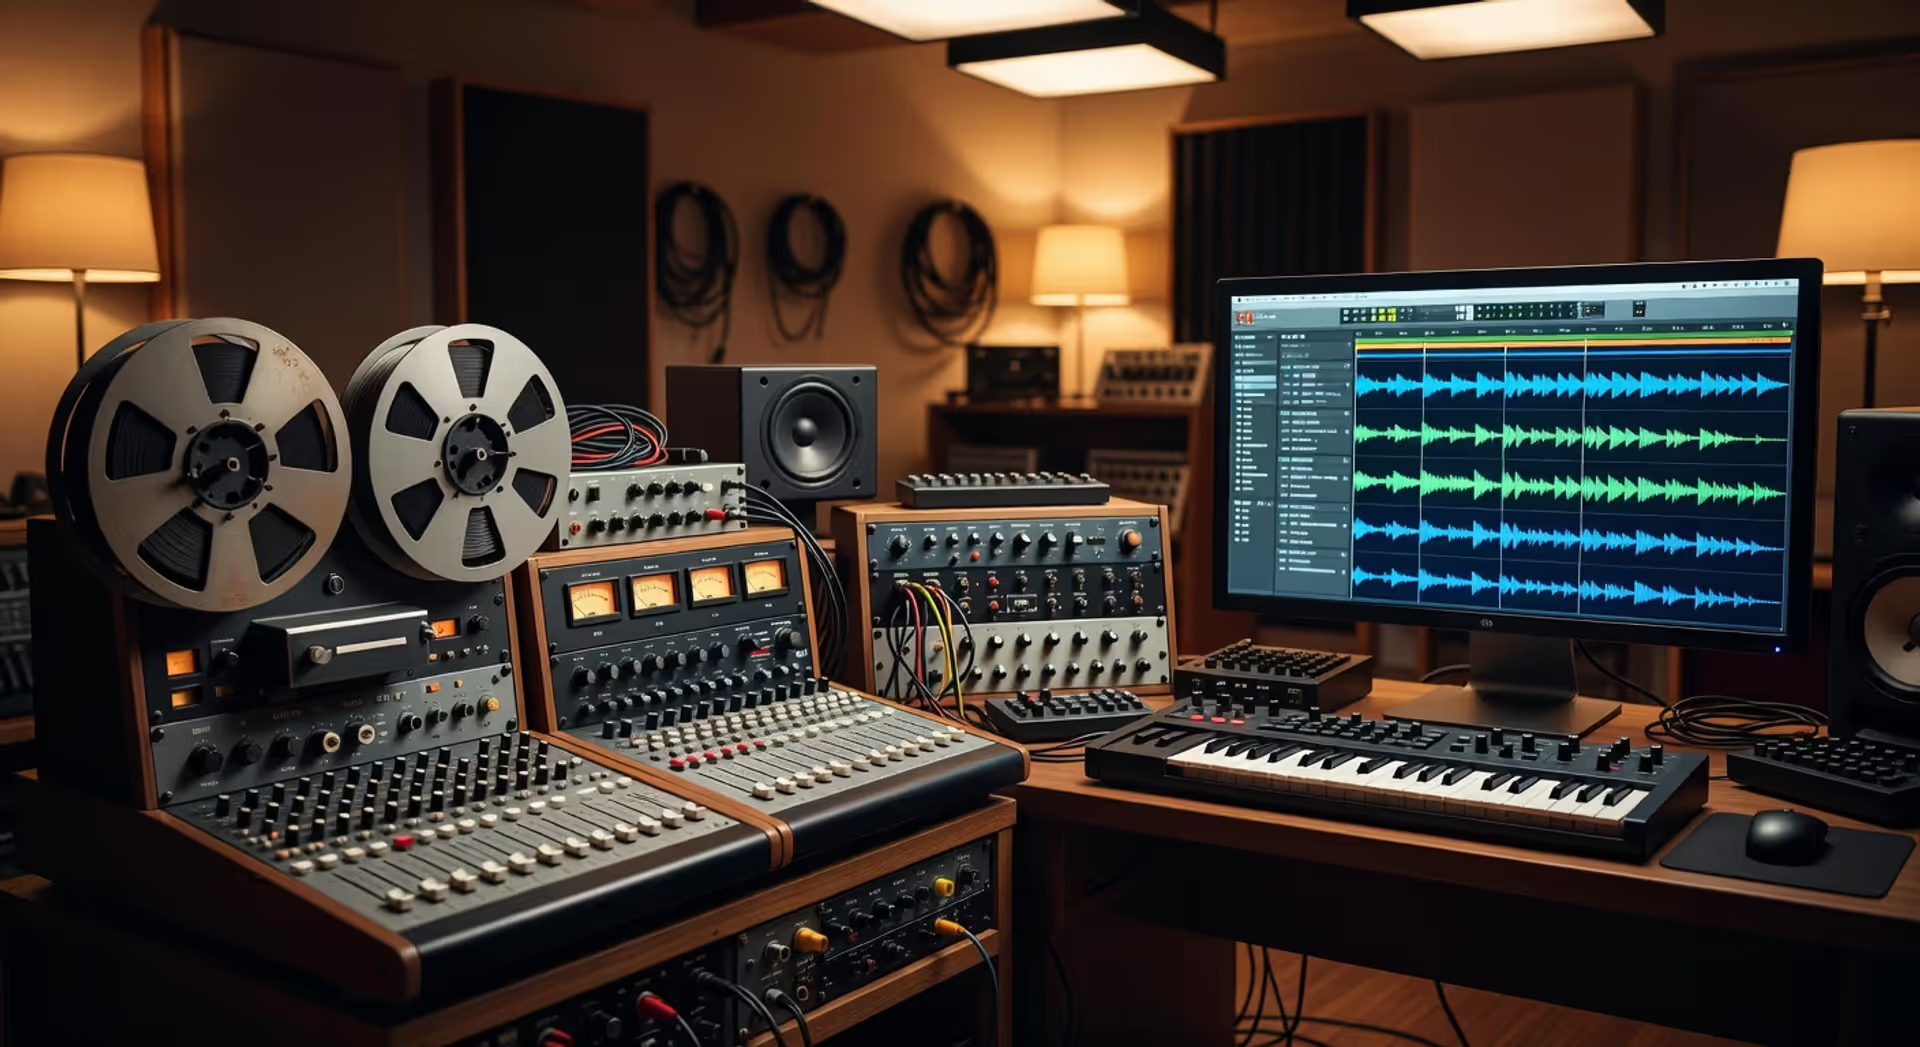
Contrast this with how analog gear operates. A hardware compressor from the 1970s uses physical components—transistors, capacitors, transformers—to alter the voltage of your audio signal as it passes through. Turn the threshold knob, and you're literally changing resistance values in a circuit. The audio never stops being an electrical signal. It flows through metal and silicon, getting shaped by the laws of physics.
Here's what changed everything: DSP can do things that are physically impossible in analog. Want to recall exact settings from a session three months ago? Analog gear has no memory—you'd better have written down every knob position. Need to compare two different EQ curves instantly? With hardware, you're manually switching settings and hoping your ears remember what you just heard. DSP gives you perfect recall and instant A/B comparison. You can also make surgical edits that would require impossible precision with physical components—like cutting a 3dB notch at exactly 847Hz with a Q of 12.4.
The timeline of this revolution tells the story. In 1982, a Lexicon 224 digital reverb cost $30,000 and could barely simulate a decent room. By 2005, plugins like Audio Ease Altiverb were creating photorealistic spaces using impulse responses. Today? Your phone has more DSP horsepower than a professional studio had in 1995. A kid with a laptop and free plugins can access processing that literally didn't exist at any price two decades ago.
How DSP Works in Music Creation
The journey from microphone to speakers involves three distinct stages, though they happen so quickly you never perceive the transitions.
Author: Lena Corwyn;
Source: lamat-records.com
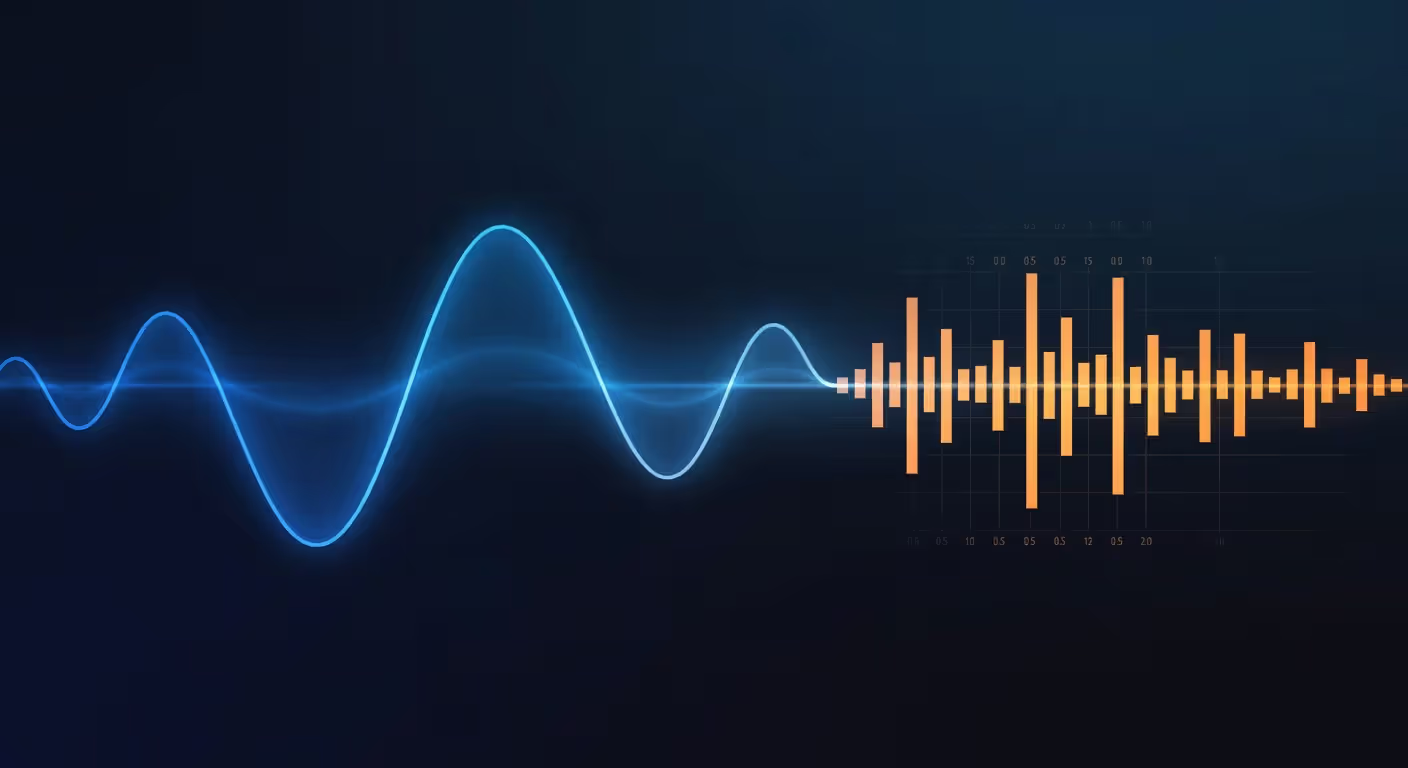
Stage one: Capturing the analog world digitally. Your microphone converts sound pressure into voltage fluctuations—still analog at this point. The analog-to-digital converter in your interface samples that voltage 44,100 or 48,000 times per second (sometimes more). Each snapshot gets assigned a number representing the signal's amplitude at that precise moment. String all those numbers together in sequence, and you've got a digital representation of your original sound wave. It's not continuous anymore—it's discrete measurements, like individual frames in a film.
Stage two: The actual mathematical processing. Now the computer goes to work on those numbers. Let's say you want compression. The algorithm examines each sample's value and compares it to your threshold setting. When the signal exceeds that threshold, the math kicks in: the processor multiplies those sample values by a gain reduction factor determined by your ratio setting. Attack and release parameters control how quickly those multiplications ramp up and down. Every plugin works this way—applying mathematical operations (additions, multiplications, filters, convolutions) to the sample values.
Here's a concrete example from yesterday's session: I tracked a vocal through a Shure SM7B into a Scarlett interface. The ADC converted that performance to 48kHz/24-bit digital audio. While recording, I ran the signal through FabFilter Pro-Q 3 with a high-pass filter at 80Hz to remove room rumble, plus light compression from their Pro-C 2. Each of those plugins processed the incoming sample values in real-time before writing the results to disk. The high-pass filter used a mathematical function to drastically reduce the amplitude of samples representing frequencies below 80Hz. The compressor calculated the signal's RMS level every few milliseconds and adjusted gain accordingly.
Stage three: Back to the analog world. When you hit play, the digital-to-analog converter reads those processed numbers and reconstructs a smooth voltage signal. That voltage drives your monitor speakers or headphones, which convert electrical energy back into air pressure waves. Your ears receive sound. The loop closes.
Yes, this round trip introduces some compromises. Quantization error (rounding numbers to fit the available bit depth), aliasing (artifacts from the sampling process), and latency (the time it takes to process) all exist. But converters and algorithms have improved so dramatically that these limitations rarely affect creative decisions. You'd need trained ears and expensive monitoring to hear the difference between a well-recorded 48kHz/24-bit file and the original analog signal.
Common DSP Effects Used by Producers
Open any DAW and you'll find dozens of processors. Each one applies specific mathematical operations to reshape your audio. Let's break down how the most common effects actually manipulate your signal.
Time-Based DSP Effects
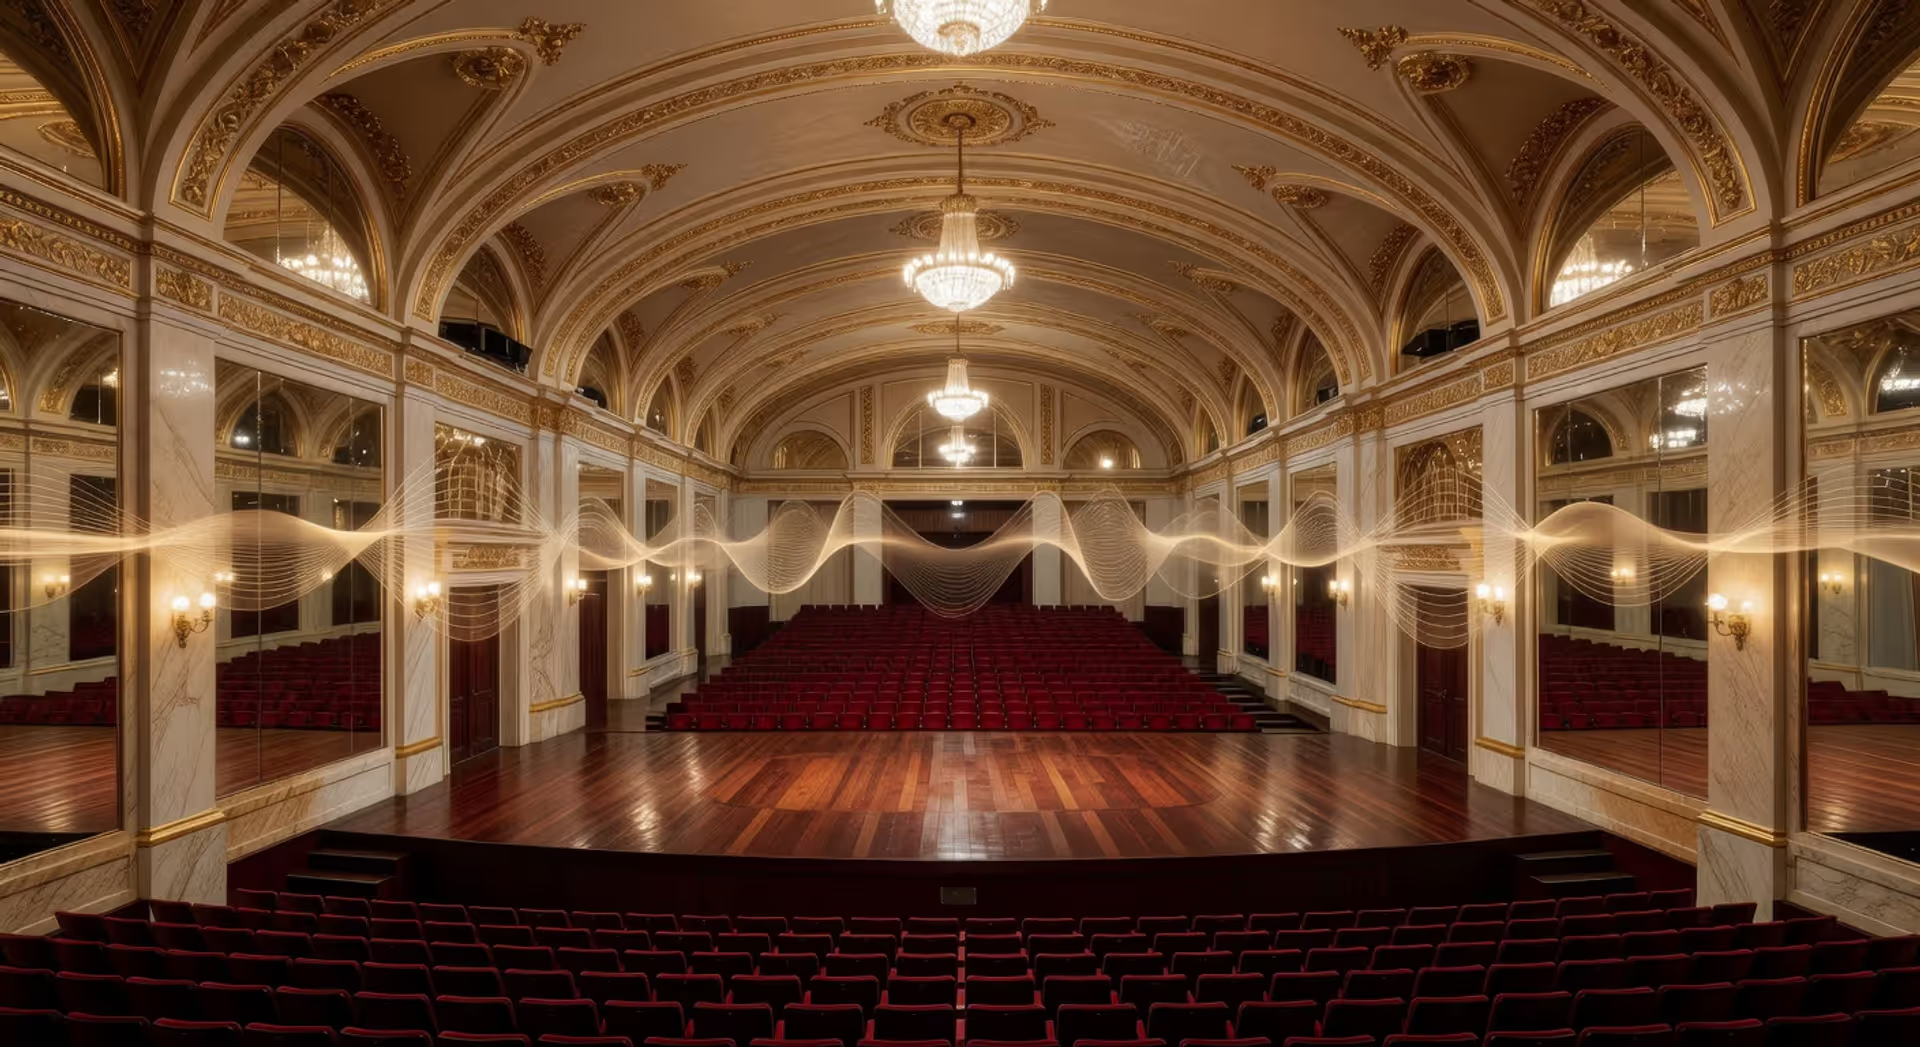
Reverb simulates acoustic spaces by generating thousands of delayed copies of your original signal. The algorithm calculates how sound would reflect off virtual surfaces—walls, floors, ceilings, furniture. Early reflections arrive first (within 50 milliseconds), giving your brain cues about room size. Then comes the dense tail of later reflections that gradually decay. Parameters like pre-delay, decay time, and damping control the mathematical model. Convolution reverbs take a different approach: they use impulse responses (actual recordings of spaces) and mathematically combine your audio with that captured acoustic signature.
Delay works by storing incoming samples in a buffer, then playing them back after a specified time interval. A quarter-note delay at 120 BPM? That's 500 milliseconds of storage. Feedback routes the delayed signal back into the input, creating repeating echoes. Modern delays add complexity—filtering the repeats, modulating their pitch, or applying saturation to mimic tape degradation. The H-Delay plugin from Waves, for instance, models the wow and flutter of analog tape machines by slightly varying the delay time with LFO modulation.
Chorus, flanger, and phaser all use modulated short delays to create movement. Chorus duplicates your signal, delays the copy by 20-30 milliseconds, then modulates that delay time with a low-frequency oscillator running at 0.5-2Hz. This creates pitch variations that simulate multiple performers playing slightly out of tune. Flanging uses even shorter delays (under 10ms) with feedback, producing that swooshing jet-plane effect. Phasing splits the signal and shifts the phase relationship between copies, creating peaks and notches that sweep through the frequency spectrum.
Dynamics and Frequency Processing
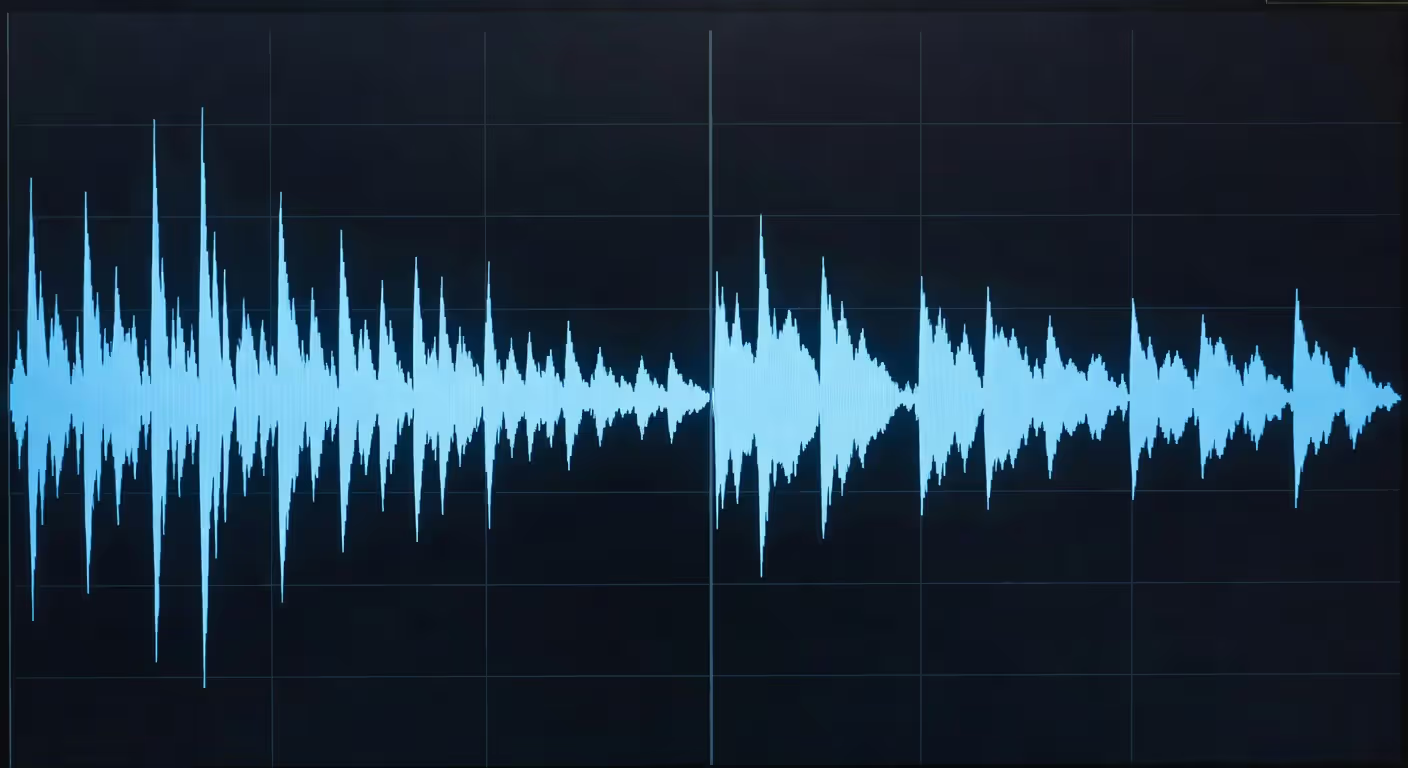
Compression tames dynamic range by automatically turning down loud parts. The processor monitors your signal's level continuously. Once it crosses your threshold setting, gain reduction kicks in based on your ratio. Set a 4:1 ratio? For every 4dB the signal exceeds the threshold, output only increases by 1dB. Attack time controls how quickly the compressor clamps down (1-30ms for fast limiting, 30-100ms for transparent leveling). Release determines how quickly it lets go (50ms for pumping effects, 300ms+ for smooth, invisible control).
EQ boosts or attenuates specific frequency ranges. A parametric EQ lets you choose the center frequency, gain amount, and Q (bandwidth). The processor applies digital filters—mathematical operations that amplify or reduce certain frequencies while leaving others untouched. Cut 3dB at 200Hz with a Q of 2.0? The algorithm reduces the amplitude of samples in that frequency range using a bell-shaped curve. High-pass and low-pass filters use steeper slopes (measured in dB/octave) to more aggressively remove lows or highs.
Author: Lena Corwyn;
Source: lamat-records.com
Distortion and saturation add harmonics by clipping or warping the waveform shape. Soft clipping gently rounds off peaks using a mathematical curve that gradually limits the signal. Hard clipping brutally chops peaks flat, generating odd-order harmonics that sound harsh and aggressive. Tube and tape emulations model the nonlinear behavior of analog circuits—as the signal gets louder, the transfer function curves, generating even-order harmonics (octaves and musical intervals) that we perceive as warmth. FabFilter Saturn applies waveshaping functions—mathematical curves that transform input values into output values in specific, controllable ways.
Pitch correction analyzes your vocal's fundamental frequency, compares it to the nearest note in your chosen scale, and shifts the pitch to match. Auto-Tune and Melodyne accomplish this using phase vocoder technology, which separates pitch from duration. Fast retune speeds (0-20ms) create that robotic T-Pain effect because the correction is audibly instantaneous. Slower speeds (80-150ms) let natural vibrato and expression through, making the correction transparent. The math is complex—FFT analysis to identify pitch, time-domain manipulation to shift it—but the result is something impossible with analog technology: changing pitch without affecting speed.
Role of DSP in Modern Music Production
DSP isn't just the effects you consciously add. It's the invisible foundation supporting your entire workflow.
In mixing, every fader movement triggers DSP calculations. Your DAW's mixer is purely software—there's no physical console. When you adjust a fader, the software multiplies every sample on that track by a gain coefficient. Pan a track left? The processor reduces the right channel's amplitude and increases the left channel's. Route a send to a reverb bus? The software duplicates those samples and routes the copies through the reverb algorithm. All of this happens in real-time, thousands of times per second, across potentially hundreds of tracks. Even an empty project with just monitoring enabled is running DSP to route audio from your interface to your speakers.
Mastering relies on specialized DSP that demands surgical precision. Multiband compression splits your mix into frequency bands (typically 3-5), compressing each independently. This lets you tame boomy bass without affecting vocal presence. Mid-side processing separates the center information (usually vocals and kick) from the sides (stereo instruments), giving you independent control over each. You can widen the stereo field without making the low end muddy, or tighten the center without collapsing the sides. Final limiting uses lookahead processing—the algorithm analyzes upcoming samples to prevent clipping before it happens, maximizing loudness while maintaining transparency.
Live sound reinforcement has gone almost entirely digital. Walk into any venue and you'll find digital consoles from Yamaha, Allen & Heath, or DiGiCo. Every input runs through EQ, compression, and effects in real-time. Latency has dropped below 2 milliseconds on modern systems—imperceptible to performers. Wireless systems use DSP for encryption and error correction. In-ear monitor mixers give each musician a custom mix processed independently. Speaker management systems use DSP to time-align drivers, apply crossovers, and correct for room acoustics.
Plugin technology packages DSP algorithms in standardized formats. VST, AU, and AAX are just wrappers that let third-party developers create processors that run inside your DAW. The marketplace has exploded—companies like Soundtoys, FabFilter, Valhalla DSP, and thousands of others offer specialized tools for every imaginable task. Want a plugin that only does spring reverb? It exists. Need to emulate a specific 1960s British console channel strip? Multiple companies make that exact processor.
The hardware versus software debate misses the point—they're not competitors, just different implementations. Dedicated DSP chips in interfaces like UAD Apollo or Antelope Orion offload processing from your computer's CPU. This reduces latency during tracking and frees up resources for running more plugins. Software DSP runs on your computer's CPU or GPU, offering unlimited flexibility and lower upfront cost. Most working producers use both strategically.
DSP democratized music production in ways we're still discovering. A teenager with a laptop now has access to tools that simply didn't exist at any price twenty years ago. But the real revolution isn't just access—it's the ability to experiment without consequence. You can try a hundred different reverbs in an hour. That kind of iteration shapes creativity itself.
— Thompson Sarah
DSP Hardware vs. Software Processing
Choosing between dedicated DSP chips and native CPU processing affects your workflow, budget, and creative options. Neither is universally better—they excel in different situations.
| Factor | Dedicated DSP Chips | Native CPU Processing | Cloud-Based Processing |
| Latency | Extremely low (1–3ms) | Low to moderate (5–20ms depending on buffer) | High (50–200ms+) |
| Upfront Cost | Significant ($500–$3,000+) | Minimal (software purchases only) | None (subscription model) |
| Flexibility | Limited to manufacturer's plugin ecosystem | Works with any compatible plugin | Growing libraries, platform-dependent |
| Processing Power | Fixed at purchase, dedicated resource | Scales with CPU upgrades | Essentially unlimited |
| Best Use Cases | Tracking with effects, real-time monitoring | Mixing, production, sound design, mastering | Render-heavy tasks, collaborative projects |
Dedicated DSP hardware shines brightest during tracking sessions. Singers need to hear themselves with reverb and compression instantly—any delay breaks the performance flow. Guitarists tracking through amp sims require immediate response to feel natural. DSP chips process these effects with 1-3ms latency, essentially imperceptible. The tradeoff? You're buying into that manufacturer's ecosystem. UAD plugins traditionally only ran on UAD hardware (though they've recently introduced native versions). Antelope, SSL, and other brands maintain similar closed systems. You can't just buy any plugin and expect it to work.
Native processing gives you complete freedom. Any VST, AU, or AAX plugin from any developer will run, assuming your CPU has sufficient power. Modern computers are surprisingly capable—an M3 MacBook Pro or recent AMD Ryzen system can run hundreds of plugin instances simultaneously. Latency is higher than dedicated DSP, but adjusting your buffer size helps. During mixing and production (when you're not actively recording), native processing is usually the smarter choice. You're not constrained by hardware limitations.
Cloud-based processing represents an emerging third option. Services like Audiomovers or Satellite Sessions render complex processes on remote servers, sending results back to you. This works well for non-real-time tasks—final mastering passes, heavy convolution reverb, or complex sound design. The latency makes it impractical for tracking or interactive mixing where you need immediate feedback.
The practical strategy many professionals adopt: use both. DSP hardware handles tracking and monitoring duties where latency matters. Native plugins do the heavy lifting during mixing when you need flexibility and variety. This hybrid approach maximizes the strengths of each system without accepting unnecessary compromises.
One myth worth dispelling: dedicated DSP chips don't automatically sound better than native processing. The algorithm matters far more than where it runs. A well-coded native plugin can match or exceed dedicated hardware in sound quality. The real advantage of DSP chips is efficiency and latency, not sonic superiority.
Getting Started with Audio DSP
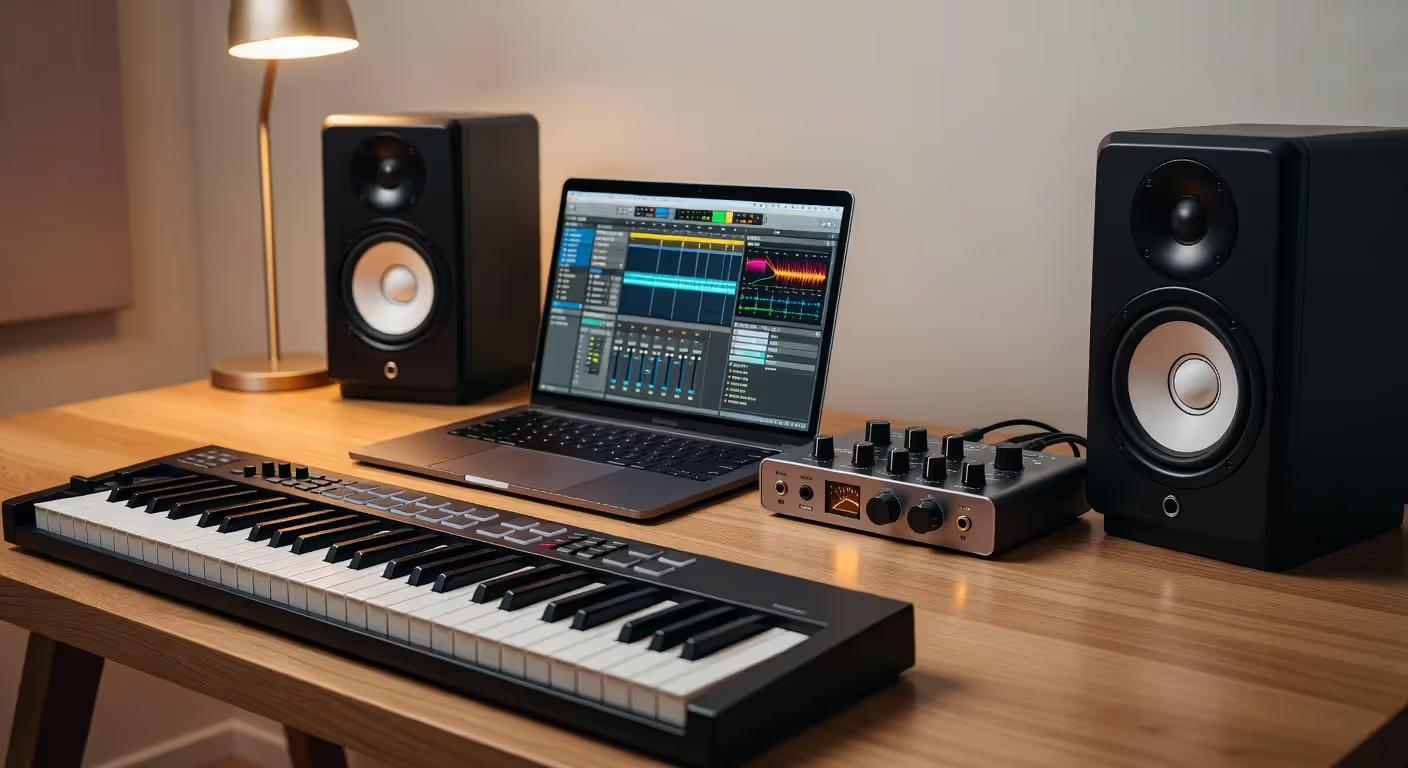
You don't need a computer science degree or expensive hardware to start working with DSP effectively. Your DAW already includes capable tools that professionals use daily.
Every major DAW ships with built-in processors covering essential tasks. Logic Pro's stock plugins compete seriously with third-party options—their Channel EQ and compressor sound excellent. Ableton's native devices are powerful and creative. Pro Tools includes industry-standard EQ and dynamics. Reaper bundles ReaPlugs, a surprisingly comprehensive suite. Start with these before spending money elsewhere. Learn them thoroughly.
Author: Lena Corwyn;
Source: lamat-records.com
Entry-level tools that punch way above their price point: TDR Nova is a free dynamic EQ that working engineers actually use on paying projects. Voxengo offers free analysis tools and processors that rival commercial options. MeldaProduction's free bundle includes dozens of useful processors. These aren't beginner toys—they're legitimate professional tools available at no cost.
For hardware, a basic audio interface is your first DSP investment. It contains the ADC and DAC chips that form the foundation of digital audio. Focusrite Scarlett, SSL 2, PreSonus Studio, and Audient iD series deliver clean conversion at $100-$300. Don't obsess over specifications. Any interface from a reputable manufacturer in 2026 will be transparent enough that you won't hear its limitations.
Learning resources depend on how you absorb information. Structured learners benefit from Coursera and edX courses on signal processing fundamentals from universities like Stanford or MIT. These get mathematical but build deep understanding. If you learn by doing, YouTube channels like Dan Worrall's explain DSP concepts through practical demonstrations. The Reaper blog features excellent tutorials that apply to any DAW. Books worth your time: "Mixing Secrets for the Small Studio" by Mike Senior explains how to use DSP effects musically. "The Art of Digital Audio" by John Watkinson covers technical fundamentals comprehensively.
Practical first steps: Pick one effect category and learn it deeply before moving on. Compression is foundational—spend a week experimenting with threshold, ratio, attack, and release on real tracks. Listen more than you look at meters. Visual feedback helps, but your ears make the final decision. Try extreme settings first to hear what each parameter does, then dial back to musically appropriate levels. Record yourself explaining what you're hearing out loud—this forces clarity of understanding.
The biggest beginner mistake? Over-processing. Every plugin adds artifacts, even expensive ones. Subtlety usually wins. If you can't hear what a plugin is doing when you bypass it, you probably don't need it active. Trust your ears, not your eyes watching pretty animations.
FAQ: DSP in Music Questions Answered
DSP has become so deeply embedded in music production that we barely notice it anymore—which is exactly how it should be. The technology works best when it's invisible, letting creativity flow without technical barriers getting in the way. Whether you're just starting your production journey or refining your craft after years of experience, understanding how DSP works helps you make better decisions about when and how to process your audio. The tools will keep evolving and improving, but the fundamental concepts—converting to digital, processing mathematically, converting back to analog—remain constant. Focus on training your ears through deliberate practice, experiment without fear of breaking things, and remember that the best processing is often the processing you don't consciously notice happening.
Related Stories
Read more
Read more

The content on this website is provided for general informational and educational purposes only. It is intended to explain concepts related to music production, recording, mixing, mastering, music industry roles, and distribution.
All information on this website, including articles, guides, and examples, is presented for general educational purposes. Results and success in music production may vary depending on skill level, equipment, and effort.
This website does not provide professional music production services or guarantees of commercial success, and the information presented should not be used as a substitute for consultation with qualified music producers, audio engineers, or music industry professionals.
The website and its authors are not responsible for any errors or omissions, or for any outcomes resulting from decisions made based on the information provided on this website.