
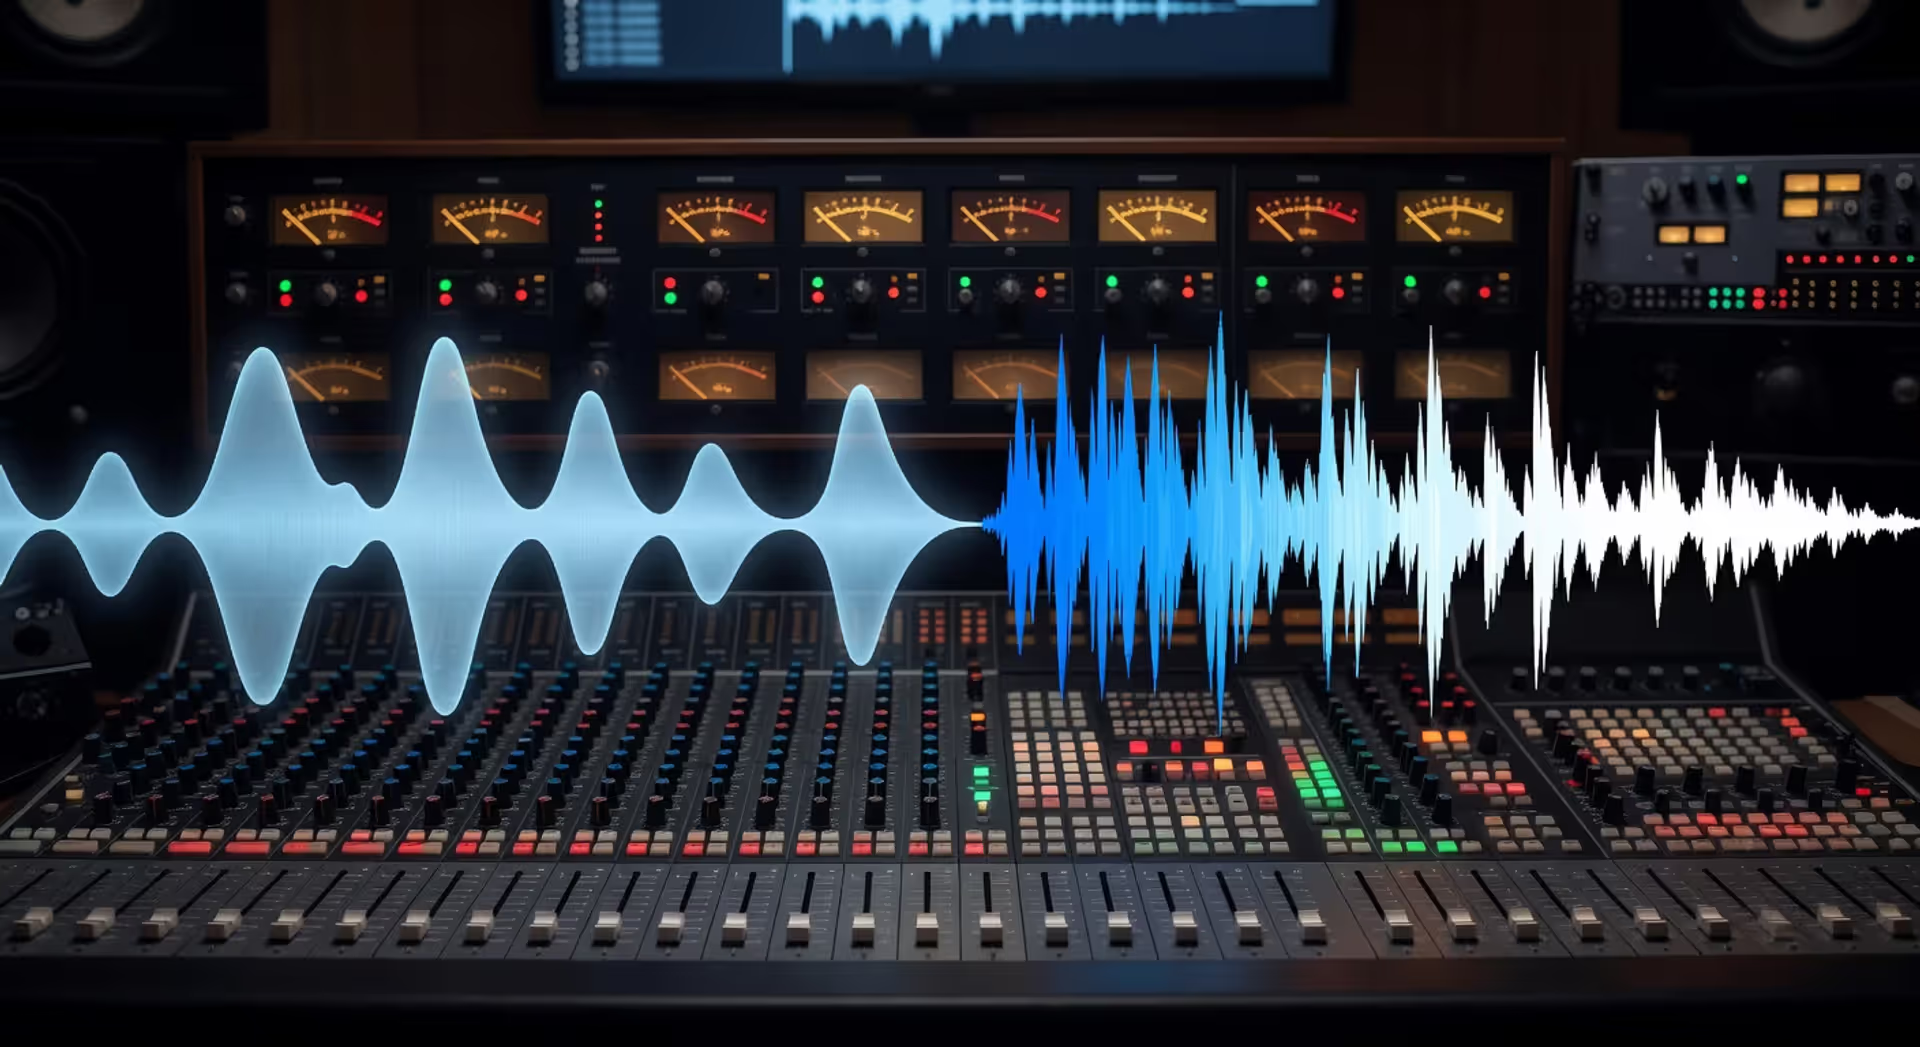
What Is Sound Clipping and How to Prevent It
What Is Sound Clipping and How to Prevent It?

Content
Content
Sound clipping. Two words that can make any audio engineer wince. If you've ever cranked a recording too hot and heard that ugly, distorted crunch, you've met clipping firsthand. It's one of the most common problems in audio production, and it can ruin an otherwise great mix. But here's the good news: once you understand what causes clipping and how to manage your levels properly, it becomes completely avoidable. This guide walks you through the technical side, the practical fixes, and the workflow habits that keep your audio clean from input to output.
How Sound Clipping Happens in Audio Production
Audio clipping explained: it occurs when a waveform's amplitude exceeds the maximum level a system can handle. In digital audio, that ceiling is 0 dBFS (decibels Full Scale). When a signal tries to go above this point, the peaks get chopped off—literally clipped—because there's nowhere for them to go.
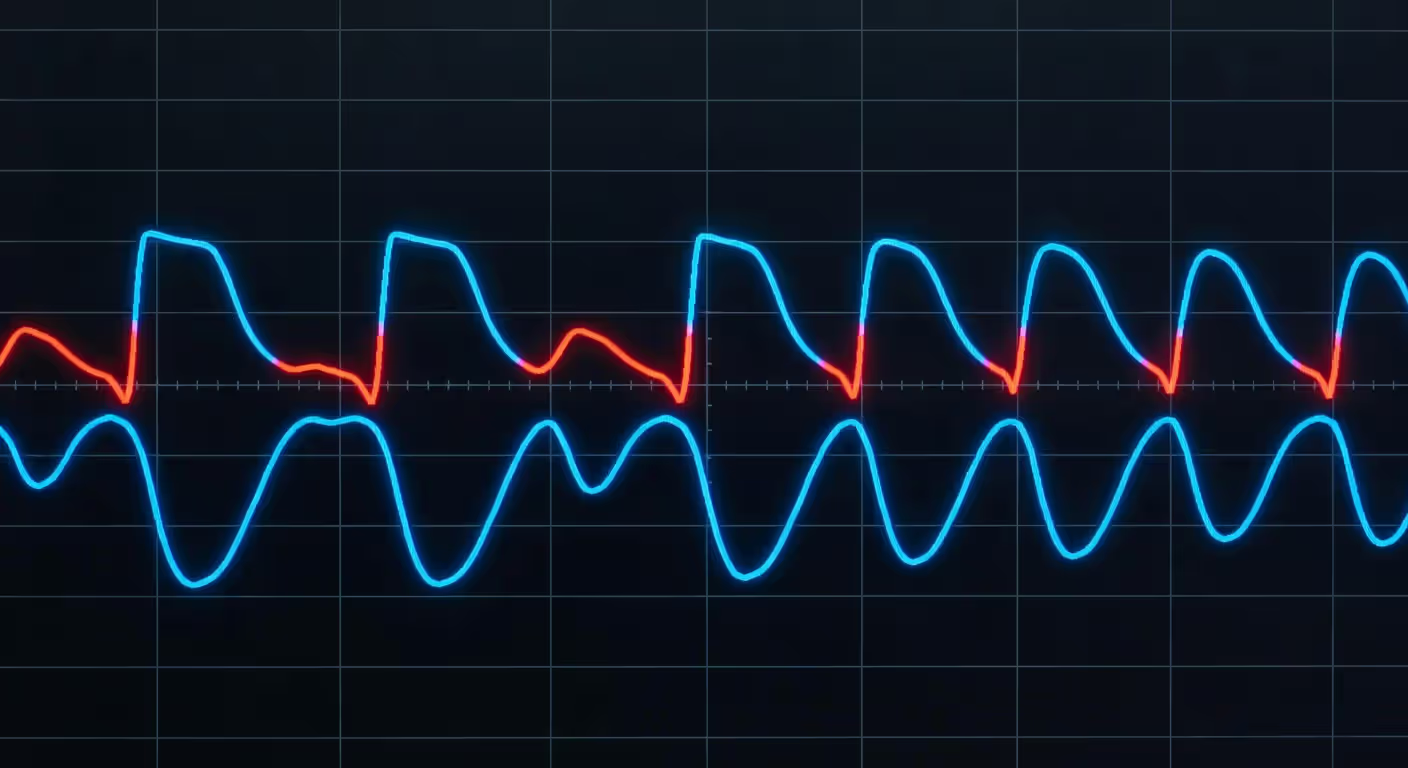
Picture a sine wave. Normally, it has smooth, rounded peaks. When clipping happens, those peaks flatten into hard edges. The waveform can't reproduce the original signal accurately, so you get distortion instead.
Digital systems have a hard limit at 0 dBFS. There's no "a little bit over" like you might find in analog gear. Cross that line and you're clipping, period.
Analog systems behave differently. Tape machines and tube preamps can exceed their nominal levels with a gradual, softer form of distortion. That's why engineers sometimes talk about "tape saturation" as a desirable effect. But even analog gear has limits—push it too far and you still get harsh distortion.
What causes clipping in most sessions? Usually it's a gain problem somewhere in the signal chain. Maybe you set your interface preamp too high during tracking. Maybe you stacked too many plugins without watching your output levels. Maybe your master fader is peaking because you didn't leave room for processing.
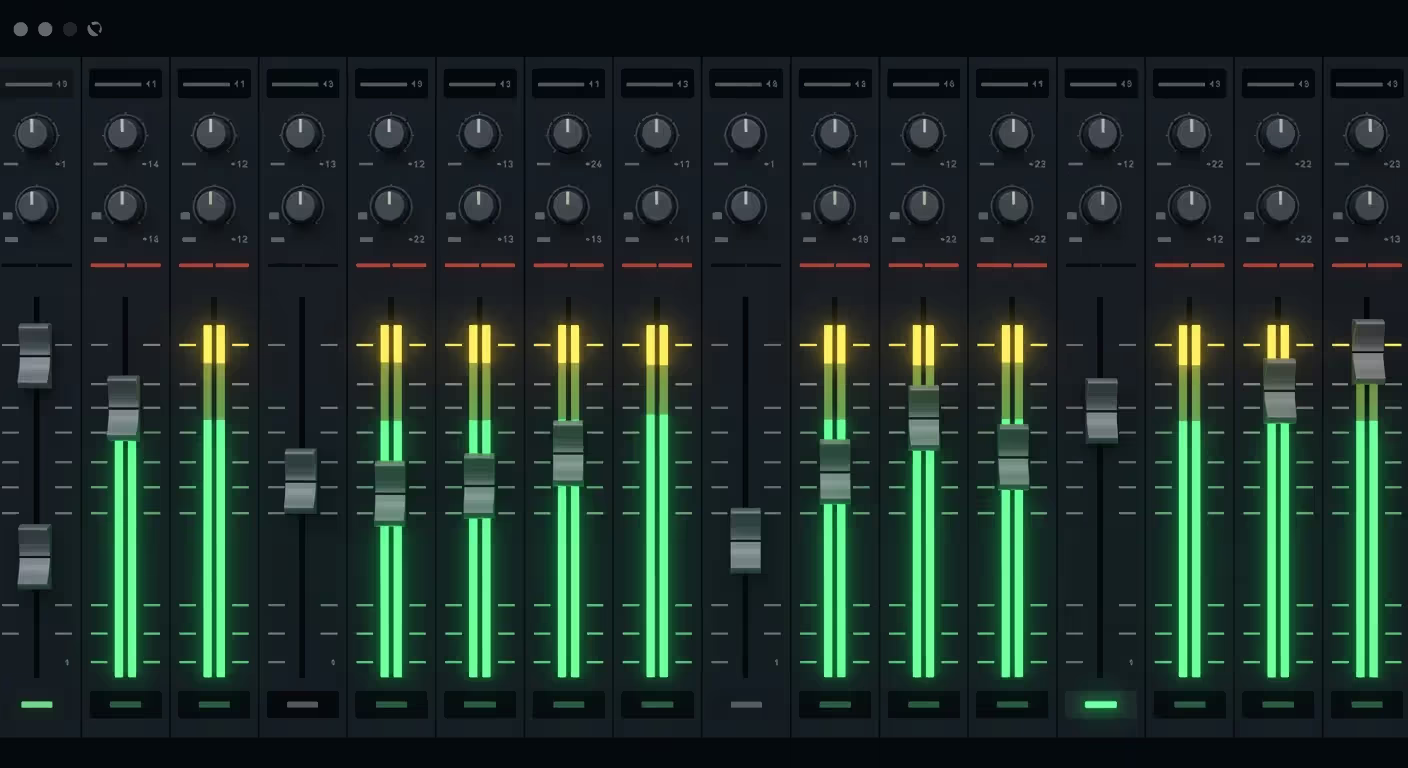
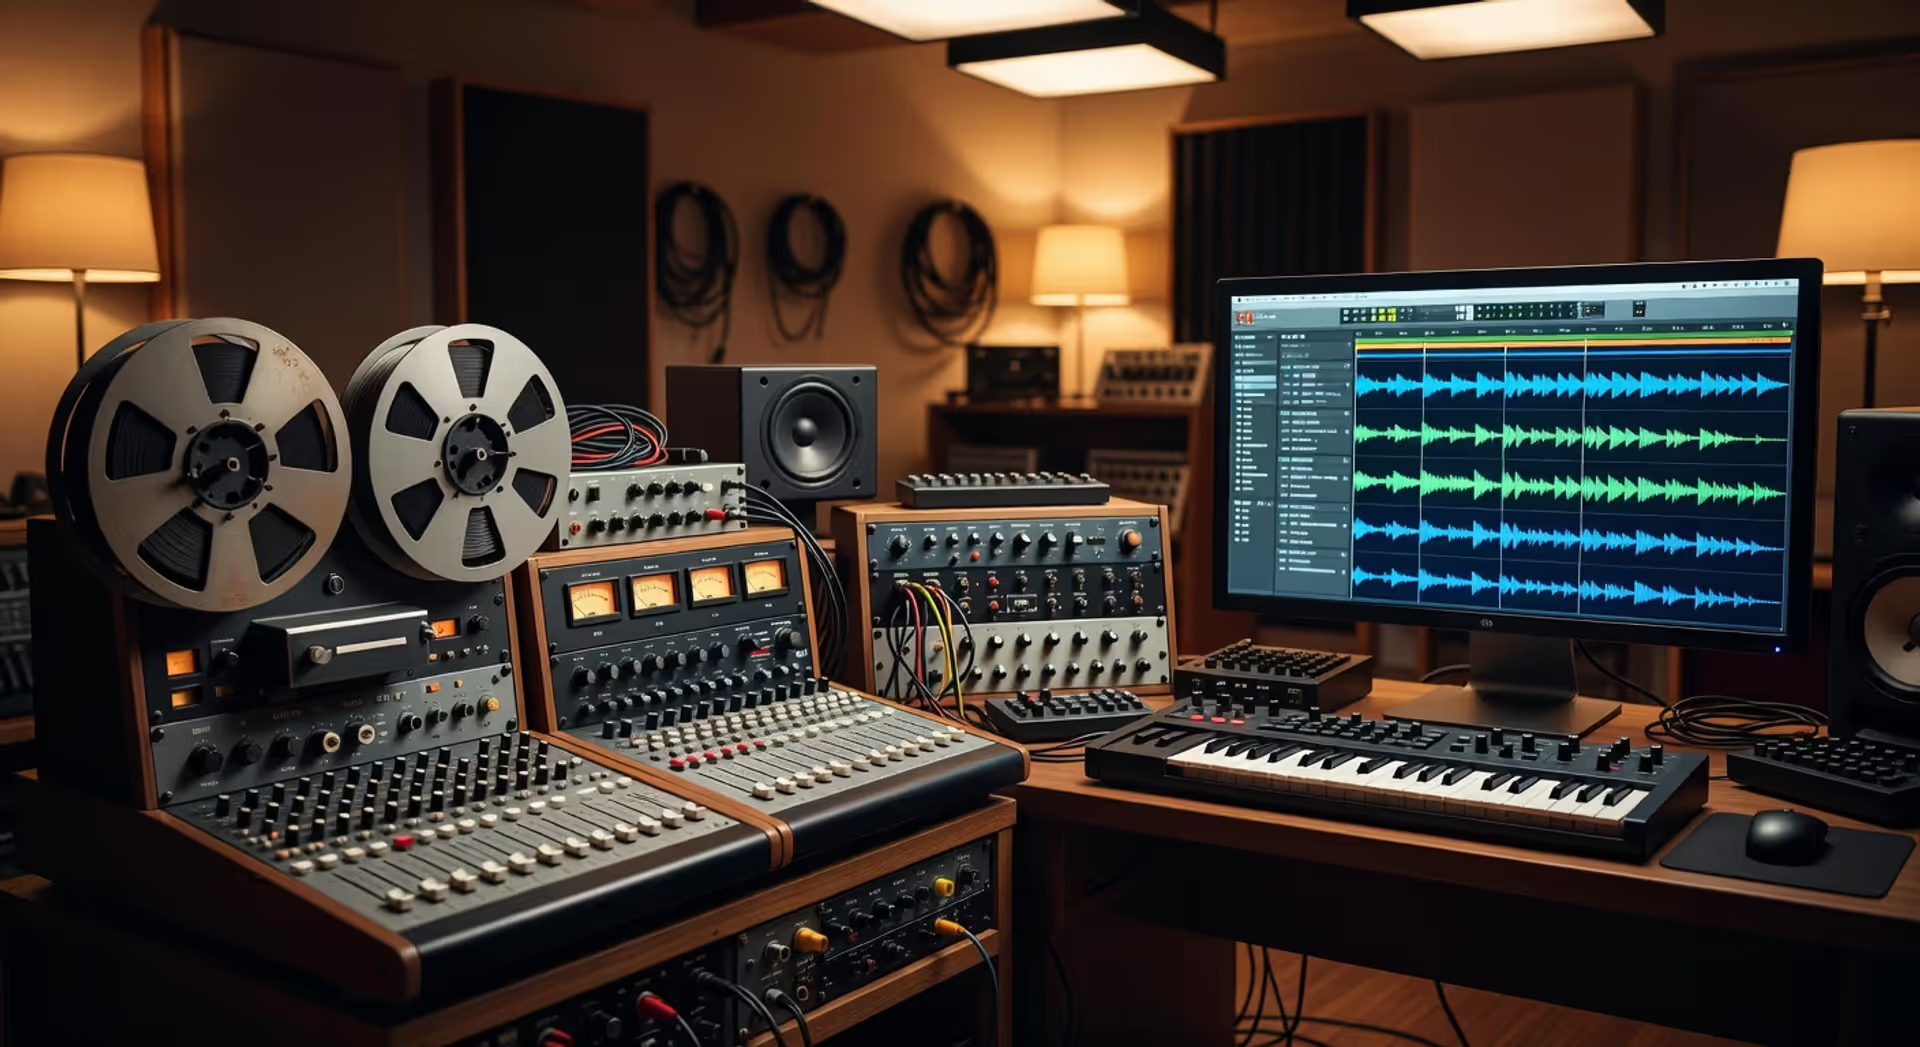
The visual representation is your best friend here. Most DAWs show waveforms in the arrange window and meters on every channel. When you see flat-topped waveforms or red clip indicators, you're already in trouble.
Author: Savannah Quillmere;
Source: lamat-records.com
Hard Clipping vs Soft Clipping
Not all clipping sounds the same. The two main types—hard clipping and soft clipping—produce very different sonic results.
Hard clipping happens when a signal hits a brick wall. The peaks are cut off instantly and completely. This creates sharp, square-wave-like edges in the waveform, which generate harsh, brittle distortion rich in odd-order harmonics. It's the sound of a digital system maxing out, and it's rarely pleasant. You'll hear it as a gritty, buzzing crunch that sits on top of your audio like sandpaper.
Soft clipping introduces a gradual curve as the signal approaches the limit. Instead of a hard cutoff, the peaks round off smoothly. This generates even-order harmonics—the same kind of warmth you get from analog gear. Soft clipping can actually sound musical in small amounts. Tape machines, tube amps, and analog console channels all exhibit this behavior.
Here's a comparison:
| Type | Waveform Shape | Sound Character | Typical Causes | Use Cases |
| Hard Clipping | Sharp, flat-topped peaks with abrupt edges | Harsh, buzzy, gritty distortion with metallic overtones | Digital converters exceeding 0 dBFS, plugins with no oversampling, improper gain staging | Intentional distortion effects, aggressive sound design, rarely desirable in mixing |
| Soft Clipping | Gently rounded peaks with smooth transitions | Warm, saturated, compressed character with musical harmonics | Analog tape saturation, tube gear, transformers, soft-clipper plugins | Subtle warmth, "glue," vintage character, mastering enhancement |
Can you hear the difference between hard and soft clipping? Absolutely. Hard clipping jumps out immediately—it sounds broken. Soft clipping can be subtle enough that you might not notice it unless you're specifically listening for it. Some engineers use soft clipping intentionally on drums or bass to add thickness and presence.
The pattern I see most often is producers confusing intentional saturation with accidental clipping. Saturation plugins emulate soft clipping in a controlled way. Actual clipping in your DAW? That's almost always hard clipping, and it's almost always a problem.
Common Causes of Clipping in Your Mix
Preventing distortion in a mix starts with knowing where clipping typically sneaks in. Here are the usual suspects:
Input gain set too high during recording. This is the worst-case scenario because once you've clipped the signal at the interface, it's baked into the recording. No amount of turning down the fader later will fix it. Always leave headroom when setting preamp levels—aim for peaks around -12 to -6 dBFS during tracking.
Over-compression with makeup gain. Compressors reduce dynamic range, then you add makeup gain to bring the level back up. If you're not watching the output meter, it's easy to push the compressed signal right into clipping. Check your compressor's output level, not just the input.
Plugin stacking without gain compensation. Each plugin in your chain can add level. An EQ boost here, a saturator there, a transient designer adding punch—before you know it, you've gained 6 dB across five plugins. That's what causes clipping in the digital domain even when individual tracks look fine.
Master bus overload. Everything sums to the master. If your individual tracks are all hitting -6 dBFS and you've got 20 of them, your master is going to clip. This is why mixing into a master fader that peaks around -6 to -3 dBFS is standard practice.
Poor monitoring levels. If you're mixing at low volumes, you might not hear distortion that's actually present. Or you might push faders higher to compensate for quiet monitoring, inadvertently causing clipping you can't hear until you turn it up later.
A common mistake: assuming that if a track sounds fine soloed, it won't cause problems in the mix. Clipping often happens at the sum, not on individual channels.
How to Prevent Clipping Through Gain Staging
Gain staging to avoid clipping is the most effective prevention strategy. It's the practice of setting optimal levels at every point in your signal chain so that no stage clips and you maintain healthy signal-to-noise ratio throughout.
Here's a step-by-step workflow:
1. Set proper input levels during recording. Aim for peaks between -18 and -12 dBFS on transient-rich material (drums, vocals with plosives) and -12 to -6 dBFS on more consistent sources (synths, bass). This leaves plenty of room for processing later.
2. Check levels after every plugin. Most plugins have input and output meters. If a plugin adds gain, trim the output so it matches the bypassed level (or slightly lower). This keeps your signal from accumulating gain as it moves through the chain.
3. Leave headroom on group buses. When multiple tracks sum to a bus (like a drum bus or vocal bus), the combined level will be higher than individual tracks. Aim for bus peaks around -6 to -3 dBFS before any bus processing.
4. Keep your master fader peaking around -6 to -3 dBFS. This gives the mastering engineer (or your own mastering plugins) room to work. If you're self-mastering, you want even more headroom—some engineers target -10 dBFS on the pre-master mix.
5. Use clip gain or region gain to fix hot recordings. If you've already recorded something that's too loud (but not clipped), use your DAW's clip gain feature to turn it down before it hits the fader. This is cleaner than pulling the fader way down and then adding plugins.
6. Reference your metering tools constantly. Don't just trust your ears—watch your meters. Peak meters show instantaneous levels, and clip indicators light up the moment you exceed 0 dBFS.
Proper gain staging is the foundation of a clean mix. If you're clipping before you even start mixing, you've already lost the battle.
— Pensado Dave
Managing Headroom Throughout Your Signal Chain
Managing headroom means deliberately leaving space below 0 dBFS at every stage. Think of it as safety margin. Here are practical targets:
Individual tracks: Peak between -12 and -6 dBFS. This varies depending on the source. A heavily compressed bass might sit at -6 dBFS consistently, while a dynamic vocal might have peaks at -6 dBFS and an average level much lower.
Group buses: Peak between -6 and -3 dBFS. When you sum multiple tracks to a bus, the combined level increases. If your kick, snare, toms, and overheads are all peaking at -6 dBFS individually, the drum bus will be hotter. Adjust individual faders or use a trim plugin on the bus input to keep it in range.
Master bus (pre-mastering): Peak between -6 and -3 dBFS, with some engineers preferring even more headroom at -10 dBFS. This ensures that mastering processing (limiting, compression, EQ) has room to work without clipping.
After mastering: This is where you can approach 0 dBFS, but even here, true peak limiting is recommended to stay below -0.3 to -1.0 dBFS true peak. This prevents inter-sample peaks that can cause distortion on some playback systems.
A counterintuitive point: more headroom doesn't mean quieter mixes. It means cleaner mixes with more dynamic range. You can always turn up the volume during mastering. You can't un-clip a distorted signal.
Author: Savannah Quillmere;
Source: lamat-records.com
How to Fix Clipped Audio
Fixing clipped audio is possible in some cases, but it's always a compromise. The information that was lost when the peaks got chopped off is gone forever. You're essentially trying to reconstruct what the original signal might have been.
Declipping plugins use algorithms to redraw the clipped peaks based on the surrounding waveform. iZotope RX has a Declipper module that works well on mild to moderate clipping. Acon Digital Restoration Suite offers similar tools. These plugins analyze the harmonic content and attempt to extrapolate what the missing peak should look like.
The results depend on how badly the audio is clipped. Light clipping—where just the very tips of a few peaks are cut off—can often be repaired with minimal audible artifacts. Heavy clipping, where large portions of the waveform are flattened, is much harder to fix. You'll reduce the harshness, but you won't fully restore the original sound.
When to re-record: If the clipping is severe and the performance is repeatable, re-recording is usually the better choice. This is especially true for vocals, acoustic instruments, and anything where tonal quality matters. A slightly less perfect performance recorded cleanly will almost always sound better than a perfect performance that's heavily clipped.
Prevention vs. correction mindset: The best fix is not needing to fix anything. Spending an extra 30 seconds to check your input levels before hitting record will save you hours of repair work later. And some clipping simply can't be fixed—if it's baked into a stereo bounce or a client's reference track, you're stuck with it.
One more thing: if you're trying to salvage clipped audio, work on a copy. Keep the original file intact in case your repair makes things worse.
Monitoring and Metering Tools to Avoid Distortion
You can't prevent what you can't see. Metering tools are your early warning system for clipping.
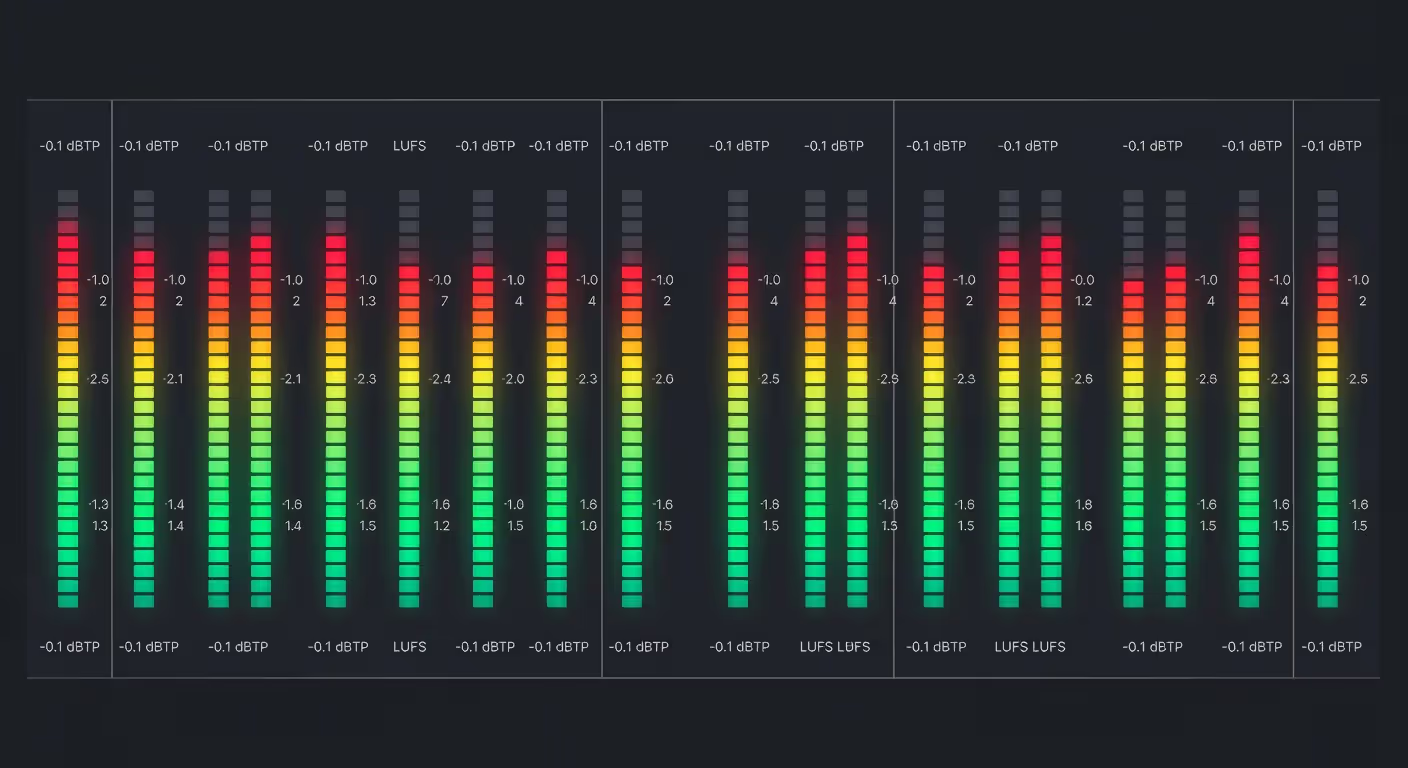
Peak meters show the instantaneous level of your signal. They respond quickly and accurately to transient peaks. Every DAW has peak meters on every channel. Watch them. If you see red, you're clipping.
True peak meters go a step further by detecting inter-sample peaks—distortion that can occur between samples when digital audio is converted back to analog. A signal might measure -0.1 dBFS on a regular peak meter but still clip on some playback systems. True peak meters (measured in dBTP) catch this. Aim to stay below -1.0 dBTP on your master output.
Clip indicators are the red lights that appear when you exceed 0 dBFS. Don't ignore them. Some DAWs keep the indicator lit until you click it, which is helpful for catching brief clips you might miss in real-time.
Loudness meters (LUFS) are useful for mastering and broadcast work, but they don't directly prevent clipping. They measure perceived loudness, not peak level. You can have a loud master (say, -8 LUFS integrated) that never clips, or a quieter master (-14 LUFS) that clips constantly if your peaks aren't controlled.
Reference tracks help you calibrate your monitoring volume. Import a professionally mastered track in your genre, match its playback volume to your mix, and compare. If your mix sounds distorted at the same volume, you might have clipping or excessive processing.
Proper monitoring volume is critical. Mixing too loud causes ear fatigue and makes you less sensitive to distortion. Mixing too quiet makes you push faders higher than necessary. A good rule: mix at a level where you can have a conversation without raising your voice. Check your mix at multiple volumes—if it sounds harsh when you turn it up, you might have clipping you didn't hear at lower levels.
Author: Savannah Quillmere;
Source: lamat-records.com
FAQ: Sound Clipping Questions Answered
Sound clipping doesn't have to be a mystery or a constant battle. Once you understand the technical side—how waveforms behave at their limits, why digital and analog systems respond differently, and where clipping typically occurs in your signal chain—prevention becomes straightforward. Gain staging, proper metering, and consistent monitoring habits will keep your mixes clean and professional. And if you do encounter clipped audio, you'll know when it's fixable and when it's time to re-track. Keep those peaks in check, leave yourself headroom, and your mixes will thank you.
Related Stories

Read more

Read more


The content on this website is provided for general informational and educational purposes only. It is intended to explain concepts related to music production, recording, mixing, mastering, music industry roles, and distribution.
All information on this website, including articles, guides, and examples, is presented for general educational purposes. Results and success in music production may vary depending on skill level, equipment, and effort.
This website does not provide professional music production services or guarantees of commercial success, and the information presented should not be used as a substitute for consultation with qualified music producers, audio engineers, or music industry professionals.
The website and its authors are not responsible for any errors or omissions, or for any outcomes resulting from decisions made based on the information provided on this website.