
Hall Reverb Guide for Music Production and Mixing
Hall Reverb Guide for Music Production and Mixing

Content
Content
Reverb is one of those effects that can make or break a mix. And hall reverb sits at the top of the spatial effects pyramid for good reason—it adds depth, dimension, and a sense of grandeur that other reverb types just can't match. But it's also easy to overuse or misapply, leaving your mix washed out and distant.
Most producers reach for hall reverb without really understanding what it does or when to use it. They crank up the decay time, slap it on every track, and wonder why their mix sounds like it was recorded in a swimming pool. The truth is simpler: hall reverb is a tool with specific characteristics, and once you understand how it works, you'll know exactly when to use it—and when to reach for something else.
This guide breaks down everything you need to know about hall reverb, from the acoustic science behind it to practical mixing techniques that actually work in real sessions.
What Is Hall Reverb and How Does It Work
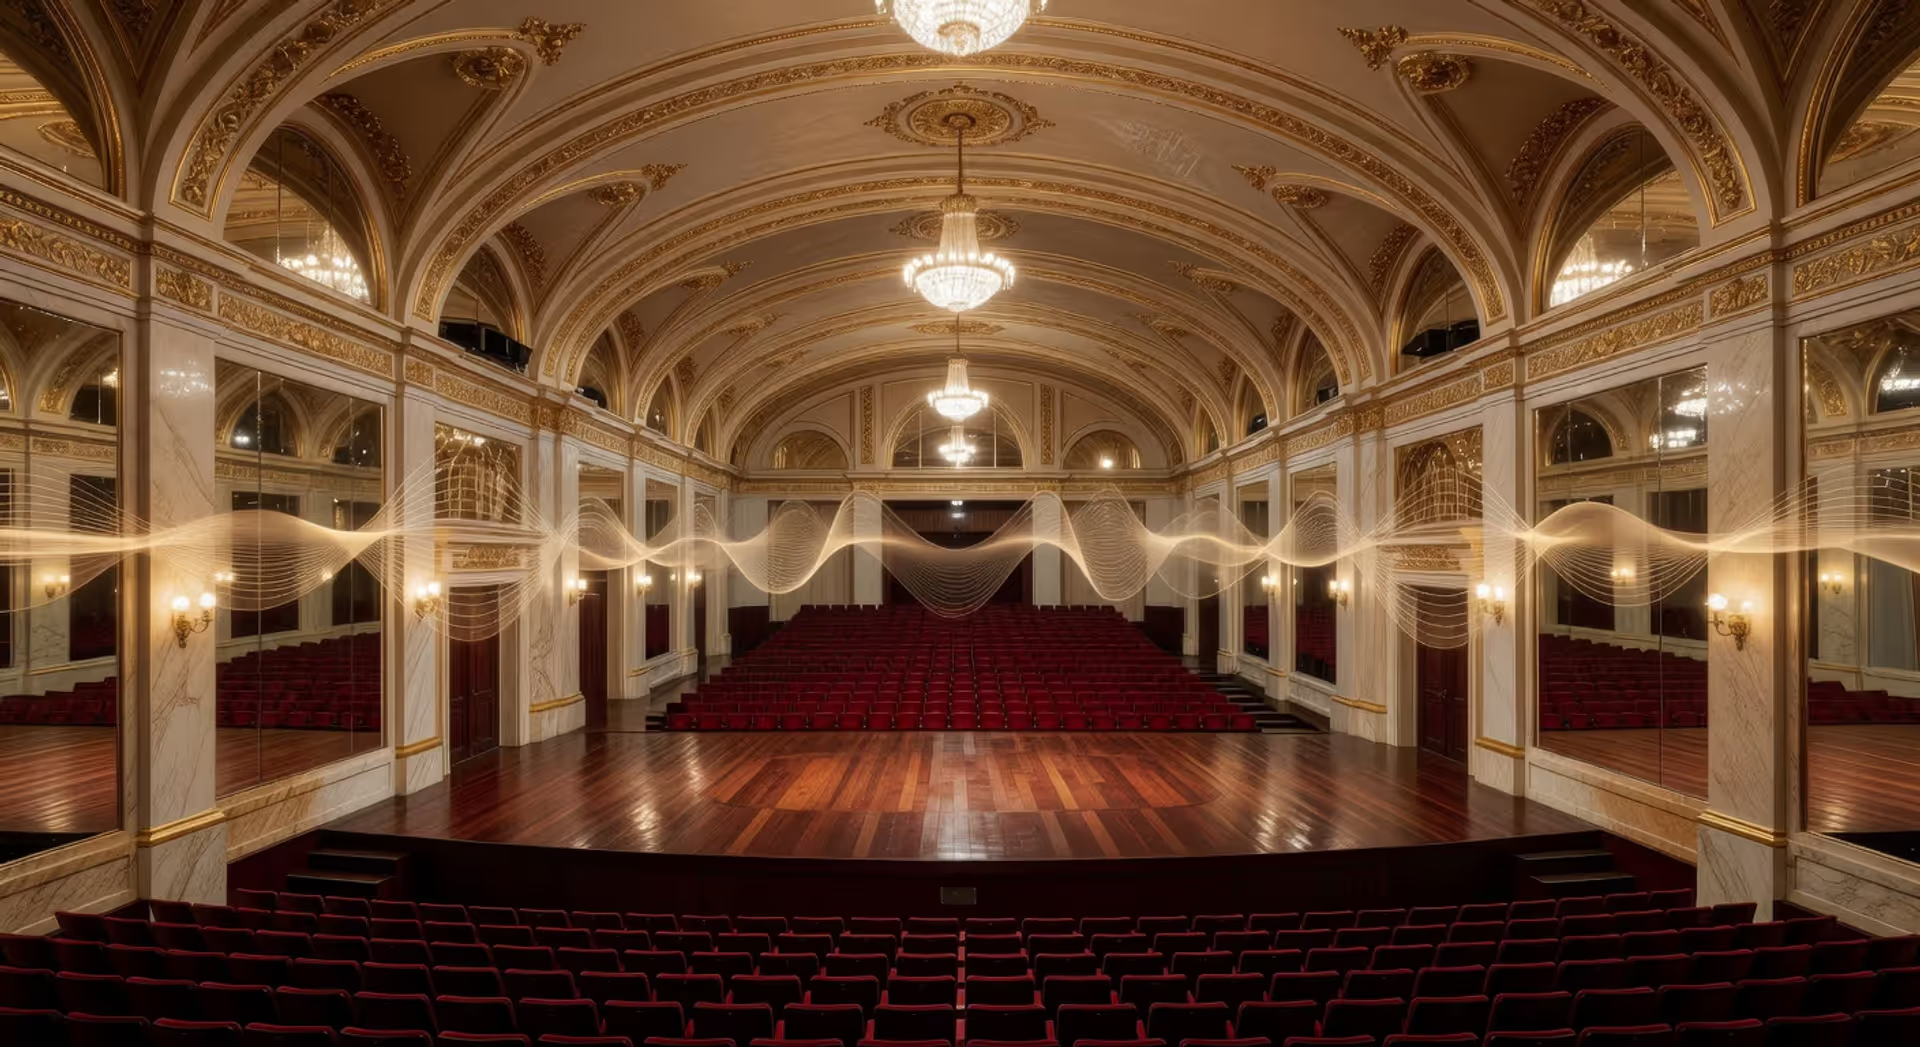
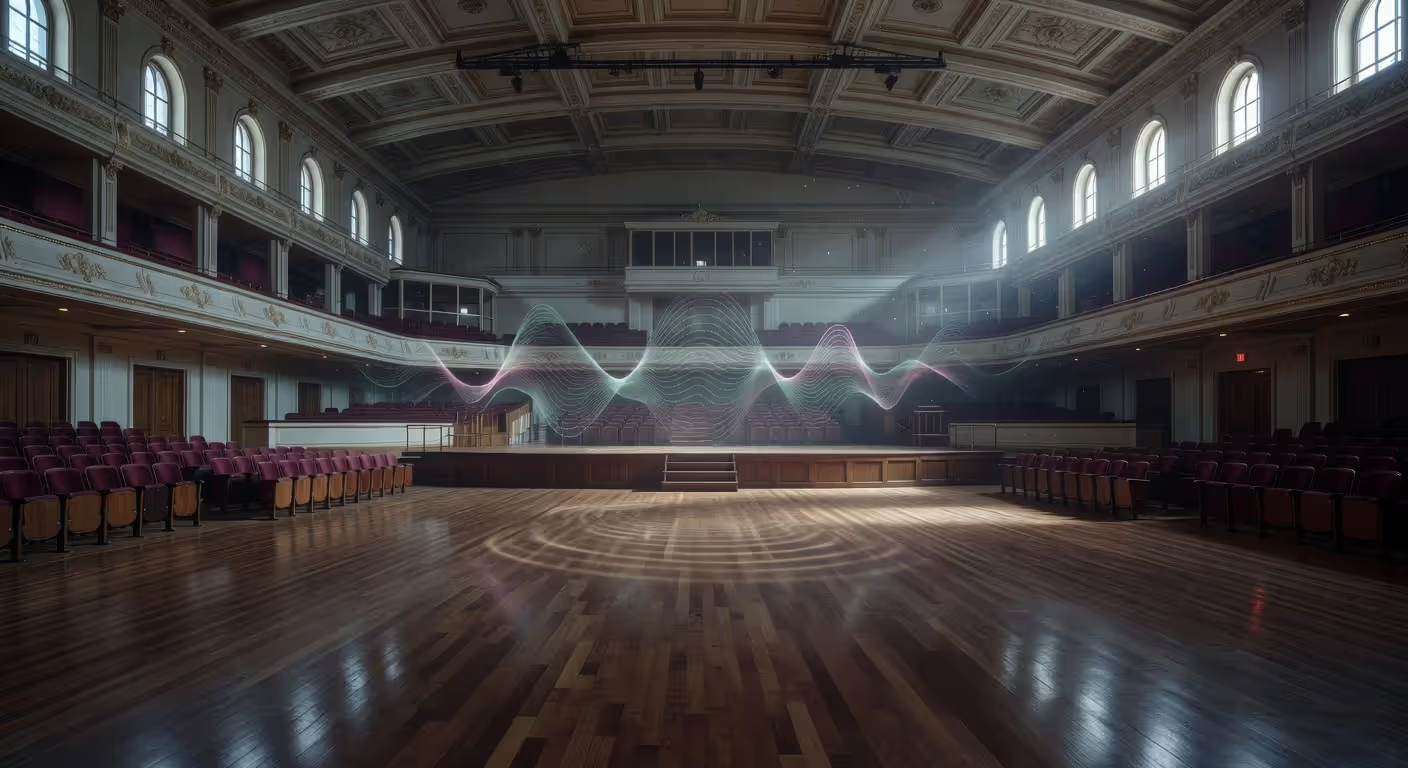
Hall reverb simulates the natural acoustics of a concert hall or large performance space. When sound bounces off walls, ceilings, and floors in a real hall, it creates a complex pattern of reflections that our ears interpret as spaciousness and depth. Digital hall reverb plugins recreate this phenomenon using algorithms that model these reflection patterns.
The acoustic characteristics of concert halls are unique. They're large spaces—often 50 to 100 feet or more in each dimension—with hard, reflective surfaces designed to project sound to an audience. Sound in a hall doesn't just bounce once. It reflects hundreds or thousands of times, each reflection getting quieter and more diffused until it fades into silence. This creates that smooth, lush decay that hall reverb is known for.
Author: Miles Arbordale;
Source: lamat-records.com
Digital plugins emulate these spaces by generating early reflections (the first few discrete echoes that hit your ears) and late reflections (the dense tail of sound that follows). The early reflections give you spatial information—how big the space is, what it's made of. The late reflections create that wash of ambience that sits behind your dry signal.
Reverb is the glue that makes everything sit together in a mix. Without it, you're just listening to isolated sounds in a vacuum. With the right reverb, you create a cohesive sonic picture where every element has a place in three-dimensional space.
— Pensado Dave
Modern hall reverb algorithms are sophisticated. They model not just the timing of reflections but also how different frequencies decay at different rates. High frequencies tend to absorb faster in real spaces, so quality hall reverbs include damping controls that simulate this natural behavior.
Hall Reverb vs Other Reverb Types
Understanding the differences between reverb types is critical. Each has its place in production, and using the wrong type can undermine your mix faster than almost any other mistake.
| Reverb Type | Decay Time Range | Best Use Cases | Tonal Character |
| Hall | 1.5–5 seconds | Vocals, orchestral, ballads, lead instruments | Smooth, natural, spacious, lush |
| Room | 0.2–1.2 seconds | Drums, guitars, intimate vocals, adding subtle space | Tight, present, natural, less obvious |
| Plate | 0.5–3 seconds | Vocals, snare drums, percussion, vintage sounds | Bright, dense, slightly metallic, musical |
| Chamber | 0.5–2.5 seconds | Vocals, strings, classical music, vintage recordings | Warm, smooth, colored, resonant |
| Spring | 0.3–2 seconds | Guitar amps, surf music, vintage effects, creative use | Boingy, metallic, lo-fi, characterful |
Room Reverb vs Hall Reverb
The most common confusion happens between room and hall reverb. Both simulate real acoustic spaces, but the scale is completely different.
Room reverb models smaller spaces—bedrooms, studios, living rooms. The reflections arrive faster and decay quicker because the walls are closer. You get a sense of intimacy and presence. The sound feels like it's happening in front of you, in a defined space you could walk into.
Hall reverb creates distance. The longer decay and later-arriving reflections push sounds back in the mix. It's perfect when you want something to feel grand, elevated, or emotionally expansive. But that same quality can make elements feel too far away if you're not careful.
I see this pattern most often: producers use hall reverb on everything because it sounds impressive in solo. Then they can't figure out why their mix lacks punch and clarity. The hall pushed everything back.
When to Use Each Reverb Type
Hall reverb shines on lead vocals in ballads, orchestral instruments, piano, and any element you want to feel epic or emotionally open. It works beautifully on slower tempos where the long decay has time to breathe between notes.
Room reverb is your go-to for adding natural space without creating distance. Use it on drums to make them feel like they were recorded in a real room, on rhythm guitars to add dimension without washing them out, and on vocals when you want intimacy rather than grandeur.
Plate reverb is the secret weapon for vocals in pop and rock. It's dense and smooth but doesn't take up as much space as hall. Snare drums love plate reverb—it adds size and impact without muddying the low end.
Spring reverb is mostly a character effect now. Great on guitar, surf music, or when you want a vintage vibe. Chamber reverb sits between room and hall—warm and musical, perfect for classical music or when you want a vintage studio sound.
Key Parameters That Shape Hall Reverb Sound
Every hall reverb has controls that shape its character. Understanding these parameters is the difference between using presets blindly and sculpting exactly the space you need.
| Parameter | What It Controls | Typical Range | Effect on Sound |
| Decay Time | How long the reverb tail lasts before fading to silence | 1.5–5 seconds | Longer = more spacious and dramatic; shorter = tighter and more controlled |
| Pre-Delay | Time gap between dry signal and reverb onset | 0–100 ms | Creates separation between dry sound and reverb; helps clarity and perceived distance |
| Size | Simulated dimensions of the hall | Small to Large | Affects early reflection timing and overall spaciousness; larger = more expansive |
| Diffusion | Density and smoothness of the reverb tail | 0–100% | Higher = smoother, more even tail; lower = more discrete reflections, grainy |
| Early Reflections | Level and pattern of first reflections | Varies by plugin | Shapes spatial perception and realism; defines the "room" character |
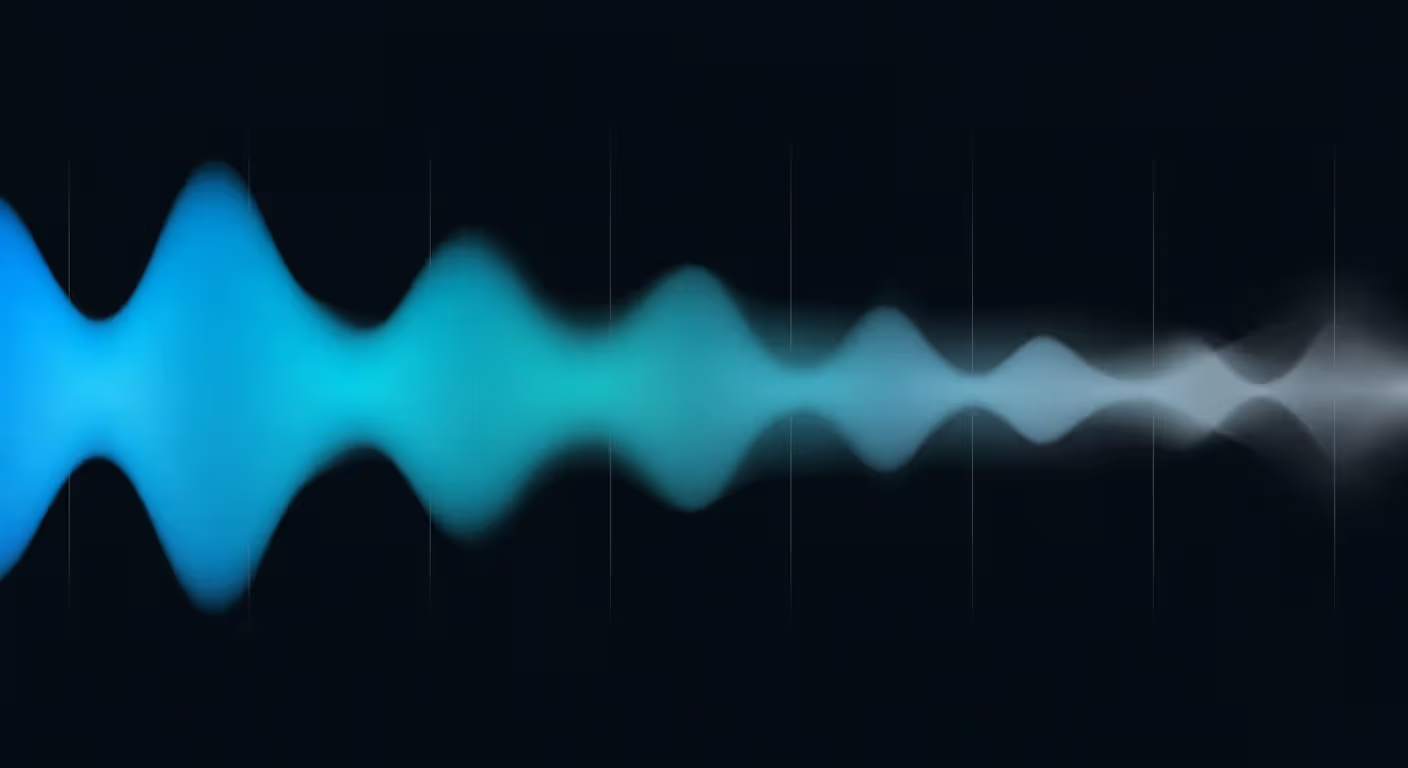
Decay time is the most obvious control. It determines how long the reverb rings out. In a fast song at 140 BPM, a 4-second decay will blur notes together. In a slow ballad at 70 BPM, that same decay creates emotional space. Match your decay time to your tempo and arrangement density.
Author: Miles Arbordale;
Source: lamat-records.com
Pre-delay is criminally underused. It's the time gap between your dry signal and when the reverb starts. Set it to 20–50 ms and suddenly your vocal sits in front of the reverb instead of drowning in it. This tiny delay mimics how sound travels in real spaces—the direct sound hits your ears first, then the reflections arrive slightly later. It's one of the fastest ways to add space without losing clarity.
Size controls the simulated dimensions of the hall. Bigger isn't always better. A huge hall can swallow a vocal, while a medium-sized hall might provide just enough space to sound impressive without creating distance.
Diffusion affects how smooth the reverb tail sounds. High diffusion creates that classic, lush hall sound—smooth and even. Low diffusion gives you a more textured, grainy tail where you can almost hear individual reflections. Most of the time, you want high diffusion for hall reverb. But sometimes a slightly lower setting can make the reverb feel more real and less "digital."
Early reflections shape the initial character of the space. Some plugins let you adjust the level and pattern of these first reflections separately from the tail. Boosting early reflections can make the space feel more defined and realistic. Reducing them creates a more abstract, ambient effect.
How to Use Hall Reverb in Your Mix
Theory is useless without practical application. Here's how to actually use hall reverb in real mixing situations.
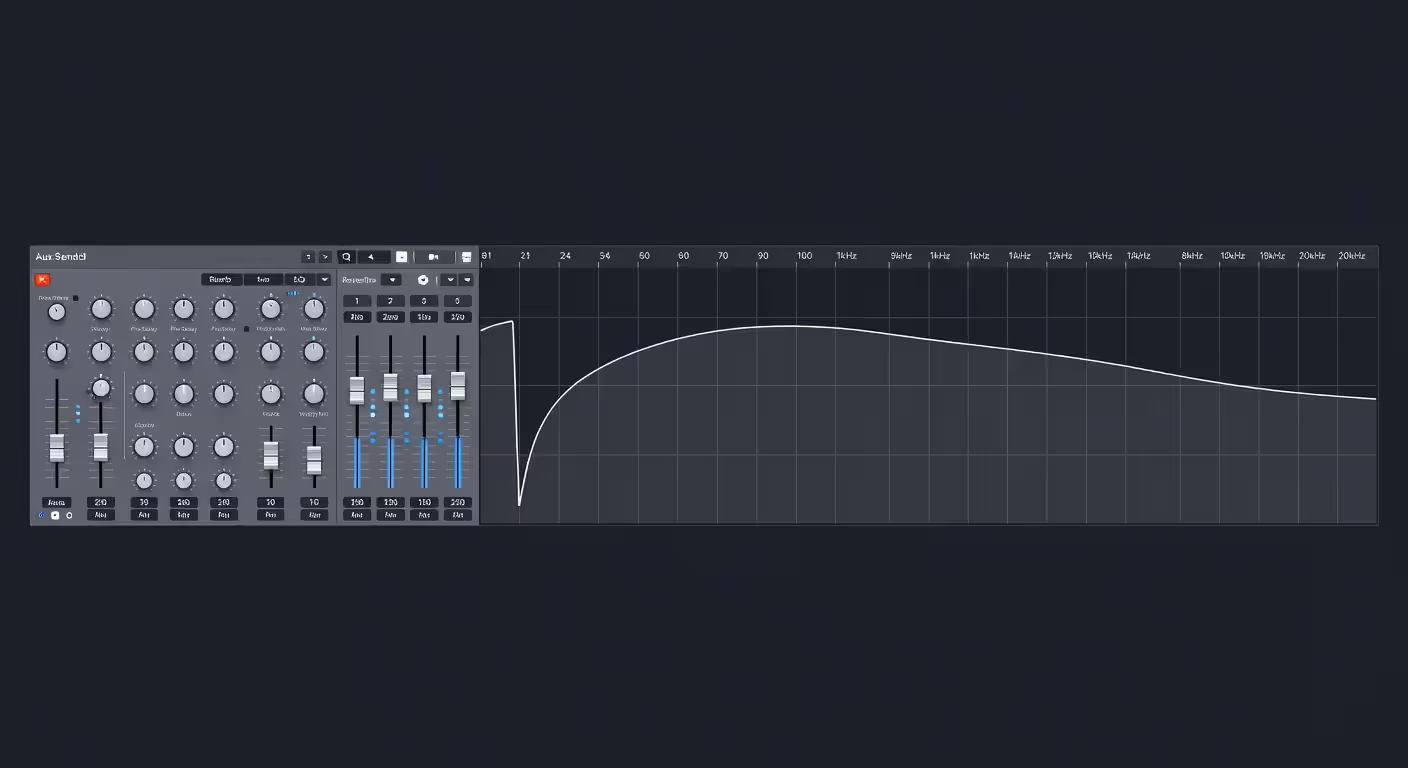
First decision: send or insert? Almost always use hall reverb on a send (aux) track, not as an insert. This gives you independent control over the wet signal—you can EQ it, compress it, or adjust its level without affecting the dry sound. It also lets you send multiple tracks to the same reverb, creating a cohesive sense of space.
Set up an aux track with your hall reverb plugin at 100% wet. Send signals to it using your DAW's send controls, adjusting the send level to taste. This workflow is standard across professional mixing and gives you far more flexibility than insert reverb.
Wet/dry balance is everything. Start with your send level at -infinity and slowly bring it up until you can just barely hear the reverb. That's often the right amount. You want the reverb to add dimension, not announce its presence. If someone listening to your mix consciously notices the reverb, you've probably used too much.
EQ your reverb. This is non-negotiable. Insert an EQ on your reverb aux track and roll off everything below 200–300 Hz with a high-pass filter. Hall reverb in the low end creates mud and masks your kick and bass. You don't need reverb on those frequencies anyway—low-frequency reflections don't contribute much to the sense of space.
Many mixers also cut some highs around 8–10 kHz to make the reverb sit back and sound more natural. Bright reverb can be fatiguing and draw too much attention.
Hall Reverb Settings for Vocals
Vocals are where hall reverb gets the most use—and the most abuse. Here's what actually works.
For ballads and emotional vocal performances, hall reverb is perfect. Start with a decay time of 2–3 seconds. Set pre-delay to 30–50 ms—this keeps the vocal upfront while the reverb blooms behind it. Use moderate to high diffusion for a smooth tail.
Send level matters more than reverb settings. Start subtle. You can always add more, but pulling back reverb after you've gotten used to it is psychologically harder.
For faster songs or denser arrangements, shorten the decay to 1.5–2 seconds. Too much reverb in a busy mix creates clutter. Sometimes a room or plate reverb is a better choice—hall isn't the answer for every vocal.
One trick: automate your reverb send. Use more reverb on sustained notes at the end of phrases and less during rapid-fire lyrics. This keeps clarity during busy sections while adding drama where there's space.
Author: Miles Arbordale;
Source: lamat-records.com
Hall Reverb for Instruments
Piano loves hall reverb. The long decay complements the natural resonance of the instrument. Use a medium-large hall with 2.5–3.5 seconds of decay. Don't be afraid to use a bit more reverb than you would on vocals—piano can handle it.
Strings and orchestral instruments were made for hall reverb. That's literally where they're usually recorded. Use longer decays (3–4 seconds) and let the reverb blend the ensemble into a cohesive whole.
Acoustic guitar benefits from shorter hall settings or room reverb instead. Too much hall pushes it too far back. If you do use hall, keep the decay under 2 seconds and use less send level than you think you need.
Electric guitar depends on genre. Clean, ambient parts can take hall reverb beautifully. Distorted rhythm guitars usually need less reverb—maybe room or plate instead. Lead guitar solos can handle more hall, especially in ballads or epic rock moments.
Drums are tricky. Hall reverb on the full drum kit often sounds too washy. But on snare alone? That can sound huge. Try sending just the snare to a hall reverb with 1.5–2.5 seconds of decay. Keep the kick and toms dry or use a shorter room reverb.
Common Hall Reverb Mistakes to Avoid
Even experienced producers fall into these traps. Avoiding them will instantly improve your mixes.
Over-reverbing is the number one mistake. It's easy to add too much because reverb sounds impressive when you're focused on it. The fix: set your reverb, then turn it down 2–3 dB. That's usually the right amount. Check your mix at low volumes—excessive reverb becomes obvious when you can't hear detail.
Ignoring pre-delay leaves clarity on the table. If your vocal or instrument sounds buried in reverb, add 30–50 ms of pre-delay before reaching for the send level. This simple adjustment often solves the problem entirely.
Wrong decay times for tempo creates rhythmic mud. In a fast song, long reverb tails blur notes together. A good rule: your decay time should be shorter than the space between important rhythmic hits. If your vocal phrases are one second apart, a 3-second decay will step all over the next phrase.
Frequency masking happens when you don't EQ your reverb. Low-frequency reverb masks your bass and kick. High-frequency reverb can clash with cymbals and hi-hats. Always high-pass your reverb aux track at 200–300 Hz minimum. Cut highs around 8–10 kHz if the reverb sounds too bright or distracting.
Using the same reverb on everything creates a flat, one-dimensional mix. Different elements should sit in different spaces. Maybe your vocal gets a large hall, but your guitars get a medium room and your snare gets a plate. This creates depth and separation.
Forgetting to consider the genre. Hall reverb works beautifully in ballads, orchestral music, and ambient genres. It can sound out of place in hip-hop, punk, or tight, aggressive rock. Know your genre conventions and use reverb that fits the style.
Choosing the Right Hall Reverb Plugin or Hardware
You don't need expensive gear to get great hall reverb, but knowing what to look for helps.
Most DAWs include decent hall reverb plugins. Logic Pro's Space Designer and ChromaVerb, Ableton's Reverb, Pro Tools' D-Verb—these are all capable of professional results. Don't assume you need third-party plugins before exploring what you already have.
That said, dedicated reverb plugins often offer more control and better sound. Look for plugins that give you independent control over early reflections and late tail, adjustable pre-delay, and good EQ or filtering options. The ability to adjust diffusion and damping is also important.
Popular choices include Valhalla Room and VintageVerb (both affordable and excellent), FabFilter Pro-R (extremely flexible and visual), Lexicon PCM Native Reverb (classic algorithms), and Altiverb (convolution reverb with samples of real spaces). Convolution reverbs use recordings of actual halls, which can sound incredibly realistic but use more CPU.
Hardware reverb units are less common now but still prized by some. The Lexicon 480L and PCM series, Bricasti M7, and TC Electronic M3000 are industry standards. But honestly, modern plugins are so good that hardware is optional unless you're chasing a specific vintage sound or workflow.
The simpler option usually wins here. A plugin you understand deeply will give you better results than a complex one you're guessing with.
Frequently Asked Questions About Hall Reverb
Hall reverb is one of the most powerful tools in music production when you understand how and when to use it. It creates depth, emotion, and a sense of space that can elevate your mix from flat and lifeless to three-dimensional and engaging. But like any powerful tool, it requires restraint and intention. Use it on the right sources, set your parameters thoughtfully, always use pre-delay and EQ, and remember that less is usually more. Master these principles and you'll find yourself reaching for hall reverb with confidence, knowing exactly what it will do to your mix before you even turn it on.
Related Stories

Read more
Read more

The content on this website is provided for general informational and educational purposes only. It is intended to explain concepts related to music production, recording, mixing, mastering, music industry roles, and distribution.
All information on this website, including articles, guides, and examples, is presented for general educational purposes. Results and success in music production may vary depending on skill level, equipment, and effort.
This website does not provide professional music production services or guarantees of commercial success, and the information presented should not be used as a substitute for consultation with qualified music producers, audio engineers, or music industry professionals.
The website and its authors are not responsible for any errors or omissions, or for any outcomes resulting from decisions made based on the information provided on this website.