
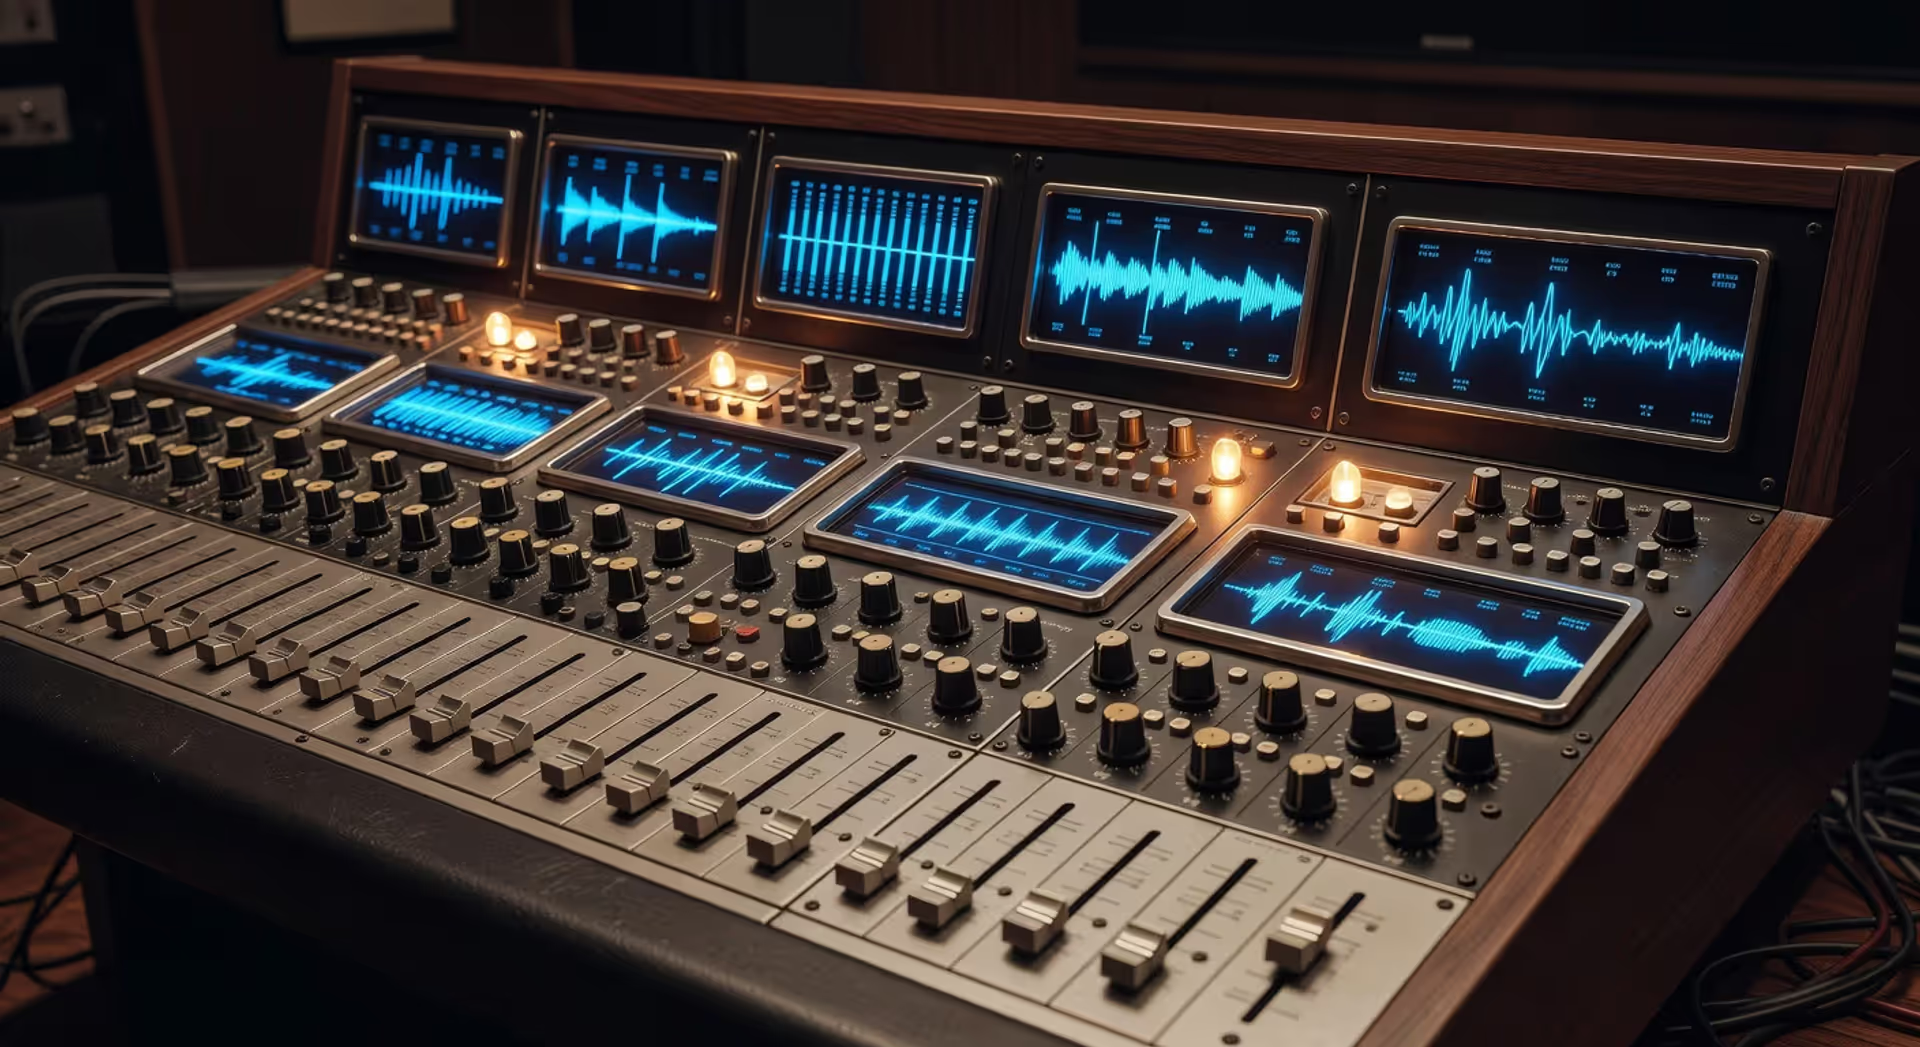
How to Get a Fat Bass Tone in Your Mix
How to Get a Fat Bass Tone in Your Mix?

Content
Content
Getting a fat bass tone isn't about luck. It's about understanding what makes low end feel powerful in a mix and applying the right techniques in the right order.
Most producers chase thickness by cranking the volume or piling on plugins. That rarely works. A truly fat bass tone comes from careful frequency management, strategic layering, and knowing when to add harmonics versus when to subtract clutter. You'll learn the exact moves that separate thin, apologetic bass from the kind that hits you in the chest.
The techniques here work across genres—whether you're mixing hip-hop, EDM, rock, or pop. Some principles stay constant. Others shift depending on your arrangement. We'll cover both.
What Makes a Bass Tone Sound Fat
A fat bass tone has three defining traits: presence across multiple frequency bands, harmonic richness, and controlled dynamics.
First, frequency range. The fundamental note lives between 40 Hz and 250 Hz, depending on the pitch. But that's only the foundation. A rich low frequency sound also carries harmonics in the 300 Hz to 1 kHz range—these help the bass translate on small speakers and add character. Without them, your bass disappears on phones and laptops.
Harmonic content separates a boring sine wave from something that feels alive. Even harmonics (second, fourth, sixth) add warmth and smoothness. Odd harmonics (third, fifth) bring grit and aggression. Most fat bass tones blend both, leaning one direction based on genre.
Compression plays a bigger role than most producers realize. It doesn't just control volume—it brings forward the quieter parts of each note, making the tone feel denser and more consistent. A well-compressed bass sits in the mix without jumping out or disappearing.
Stereo width matters, but not how you think. The sub-bass (below 100 Hz) should be mono. Always. Stereo information down there causes phase problems and weak low end on club systems. Above 150 Hz, you can introduce width carefully—but too much makes the bass feel vague and distant.
The pattern I see most often is producers focusing on one element (usually just EQ) and ignoring the others. Fat bass comes from balancing all four.

Author: Savannah Quillmere;
Source: lamat-records.com
Frequency Shaping and EQ Techniques
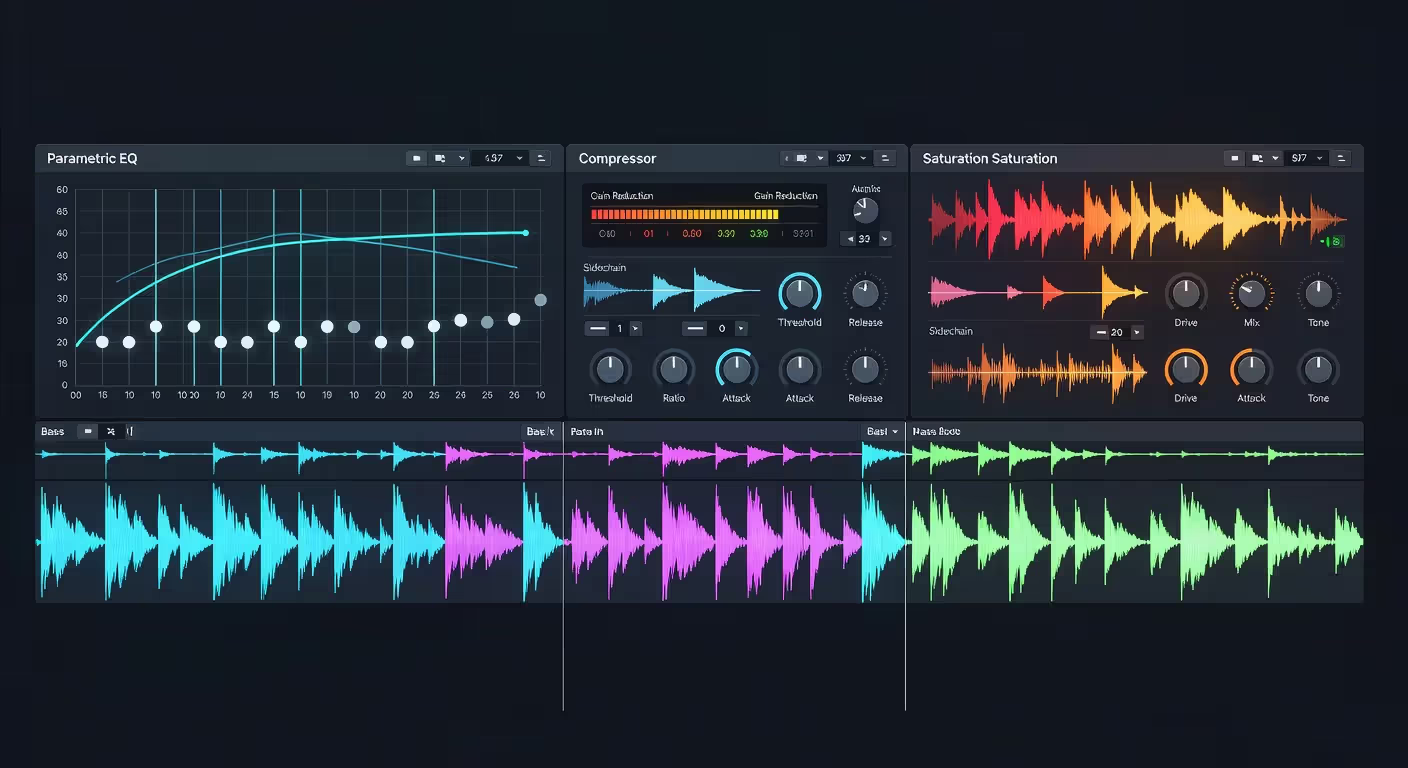
EQ is your first tool for shaping a fuller low end, but it cuts both ways. Poor EQ makes bass muddy or thin. Surgical EQ carves space and brings out the right characteristics.
Carving Space in the Low End
Before you boost anything, remove what doesn't belong. High-pass filter everything that isn't bass or kick drum. Guitars, synths, vocals—they don't need energy below 80 Hz. That energy just masks your bass and wastes headroom.
The kick and bass need separation. If your kick hits hardest at 60 Hz, notch the bass slightly at that frequency. If your bass fundamental sits at 50 Hz, carve a small dip in the kick there. You're not removing the frequency entirely—just making room. A 2-3 dB cut is usually enough.
Frequency masking happens when two sounds compete in the same range. Your ears can't distinguish them, so both sound weaker. The fix: identify where each element lives and create small pockets of space. Use a spectrum analyzer if you can't hear it clearly.
One counterintuitive move: cut around 200-300 Hz if the bass sounds boxy or congested. This range builds up fast and makes everything feel muddy. A narrow cut here often adds more clarity than any boost.
Boosting the Right Frequencies
Now you can boost. Start with the fundamental—the root note of your bass line. For most bass, that's between 40 Hz and 100 Hz. A broad, gentle boost (1-3 dB with a wide Q) adds weight without sounding artificial.
Next, find the harmonic sweet spot. Sweep a narrow boost through 300 Hz to 1 kHz and listen for where the bass sounds most defined. That's usually where the second or third harmonic lives. Boost there to help the bass cut through on small speakers.
Avoid boosting too many places. Two strategic boosts beat five random ones. More isn't better—it's just louder and messier.
Some engineers swear by a small high-shelf boost around 5-8 kHz to add "air" and pick attack. This works on fingerstyle bass guitar or plucked synth bass. It doesn't add fatness directly, but it helps the bass feel present without volume.
Compression and Saturation for Weight
Compression and saturation are your secret weapons for adding weight to bass without just turning it up.
Compression evens out the dynamics. Bass notes naturally vary in volume—some hit hard, others barely register. Compression brings the quiet notes forward and controls the loud ones. The result: every note feels solid and intentional.
Start with a ratio between 4:1 and 6:1. Set the threshold so you're getting 4-6 dB of gain reduction on the loudest notes. Attack time matters more than most realize. A slow attack (20-30 ms) lets the initial transient punch through before the compressor clamps down. A fast attack (1-5 ms) tightens the tone but can make it feel dull if overdone.
Release time should match the tempo. Too fast and you'll hear pumping. Too slow and the compressor won't reset between notes. Start around 100-150 ms and adjust by ear.
Parallel compression works beautifully on bass. Send the bass to an auxiliary track, crush it with aggressive compression (8:1 or higher, fast attack), then blend it under the dry signal. You get consistency and density without sacrificing dynamics.
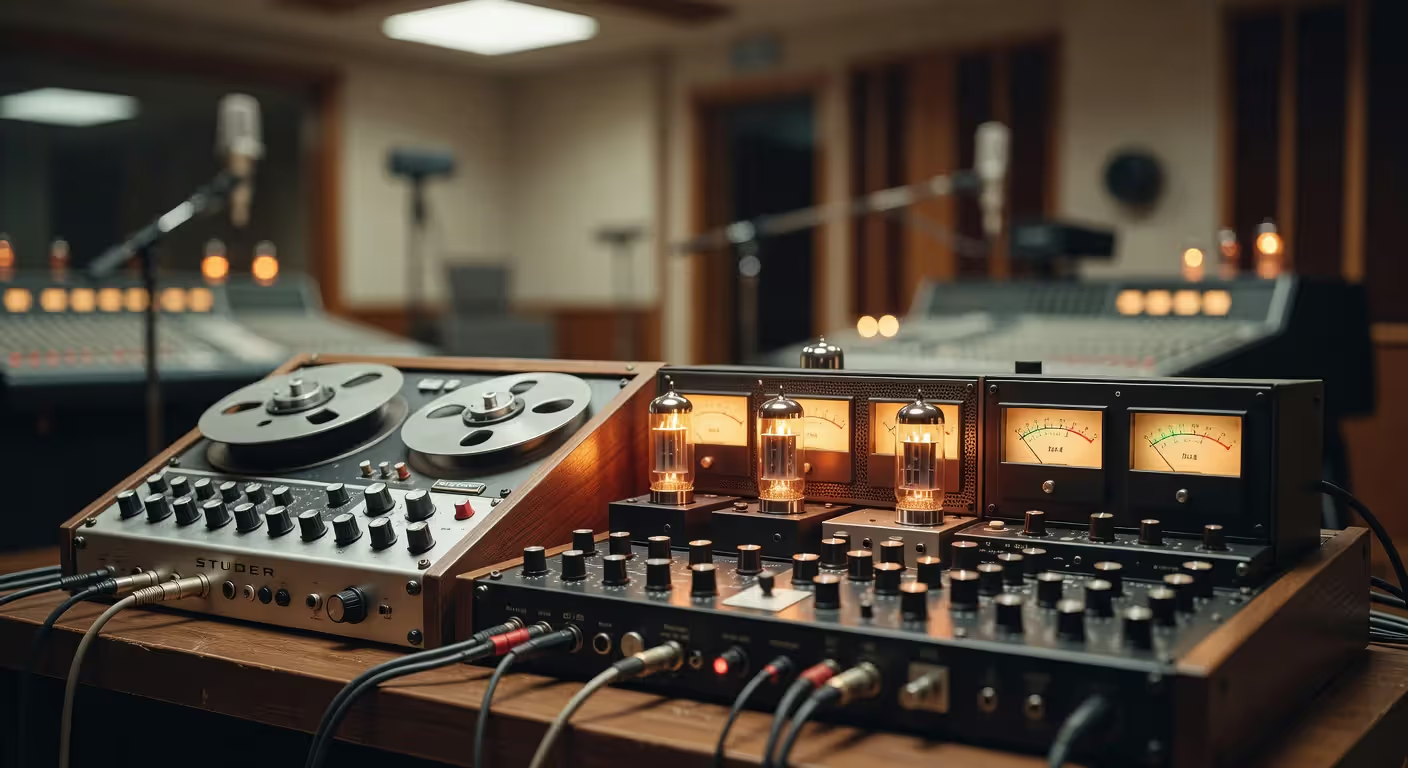
Saturation adds harmonics that weren't there before. It's how you get warm bass tone techniques to actually sound warm instead of just dark. Tape saturation, tube emulation, and soft-clipping plugins all work. They generate even harmonics that thicken the sound and help it translate across playback systems.
Don't overdo it. A little saturation goes far. Push it until you hear the character change, then back off slightly. You want the harmonics to support the fundamental, not replace it.
Author: Savannah Quillmere;
Source: lamat-records.com
Layering Multiple Bass Sounds
Layering for bigger bass is standard practice in modern production. One sound rarely covers the full frequency spectrum with enough interest.
The most common approach: split the bass into two layers. The sub layer handles everything below 100 Hz—usually a clean sine or triangle wave. The mid layer covers 100 Hz to 1 kHz (or higher) and provides the character, harmonics, and movement.
Process them separately. The sub needs tight compression and should be perfectly mono. Roll off the highs aggressively—you don't want anything above 150 Hz competing with the mid layer. The mid layer can have stereo width, distortion, filters, effects—whatever fits the track.
Crossover frequency matters. If you split at 80 Hz, the sub will be thin. If you split at 150 Hz, the mid layer might lack body. Start at 100 Hz and adjust based on the key of your song. Lower keys need a lower crossover.
Some producers layer three or more sounds: a sub, a mid-bass with harmonics, and a top layer for attack and definition. This works in dense electronic music but can overcomplicate simpler arrangements. Use as many layers as you need, not as many as you can.
Phase alignment between layers is critical. If the waveforms don't line up, they'll cancel each other out instead of reinforcing. Zoom in on the waveforms and nudge one layer forward or backward by a few samples until the peaks align. Some plugins do this automatically.
A quick test: solo the layers together and flip the polarity on one. If the bass suddenly gets louder, you have phase issues. Fix the timing or use a phase alignment tool.
Using Effects to Add Depth and Width
Effects can enhance bass, but they're easy to misuse. Low frequencies don't behave like mids and highs.
Reverb on bass usually muddies the mix. If you want space, apply reverb only to the mid and high frequencies. Use a high-pass filter on the reverb send so nothing below 200 Hz gets processed. This keeps the low end tight while adding depth to the upper harmonics.
Short room reverbs work better than long halls. You want a sense of space, not a cloud of rumble.
Delay can add rhythmic interest without cluttering the low end. A filtered delay (again, cutting lows) that repeats in time with the track creates movement. Dotted eighth or quarter note delays are common. Keep the feedback low—two or three repeats maximum.
Chorus and modulation effects widen the bass but can destroy the sub. Apply them only above 150 Hz. A subtle chorus on the mid layer makes the bass feel bigger without losing punch. Too much and it sounds wobbly or out of tune.
Stereo imaging tools are dangerous in the low end. Widening below 100 Hz causes phase cancellation and weak bass on mono playback (which still matters—phones, Bluetooth speakers, and clubs often sum to mono). Keep the sub mono and experiment with width only in the mids.
One trick: use a mid-side EQ to boost the mid channel slightly around 500 Hz to 1 kHz. This adds perceived width without touching the sub.
Author: Savannah Quillmere;
Source: lamat-records.com
Common Mistakes That Make Bass Sound Thin
Avoiding mistakes is half the battle. Here are the traps that kill bass tone shaping efforts.
Over-EQing is the most common issue. Producers boost the lows, then boost the mids for clarity, then boost the highs for definition. The result: a loud, harsh mess that still doesn't feel fat. Two or three targeted moves beat ten boosts. Cut more than you boost.
Poor monitoring lies to you. If your room has a null at 60 Hz, you'll over-boost that frequency trying to hear it. If your headphones exaggerate the sub, you'll cut too much. Check your mix on multiple systems—studio monitors, headphones, a car, cheap earbuds. The bass should feel consistent everywhere.
Phase issues rob you of low end. They happen when you layer multiple bass sounds, use stereo processing on the sub, or record with multiple mics. Always check phase relationships and keep the sub mono.
Arrangement clutter is a silent killer. If you have a bass guitar, a synth bass, a sub drop, and a bass pad all playing at once, none of them will sound fat. They'll just fight. Pick one or two elements to carry the low end and move everything else up in frequency or out of the way.
Too much compression flattens the life out of bass. Yes, you need some. But if you're hitting 10+ dB of gain reduction, you've gone too far. The bass will feel squashed and lifeless. Back off and let it breathe.
Ignoring the arrangement is a mixing mistake. If the bass part itself is boring or plays in a weak register, no amount of processing will fix it. Sometimes the solution is rewriting the part or transposing it to a stronger octave.
Bass Processing Techniques Comparison
| Technique | Best Use Case | Frequency Range Affected | Common Tools |
| Subtractive EQ | Removing mud and boxiness, carving space for kick | 200-400 Hz (cuts) | Parametric EQ, high-pass filters |
| Additive EQ | Enhancing fundamental and harmonics | 40-100 Hz (fundamental), 300-1k Hz (harmonics) | Parametric EQ, shelving EQ |
| Compression | Evening dynamics, adding punch and consistency | Full frequency range | 1176, LA-2A style compressors, modern digital compressors |
| Saturation | Adding warmth and harmonic richness | Primarily affects 100 Hz-5 kHz | Tape emulation, tube saturation, distortion plugins |
| Layering | Building thickness across frequency spectrum | Sub (20-100 Hz) + Mid (100 Hz-1k Hz) + Top (1k-5k Hz) | Multiple synth layers, frequency splitters |
| Parallel Compression | Density without losing dynamics | Full frequency range | Auxiliary sends, parallel channels |
The low end is where mixes are won or lost. You can have the most exciting vocal and the catchiest melody, but if the bass isn't sitting right—if it's not fat and controlled—the whole mix feels weak. I spend more time on the relationship between kick and bass than any other element.
— Pensado Dave
FAQ: Fat Bass Tone Questions Answered
Getting a thick bass sound is a skill you build over time. Start with the fundamentals—clean up the low end, compress for consistency, and add harmonics where they help. Layer strategically and keep the sub mono. Avoid the common traps: over-EQing, poor monitoring, and cluttered arrangements. Check your work on multiple systems and trust your ears more than your eyes. The techniques here work, but they're starting points. Every track is different. Adjust, experiment, and listen critically. That's how you develop the instinct for what works.
Related Stories

Read more
Read more


The content on this website is provided for general informational and educational purposes only. It is intended to explain concepts related to music production, recording, mixing, mastering, music industry roles, and distribution.
All information on this website, including articles, guides, and examples, is presented for general educational purposes. Results and success in music production may vary depending on skill level, equipment, and effort.
This website does not provide professional music production services or guarantees of commercial success, and the information presented should not be used as a substitute for consultation with qualified music producers, audio engineers, or music industry professionals.
The website and its authors are not responsible for any errors or omissions, or for any outcomes resulting from decisions made based on the information provided on this website.