
How to Set Up a Drumset for Playing and Recording
How to Set Up a Drumset?

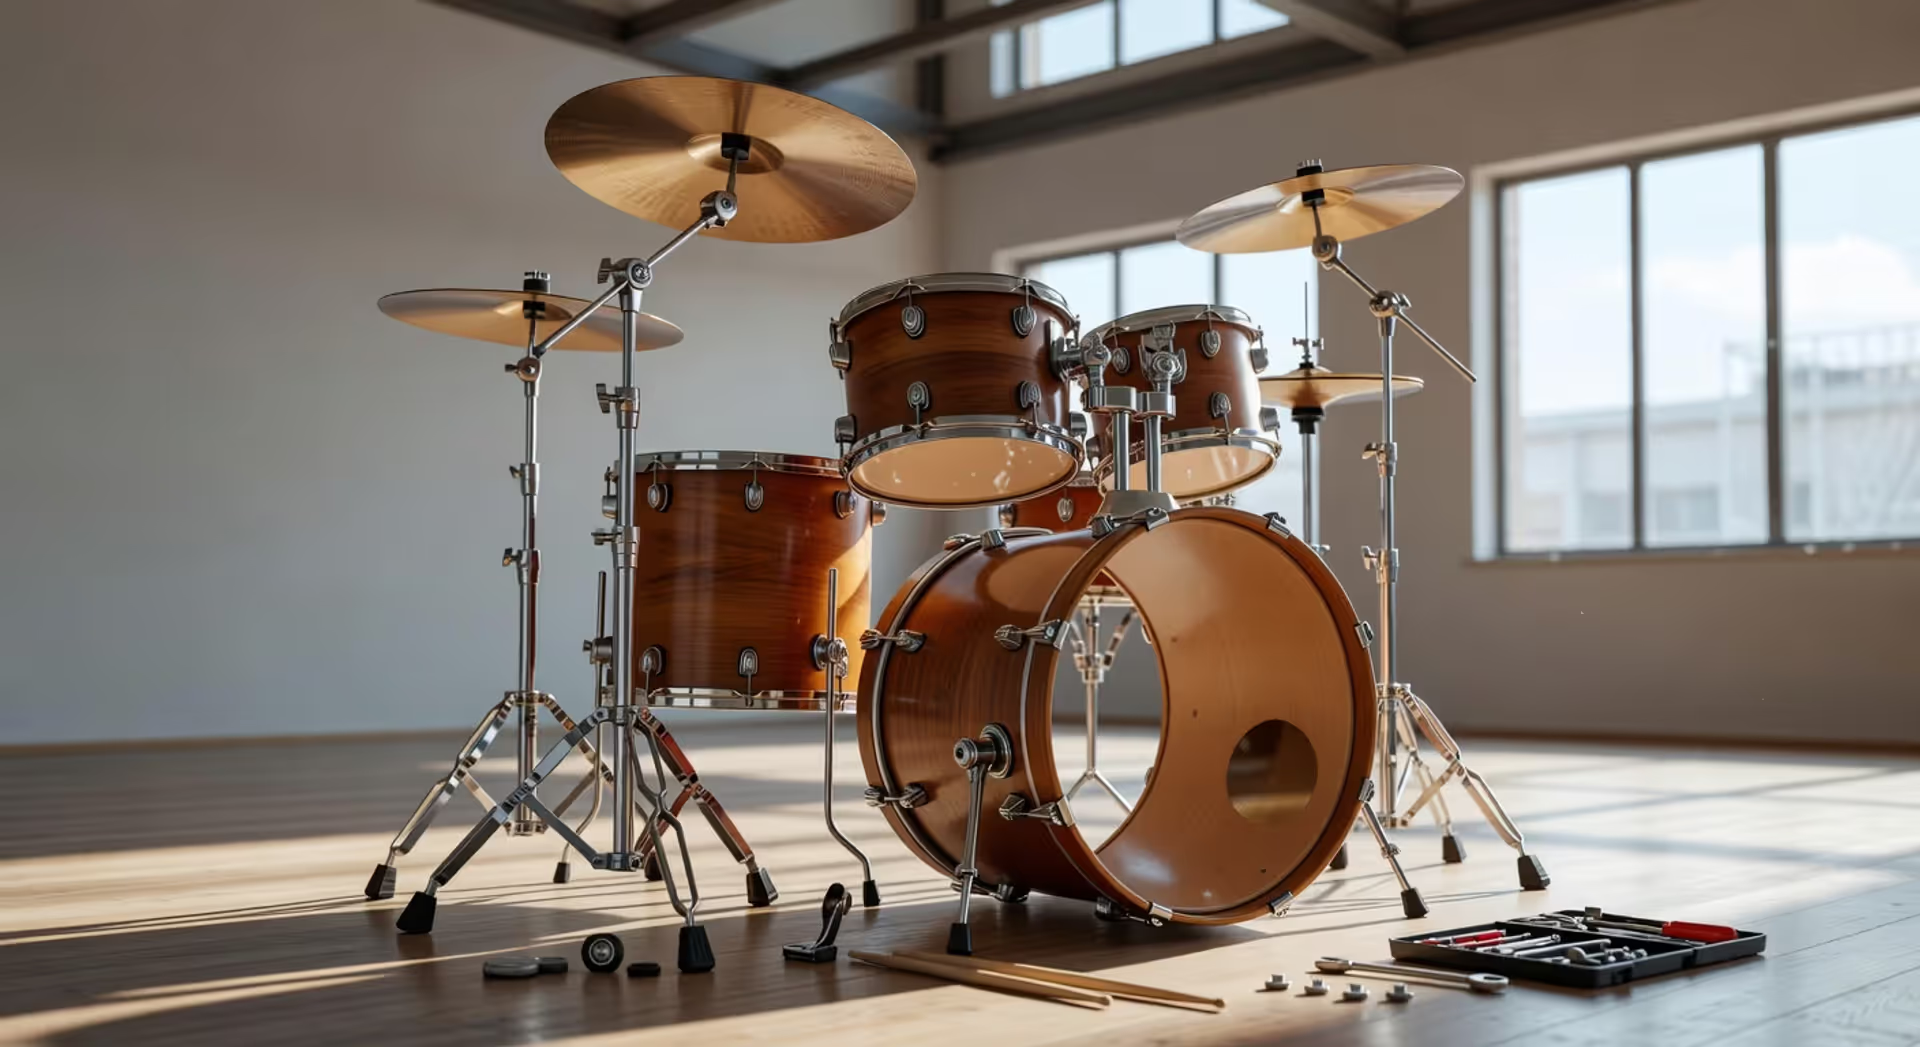
Getting your first drum kit assembled—or setting one up for a recording session—can feel overwhelming when you're staring at boxes full of chrome hardware and wooden shells. But here's the thing: if you skip the proper setup process, you'll fight your drums instead of playing them. Bad positioning leads to sore shoulders, inconsistent sound, and recordings that never quite capture what you hear in the room. I've watched beginners struggle for months with what they thought were technique problems, only to discover their snare was three inches too high or their toms were spread so far apart they couldn't play a smooth fill. This walkthrough covers the physical assembly, ergonomic positioning, and recording-specific considerations that turn a pile of parts into a playable instrument.
Unpacking and Identifying Your Drum Kit Components
Open every box first. Don't start assembling until you've got everything visible in front of you.
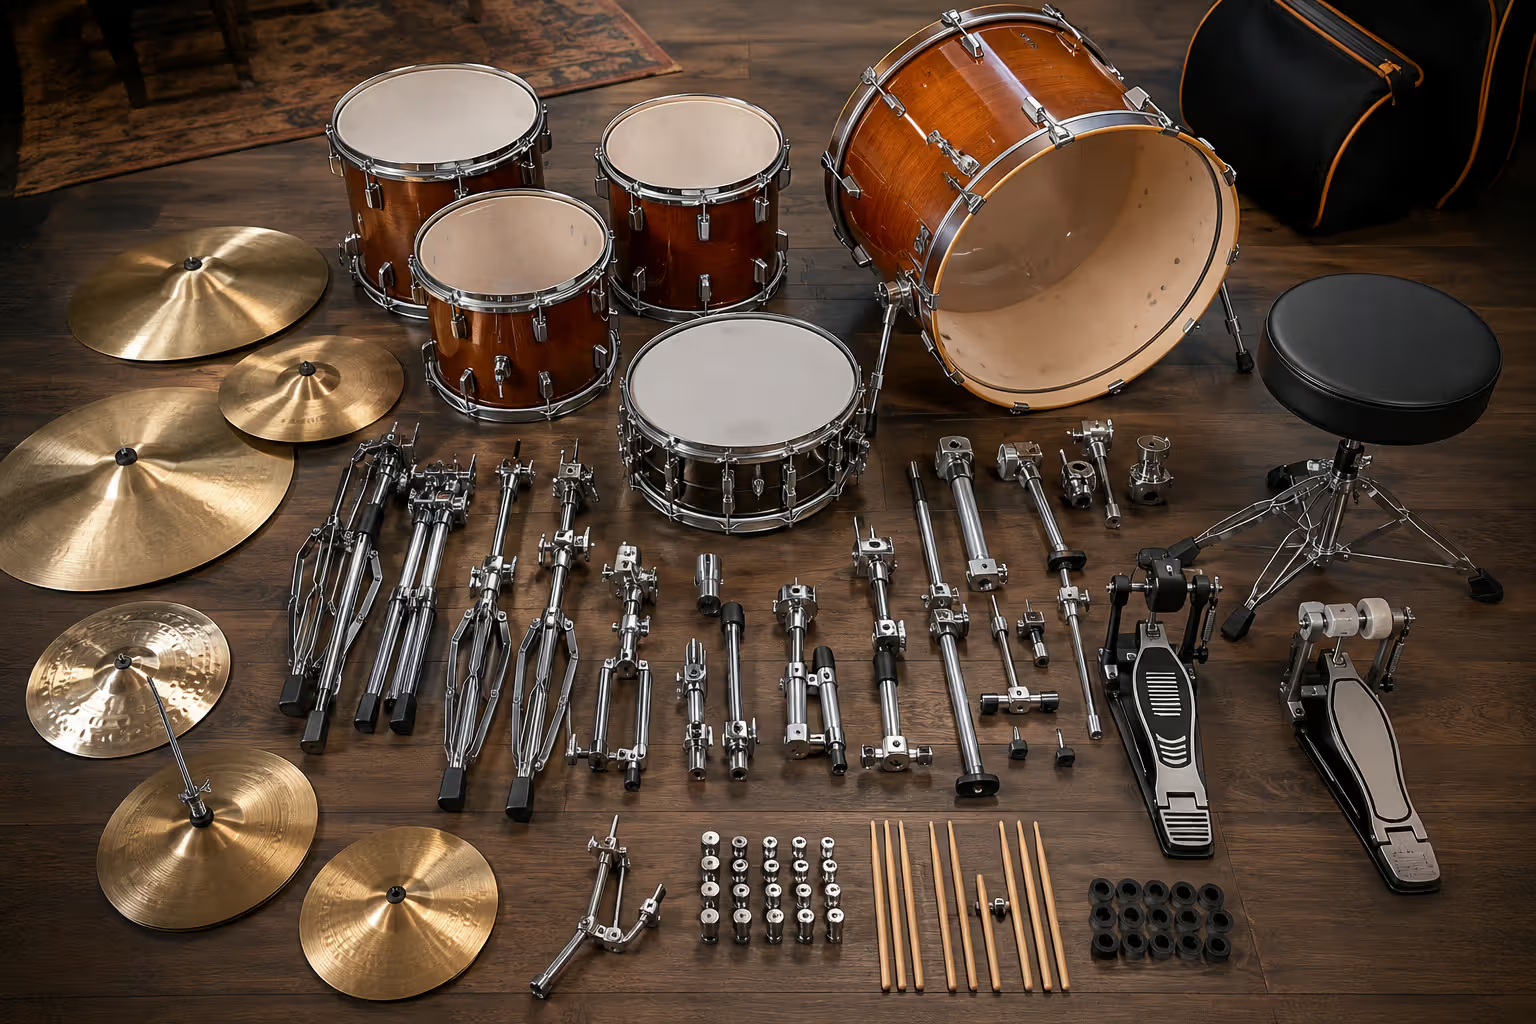
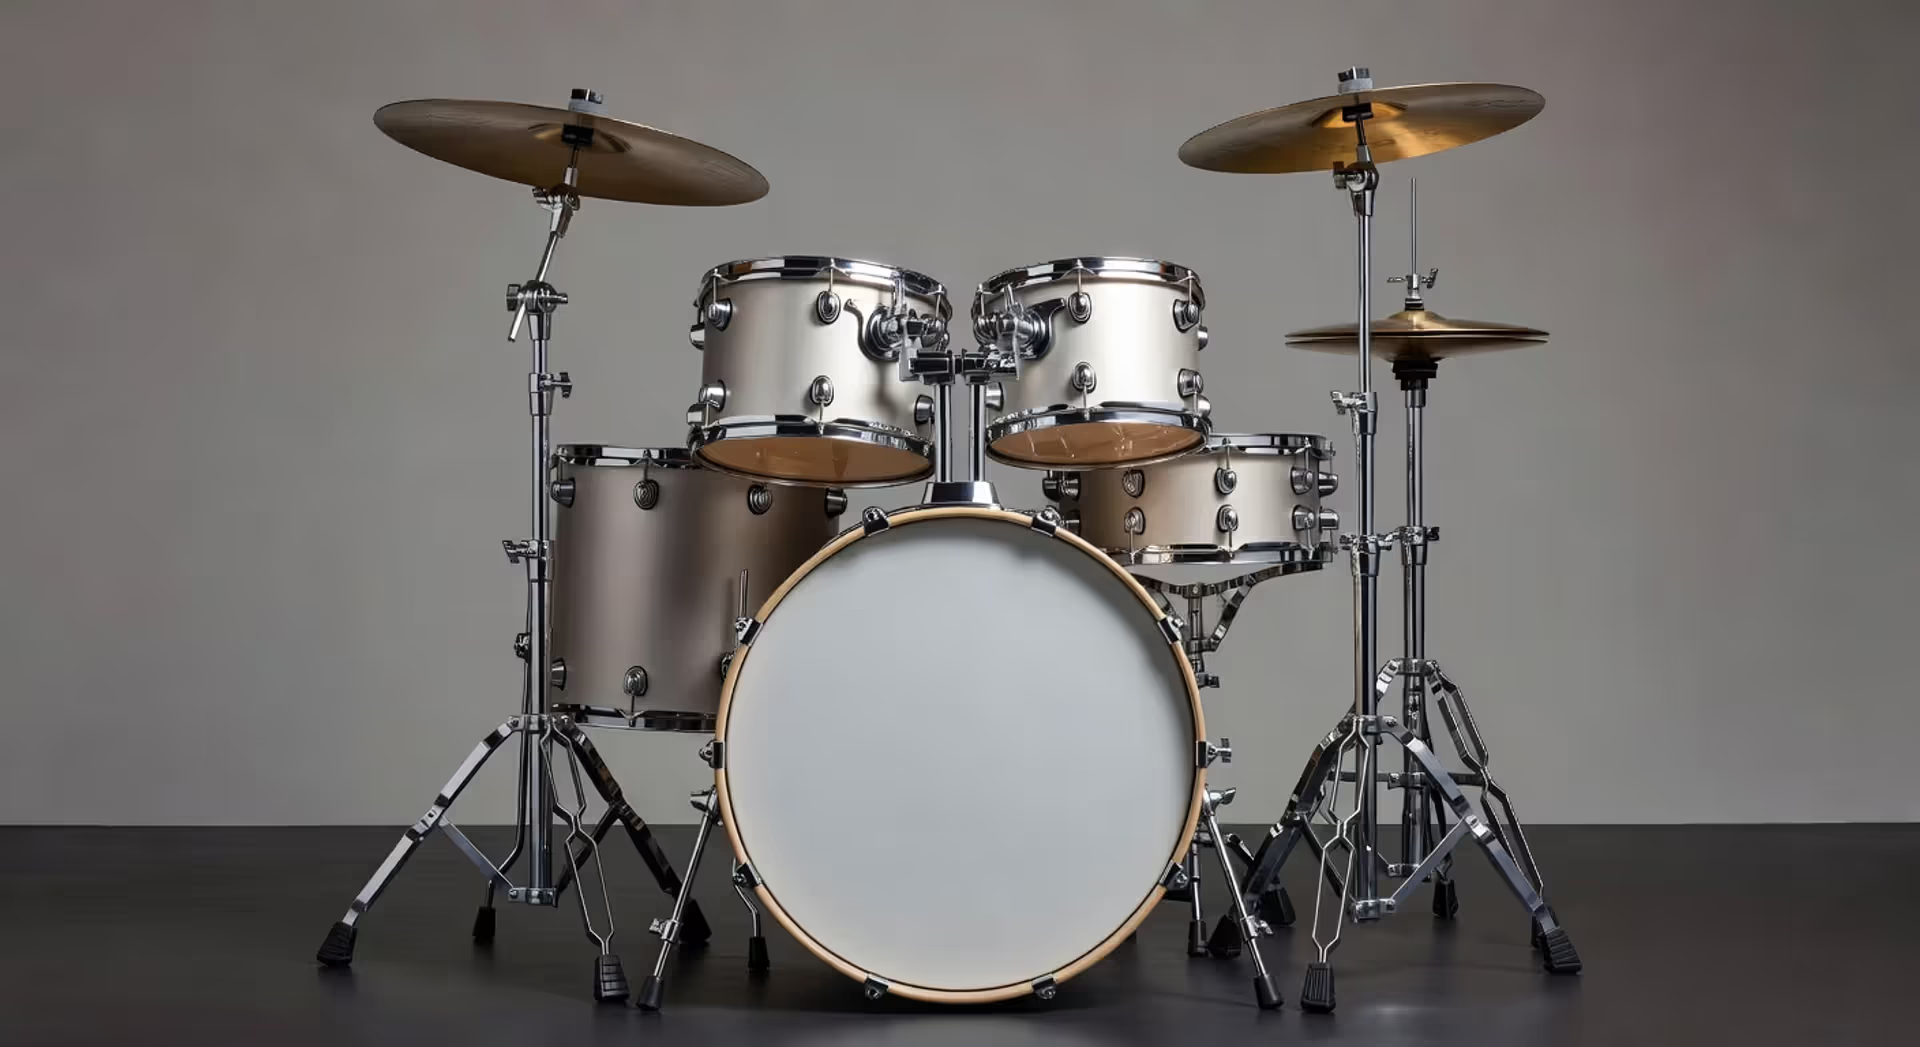
Your standard five-piece kit breaks down into these categories:
Drum shells: One bass drum (the big one you kick), a snare, two rack toms (mounted above), and one floor tom. The shells arrive with some mounting brackets or leg attachments already installed.
Hardware pieces: You'll find a hi-hat stand, two or three cymbal stands, one snare stand, a throne for sitting, and the bass drum pedal. Budget kits sometimes skip hardware entirely—you buy it separately.
Cymbals: Two hi-hat cymbals that stack together, one crash, and one ride. Unless you grabbed a complete beginner package, cymbals usually ship separately.
The small stuff: Your drum key (looks like a little T-shaped wrench), wing nuts, felt washers, plastic cymbal sleeves, and maybe some spare bits. Toss these in a small container immediately because they disappear into carpet fibers.
Grab your instruction manual—most manufacturers include diagrams showing how parts connect. Missing something? Call the store before you waste an hour trying to make incompatible pieces fit.
Keep two or three drum keys around during drumset assembly steps. You'll use them constantly, and having extras means you're not crawling around looking for the one you just had. A Phillips screwdriver helps with certain pedal adjustments, though modern kits minimize the need for it.
Author: Miles Arbordale;
Source: lamat-records.com
Assembling the Bass Drum and Mounting Hardware
Your bass drum anchors everything. Build from here.
Lay the bass drum on its side. You'll see mounting brackets attached to the shell—either a rail system running across the top or individual posts. Extend the spurs (metal legs) now, but leave the height adjustment loose.
Mount your bass drum pedal next. The clamp mechanism grabs the rim using either a wing screw or a quick-release lever. Center the beater so it hits the drum head's middle. Really tighten that clamp—loose pedals shift mid-song and throw off your timing.
Press the pedal a few times. The beater should bounce back naturally without sticking or making noise. Adjust spring tension with the wing nut near the pedal base. Tighter springs respond faster but tire your leg out. Start with medium tension and adjust from there.
If your kit uses a tom mounting arm, attach it to the bass drum bracket now. Slide the L-shaped arm into the bracket and hand-tighten it. Don't crank everything down yet—you'll tweak heights later when positioning drums for recording or playing.
Flip the bass drum upright. Adjust the spur length so the drum leans forward slightly—maybe 5 to 10 degrees. This forward tilt helps the beater strike cleanly and keeps the drum from creeping forward when you're pounding away.
Skip fancy risers and isolation mounts for now. Direct floor contact works fine for practice and most live situations. Save the specialty mounting for serious recording work.
Positioning Toms, Snare, and Cymbals for Comfort
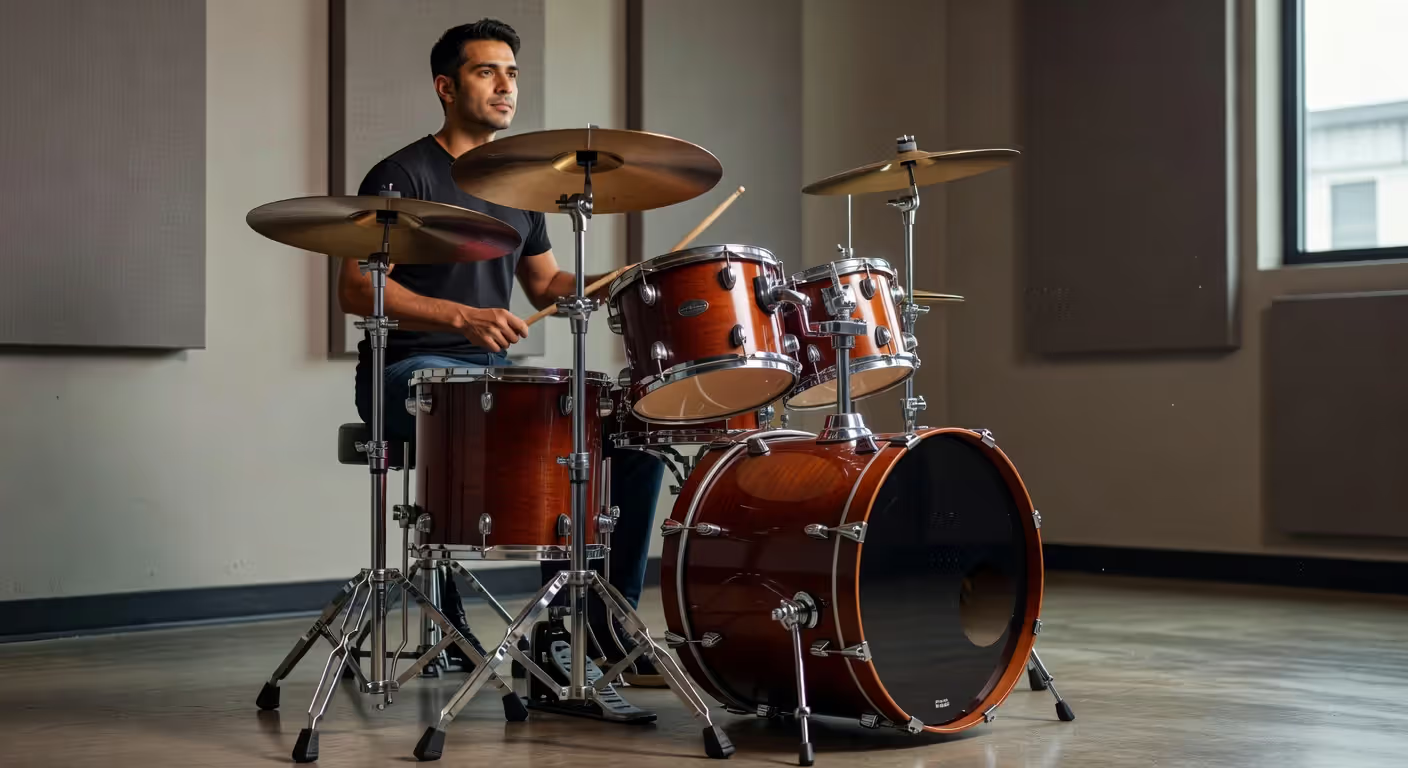
Arranging a drum kit around your body matters more than you'd think. Poor positioning slows you down and wears you out.
Snare drum: Center it between your legs, directly in front of your throne. When your arms hang naturally, the snare should sit just below elbow height—typically 1-2 inches below your waist. Tilt it toward you about 10-15 degrees. Flat snares force your wrists into awkward angles that cause pain after an hour of playing.
Rack toms: Mount these above and slightly behind the snare. Put the smaller tom closest to you. Keep them low enough that you're not reaching up—your arms should stay relaxed. Recording setups often need lower, flatter tom angles than live configurations.
Floor tom: Position this to your right (assuming you're right-handed), roughly level with your snare or a touch lower. The rim should align with your elbow when you're seated. Place it close—12 to 18 inches from your right thigh. Farther than that and you'll lean to reach it.
Beginners often space toms way too far apart because they think it looks professional. It doesn't. It just makes fills harder and strains your shoulders. Keep everything within a comfortable arm swing.
Hi-hat stand: Set this to your left, about 6-8 inches from the snare's edge. The cymbals should sit just above snare height. Adjust the clutch to leave roughly half an inch of gap when open—too much gap sounds sloppy, too little chokes the cymbals.
Crash and ride cymbals: The crash typically hangs above your rack tom, angled slightly toward you. The ride sits to your right, over or beside the floor tom. Both should be reachable without stretching, and low enough that you're striking across them, not upward (which sounds weak).
Want specific measurements? Try these starting points and adjust for your body:
| Drum/Cymbal | Height Position | Angle Setting | Distance |
| Snare | 1-2" under waist level | 10-15° tilted inward | Centered, 8-10" away |
| High Rack Tom | 2-3" higher than snare | 5-10° tilted inward | 12-15" reach distance |
| Floor Tom | Same level as snare | Slight inward tilt | 12-18" to your right |
| Hi-Hat | Slightly higher than snare | Gentle right tilt | 6-8" left of snare |
| Crash Cymbal | 4-6" over toms | 20-30° toward you | 16-20" reach distance |
| Ride Cymbal | 2-3" over floor tom | Slight inward angle | 18-22" reach distance |
Those numbers give you a baseline. Your arm length, torso proportions, and playing style will shift everything. Adjust until nothing requires stretching or hunching.
Author: Miles Arbordale;
Source: lamat-records.com
Setting Up Acoustic Drums for Recording Sessions
Setting up acoustic drums for recording demands different thinking than bedroom practice. The room itself becomes part of your sound.
Room positioning changes everything. Drag your kit at least 3-4 feet away from any wall. Bass frequencies accumulate in corners and against walls, creating muddy low-end that no amount of EQ can fix. Center the kit in the room if you can, or at minimum avoid placing it between parallel walls.
Ceiling height affects how cymbals sound. Low ceilings under 8 feet create harsh reflections that make cymbals sound trashy. Stuck with a low room? Position the kit away from the ceiling's center and hang some acoustic panels above the cymbal zone.
Hard floors—concrete or hardwood—deliver brighter, more articulate drum tones. Carpeted rooms sound warmer but less defined. Many engineers drop a drum rug under the kit even on hard floors. It controls bass drum movement and slightly dampens floor reflections.
Most drummers shove their kits against walls to save space, then can't figure out why their recordings sound boxy and weird. Give the drums space. Air movement around the shells matters.
Microphone Placement Fundamentals for Each Drum
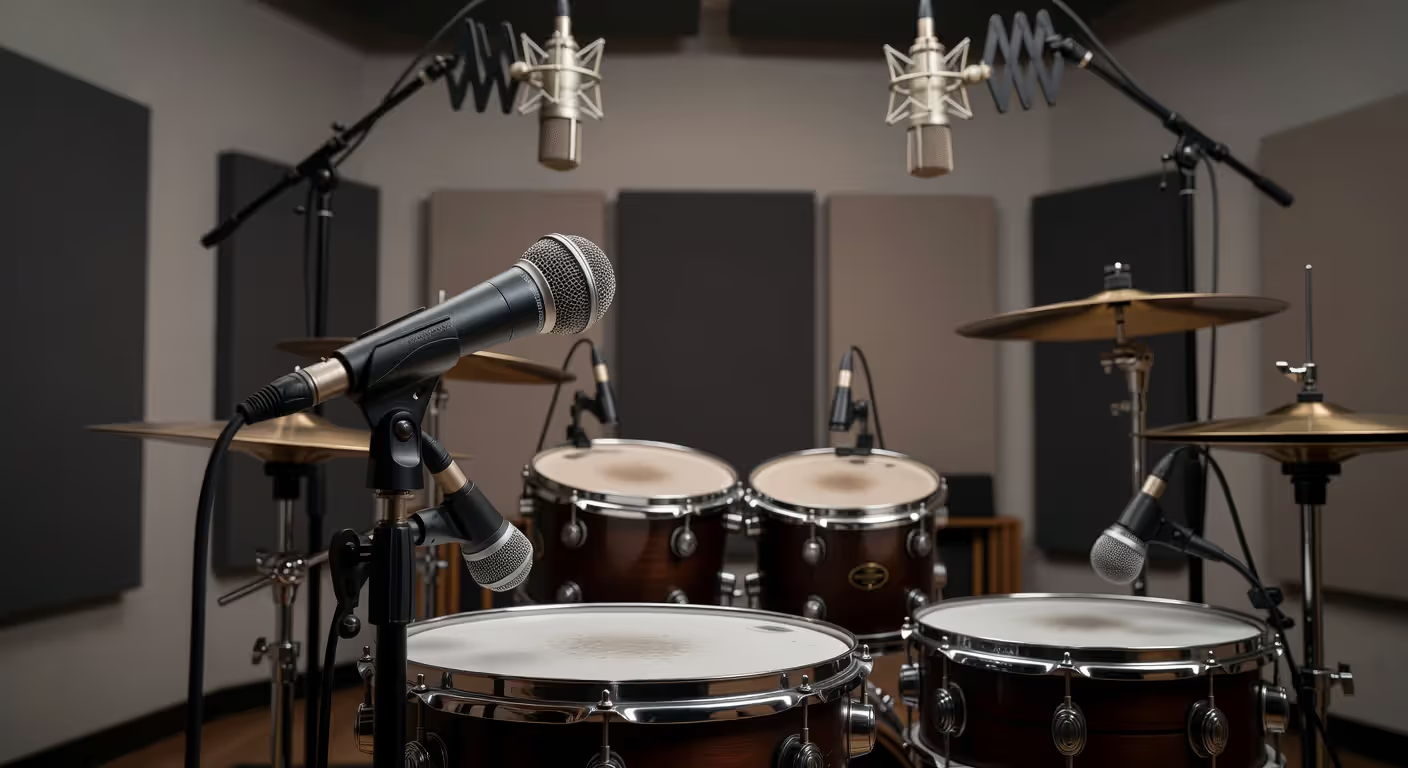
Drum kit setup for recording means thinking about microphone positions from the start. You don't need twelve mics—four to eight captures most kits effectively.
Kick drum: Drop the mic inside the shell, 2-4 inches from where the beater hits. Point it slightly off-center for more attack click, or aim it straight at the beater for maximum punch. Remove the front head entirely or use a ported head with a hole cut in it. Some engineers also place a mic outside, 6-12 inches from the front head, to capture more low-end thump.
Snare: Top mic goes 1-2 inches above the rim, aimed at the drum's center, angled about 45 degrees. Keep it clear of your stick path. Bottom mics (optional but recommended for drum miking setup) capture the snare wire buzz—position it 2-3 inches below, pointing up at the wires.
Toms: One mic per tom, positioned 1-2 inches above the rim, angled toward the center. Closer placement gives more attack and isolation from cymbals; farther placement captures more natural tone but picks up cymbal bleed.
Overheads: These capture cymbals and the overall kit image. Place them 3-4 feet above the kit in an X-Y pattern (mics crossed, pointing down) or spaced pair (one over each side). Higher placement captures more room ambience; lower gives more direct cymbal tone.
Room mics: Optional but powerful. Place one or two mics 6-10 feet back from the kit to capture natural ambience. Blend these with close mics for depth and space.
Drum miking setup varies wildly by genre. Rock and metal rely on close mics for separation and punch. Jazz often uses primarily overheads with minimal close-miking. Moving a mic just two inches dramatically changes the tone—experiment constantly.
Common Mistakes in Drum Recording Placement
First mistake: Overheads placed too low. Positioning them 18 inches above cymbals creates phase cancellation with tom mics and delivers thin, harsh cymbal sound. Raise them up to 3-4 feet minimum.
Second mistake: Ignoring phase relationships between mics. When multiple mics capture the same source (like overheads and a snare top mic), sound waves can cancel each other out. Check phase by flipping the polarity switch on your preamp—if the sound suddenly gets fuller, you had phase problems.
Third mistake: Aiming mics at cymbal edges instead of the bow (the curved playing surface where you actually hit). Edge placement captures harsh, washy tones that sound amateurish.
Fourth mistake: Forgetting that drum recording placement affects what you can play. Mics positioned for heavy rock won't capture ghost notes and dynamics well. Match your mic technique to the musical style.
Author: Miles Arbordale;
Source: lamat-records.com
Tuning Your Drums After Setup
Untuned drums sound like cardboard boxes getting kicked down stairs. Proper tuning transforms them into musical instruments.
Start with the snare. Pull it off the stand and set it on a soft surface—a towel on your lap works. Finger-tighten all tension rods until they just contact the rim. Then grab your drum key and tighten each rod in a star pattern—tighten one, then jump to the rod directly opposite. Circle the drum twice, giving each rod a half-turn per pass.
Tap the head near each tension rod while listening for pitch. All spots around the drum should sound identical. If one's higher or lower, adjust that specific rod until it matches the others. This takes patience. Rushing it guarantees a bad sound.
Tighten the batter head (top) until it sounds crisp when you tap the center. Most snares sound best with medium-high tension. The resonant head (bottom) typically runs slightly tighter than the top for maximum snare wire response and crack.
Toms follow the same process but sit lower in pitch. Many drummers tune rack toms in musical intervals—if your highest tom rings at C, tune the next one to G or F. Floor toms go lower still. Resonant heads on toms can match the batter head (for maximum sustain) or sit slightly higher (for faster decay and shorter ring).
Bass drums need the lowest tension of all. Tune both heads evenly for a round, full tone, or tune the batter head slightly lower for more attack and punch. Many drummers stuff a pillow or blanket inside, touching both heads lightly. This shortens the tone and tightens the sound—perfect for recording situations.
New heads need stretching. After initial tuning, press down firmly in the drum's center, then retune everything. Repeat this three or four times. This seats the head properly on the bearing edge and helps it hold pitch longer.
Proper drum positioning isn't just about comfort—it directly affects your playing speed, endurance, and the tonal quality captured in recordings. I've seen drummers struggle for years with technique issues that disappeared once they adjusted their kit height and angles. The drums should come to you, not the other way around.
— Bonham Jason
Troubleshooting Setup Issues and Adjustments
Even experienced drummers run into setup problems. Let's solve the most common ones.
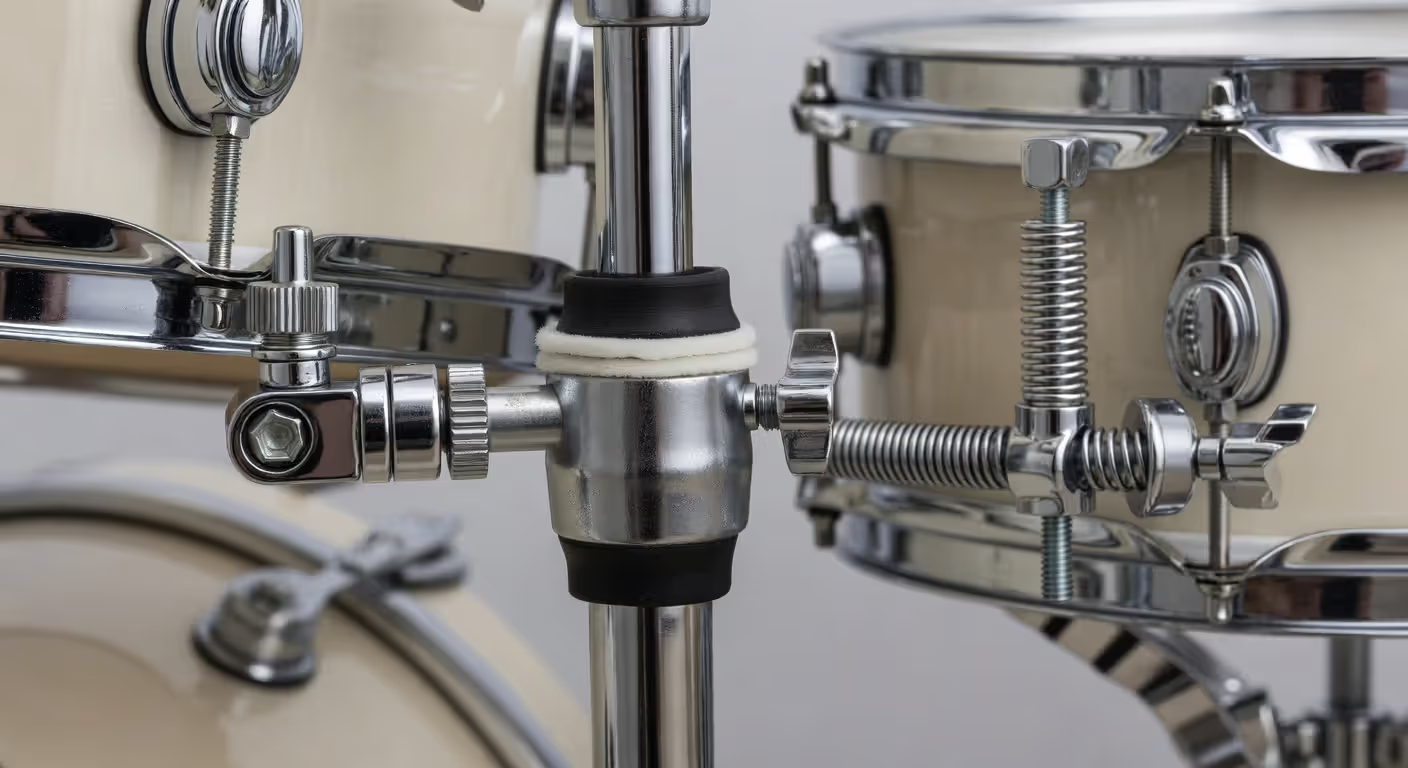
Wobbling hardware: Usually caused by loose wing nuts or stripped threads. Check every connection point and tighten firmly—not enough to crack plastic parts, but enough that nothing moves during aggressive playing. If a stand still wobbles, the tripod legs might be uneven. Adjust individual leg heights or slip a thin shim under the short leg.
Cymbal choke: When cymbals don't ring freely, check the felts and sleeves. The cymbal should sit loosely on the stand with felt below and above. The wing nut should be snug but not tight—leave about a quarter-inch of space so the cymbal can vibrate. Overtightening kills sustain and can crack expensive cymbals.
Bass drum creep: The drum walks forward during playing. Tighten the spurs and increase their forward angle. Some drummers attach Velcro strips to the spur feet and floor. Others place a sandbag or weight behind the drum. On carpeted floors, a rubber mat under the spurs usually stops it.
Pedal squeak or click: Apply a tiny amount of lubricant to the pedal's moving parts—the hinge point and chain or strap connection. Don't overdo it; excess lubricant attracts dust and grime. If the beater shaft squeaks, remove it and apply lubricant there too.
Tom mount slippage: Memory locks prevent this problem. These small clamps lock onto the tom arm at your preferred position. Tighten them after you've set tom heights. No memory locks? Mark positions with a piece of tape or a marker.
Uneven hi-hat response: Check the clutch tightness and verify the bottom cymbal sits flat on the stand's seat. Adjust the stand height so your foot rests comfortably on the pedal without your knee raised awkwardly. If the pedal feels stiff, there's usually a tension adjustment screw on the side—loosen it slightly.
Can't get comfortable no matter what you adjust? Your throne height might be wrong. Sit so your thighs angle slightly downward (about 5-10 degrees). Too high and you lose power; too low and your legs cramp after ten minutes. Throne position affects literally everything else.
Author: Miles Arbordale;
Source: lamat-records.com
FAQ: Drum Setup Questions Answered
Setting up a drumset properly creates the foundation for everything that follows—your playing technique, sound quality, and even your motivation to practice. Take time with each step, make small adjustments until everything feels natural, and don't be afraid to revisit your setup as your playing evolves. What works today might need tweaking in six months as your style develops. The best setup is the one that disappears from your awareness, letting you focus completely on the music instead of fighting your equipment.
Related Stories

Read more
Read more


The content on this website is provided for general informational and educational purposes only. It is intended to explain concepts related to music production, recording, mixing, mastering, music industry roles, and distribution.
All information on this website, including articles, guides, and examples, is presented for general educational purposes. Results and success in music production may vary depending on skill level, equipment, and effort.
This website does not provide professional music production services or guarantees of commercial success, and the information presented should not be used as a substitute for consultation with qualified music producers, audio engineers, or music industry professionals.
The website and its authors are not responsible for any errors or omissions, or for any outcomes resulting from decisions made based on the information provided on this website.