
Pop Filter vs Windscreen for Recording Vocals
Pop Filter vs Windscreen for Recording Vocals

Content
Content
When you're setting up your first recording space, the sheer number of mic accessories can feel overwhelming. Two items always come up: pop filters and windscreens. They look different, they mount differently, and they solve different problems. But which one do you actually need? The answer isn't always obvious, and using the wrong one can leave you with muddy audio or distracting noise that no amount of editing will fix.
Let's clear up the confusion.
What Pop Filters and Windscreens Actually Do
Pop filters and windscreens both sit between your mouth and the microphone. That's where the similarity ends.
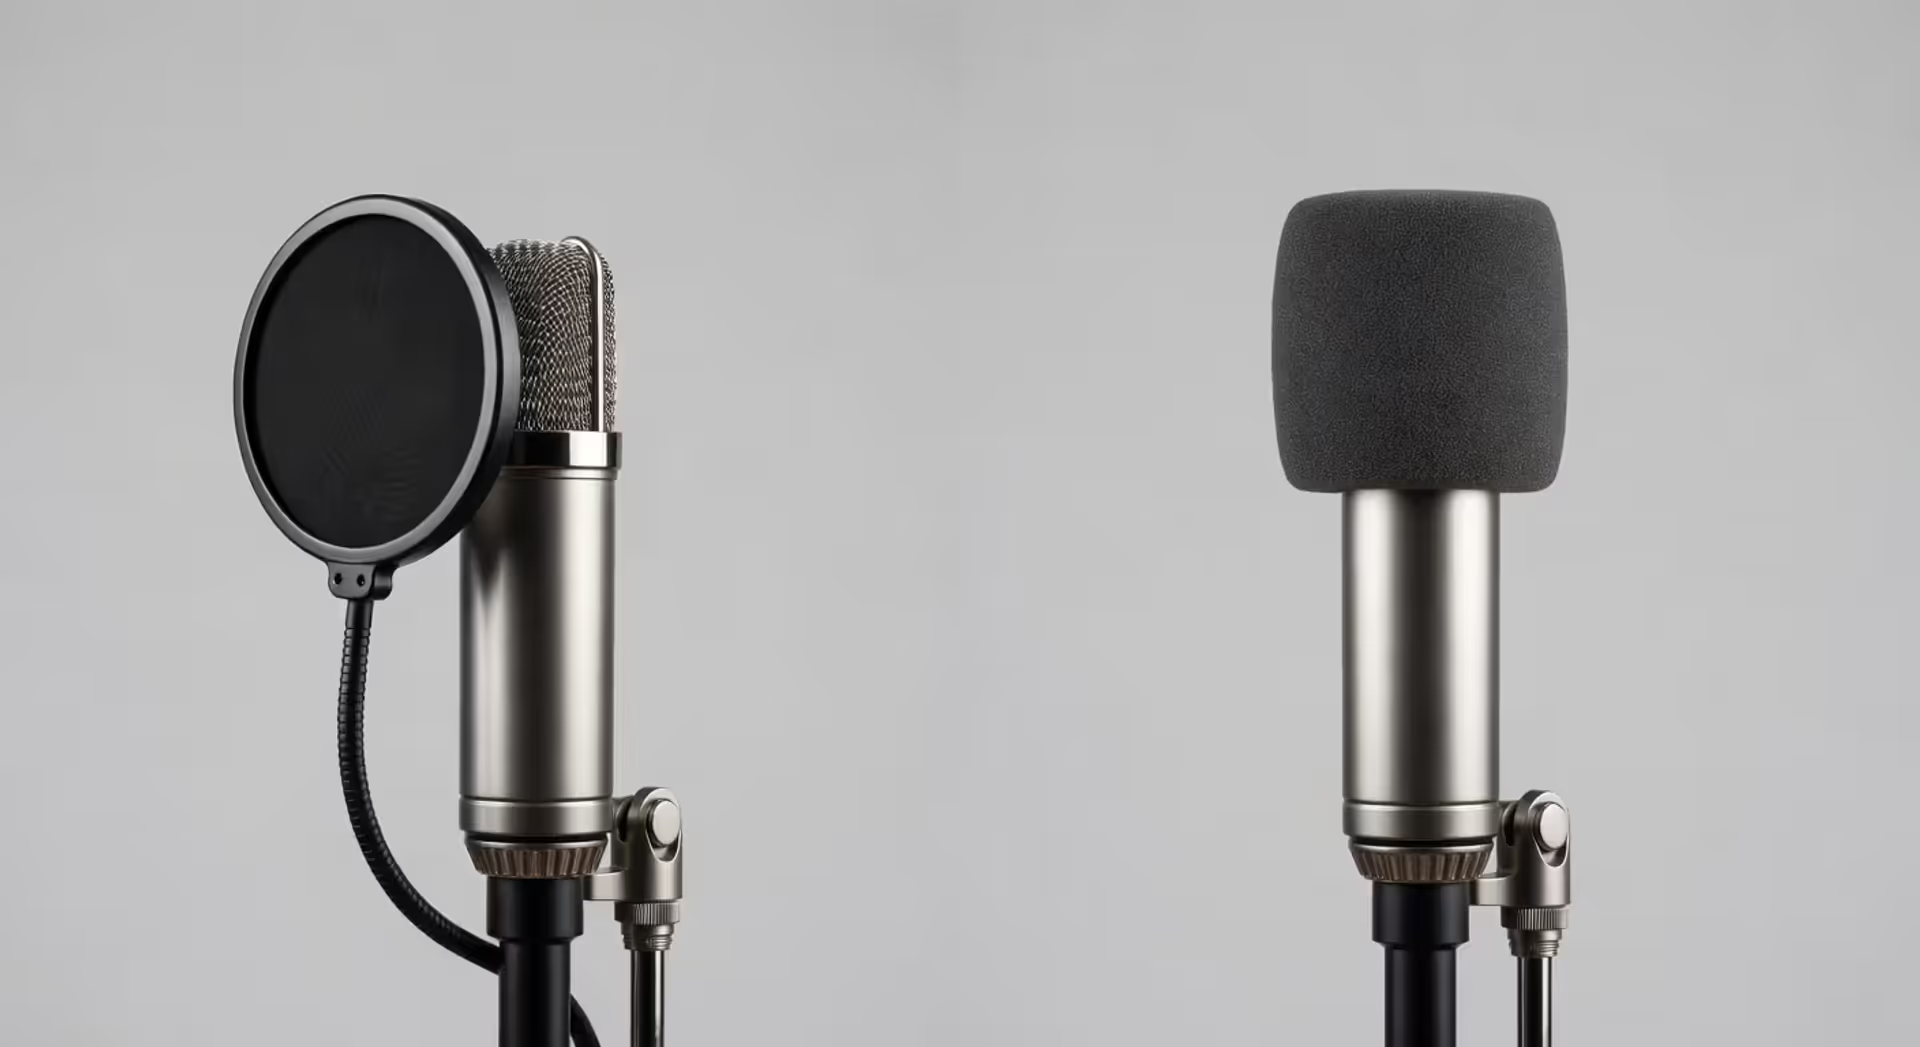
A pop filter explained simply: it's a barrier designed to diffuse the sharp bursts of air that come from plosive consonants—those hard P and B sounds. When you say "Peter" or "Bobby," your lips release a focused jet of air. Without protection, that air slams into the microphone's diaphragm and creates a low-frequency thump that sounds terrible in recordings.
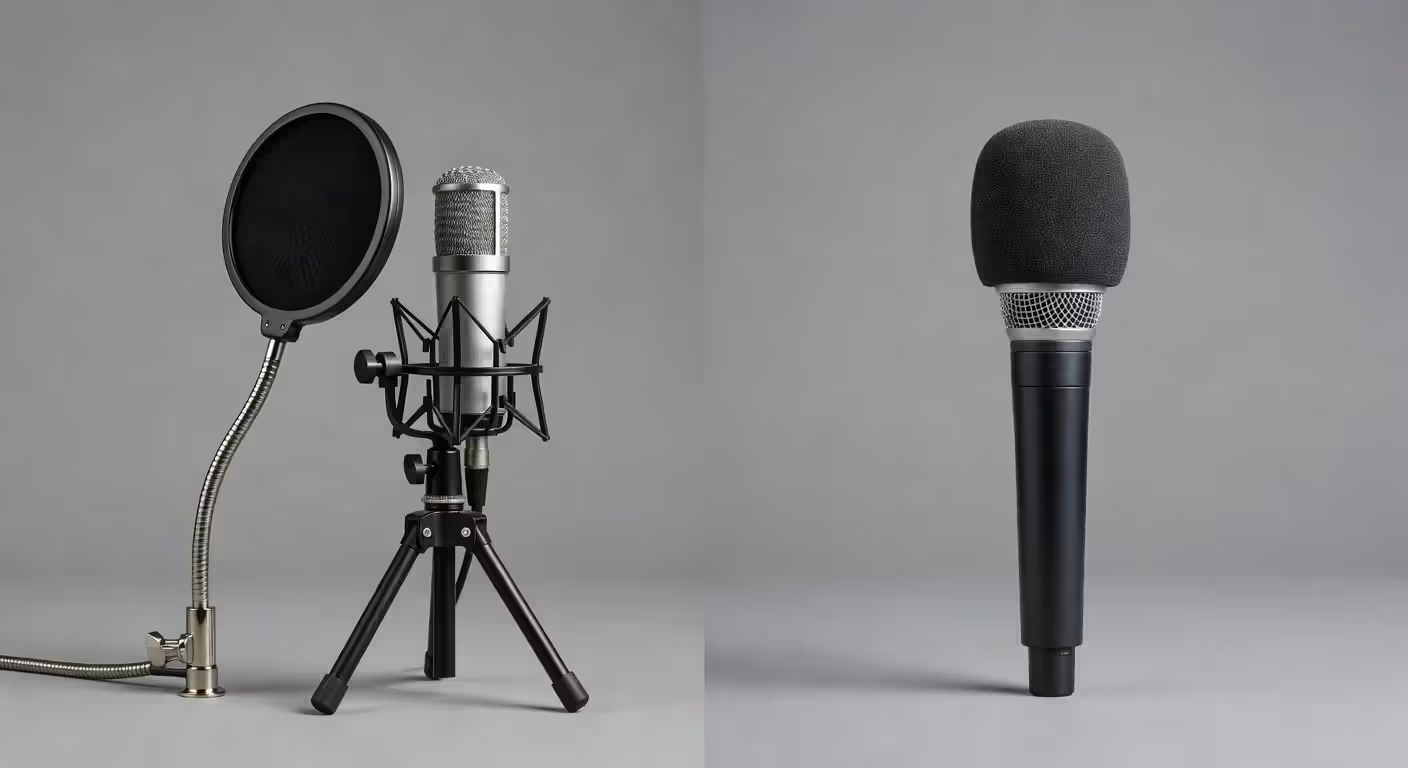
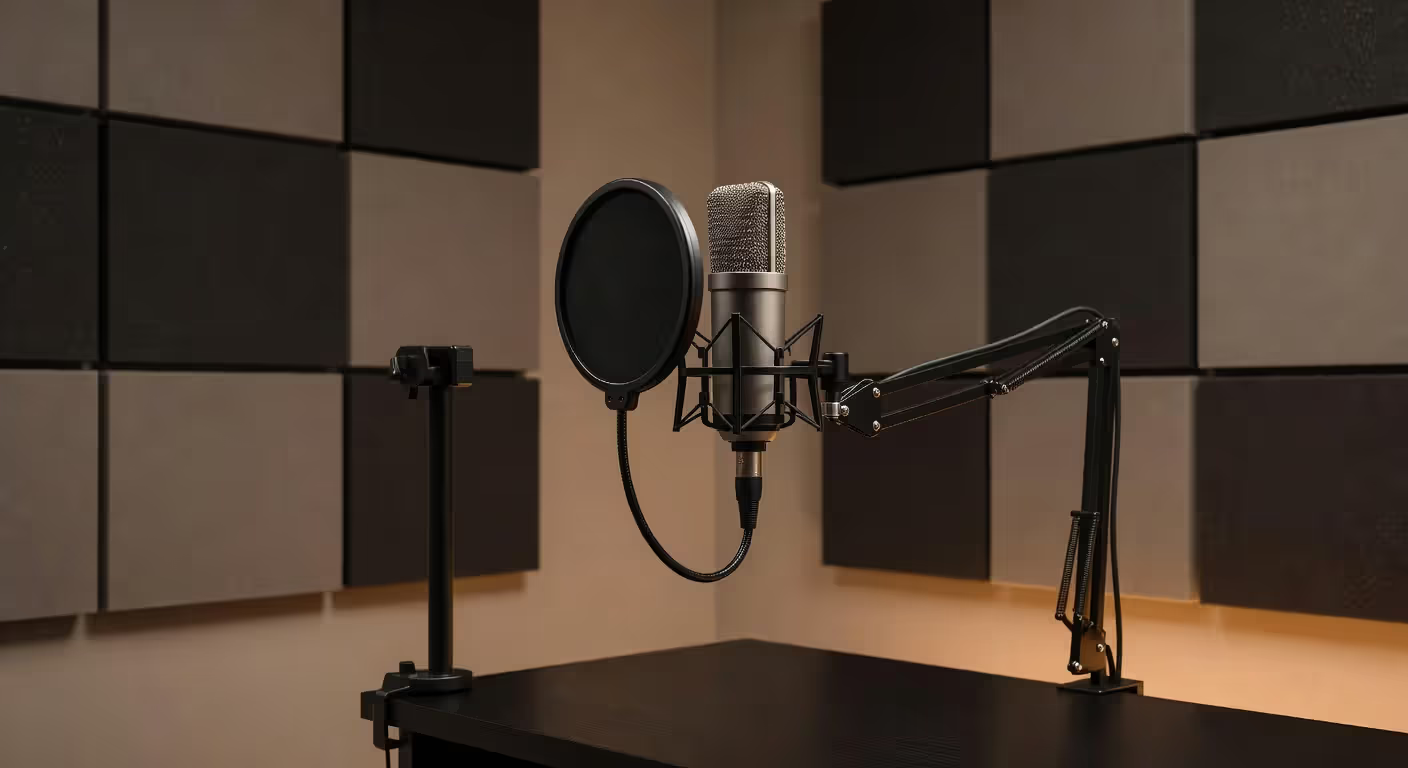
Pop filters are typically circular frames holding a layer (or two) of nylon mesh or perforated metal. They mount on an adjustable arm that clamps to your mic stand, positioning the filter a few inches in front of the capsule.
Windscreens for microphones serve a different master. They're foam or furry covers that slip directly over the mic body. Their job is blocking wind noise—whether that's actual outdoor breeze or the turbulence created when you move a handheld mic. They also dampen handling noise, those low rumbles and thumps that happen when your hand shifts grip.
The key difference? Pop filters stop focused breath blasts. Windscreens stop ambient air movement and physical vibration.
Author: Savannah Quillmere;
Source: lamat-records.com
How Pop Filters Work to Reduce Plosives
Reducing plosives when recording is all about physics. When you articulate a P or B, your lips build up air pressure and release it suddenly. That burst travels in a narrow column straight ahead—right toward the mic if you're positioned correctly for vocal capture.
A pop filter sits in that path and does two things. First, it spreads the air burst across a wider area. The tight jet hits the mesh and diffuses into a broader, gentler flow. Second, the mesh creates brief turbulence that slows the air down before it reaches the capsule.
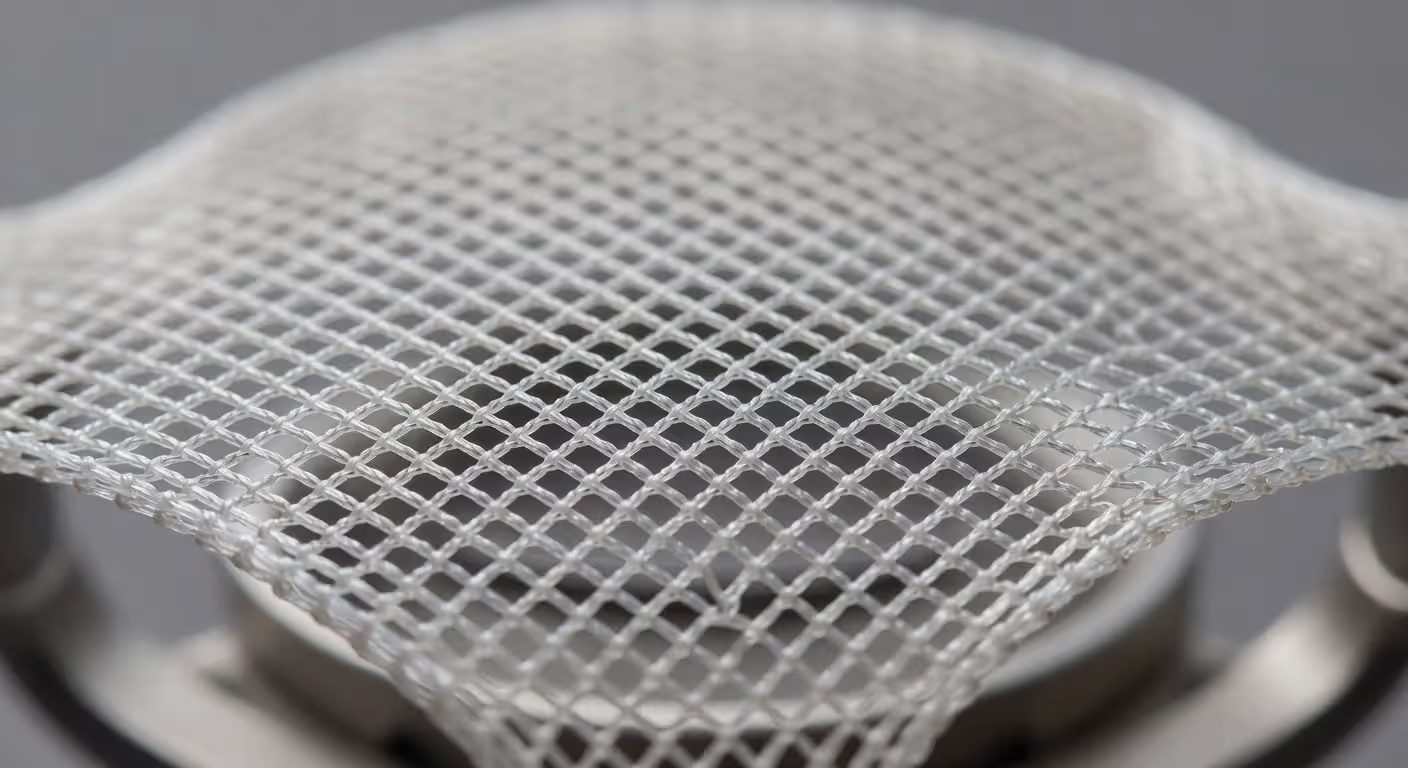
Nylon pop filters use one or two layers of stretched fabric. The weave is fine enough to catch plosives but open enough that higher frequencies pass through mostly unaffected. Some engineers claim double-layer nylon filters work better because the second layer catches what the first one misses, but the difference is subtle in practice.
Metal mesh pop filters use perforated steel or aluminum. They're sturdier and easier to clean. Some vocalists prefer them because they reflect a tiny bit of high-frequency energy back, which can add a subtle brightness. Others find that effect undesirable. It's a taste thing.
When to use a pop shield becomes obvious once you're recording spoken word or singing. Podcasters, voiceover artists, and vocalists all benefit because plosives are unavoidable in natural speech and lyrics. The pattern I see most often is someone recording their first few episodes without a pop filter, then spending hours trying to EQ out plosive thumps that can't really be fixed in post.
Distance matters. Most pop filters work best positioned two to four inches from the mic capsule, with the performer another two to four inches away from the filter. Too close and you lose the diffusion effect. Too far and the filter becomes pointless.
When Windscreens Are the Better Choice
Step outside and everything changes. Wind is the enemy of clean audio, and a pop filter won't help you here. Even a light breeze creates turbulent air pressure that overwhelms a microphone's diaphragm, producing that rumbling, roaring noise that obliterates your signal.
Foam windscreens excel outdoors. The open-cell foam structure breaks up wind flow in multiple directions, dissipating energy before it reaches the capsule. A basic foam windscreen can reduce wind noise by 20–25 dB. Larger "dead cat" windscreens—those furry covers you see on boom mics—can knock down wind noise by 35 dB or more.
But outdoor recording isn't the only use case. Handheld mics need windscreens for a different reason: handling noise. Every time your fingers shift position or your palm squeezes the body, you create low-frequency vibrations that travel through the mic housing. A foam windscreen provides a cushioning layer that dampens those vibrations before they reach the capsule.
Live stage performers almost always use windscreens. They're moving around, the mic is moving, and sometimes they're outdoors or in venues with HVAC systems blasting air. A pop filter on a stand would be impractical and wouldn't solve the right problems anyway.
Windscreens also protect the capsule from moisture—spit, humidity, rain. That's not their primary job, but it's a nice bonus that extends mic life.
Foam Windscreen vs Nylon Pop Filter Comparison
Here's where people get confused. Both reduce plosives to some degree, but they're optimized for different scenarios.
A foam windscreen will catch some plosive energy simply because it's a physical barrier. But it's not designed for that job. The foam is too porous and doesn't create enough diffusion to handle the focused air column from close-mic vocal work. You'll still hear plosive thumps, just quieter ones.
A nylon pop filter does almost nothing against wind or handling noise. The mesh is too open. Air currents flow right through it.
For studio vocal recording, the nylon filter wins every time. It's purpose-built for plosives, it doesn't muffle high frequencies, and it keeps the performer at a consistent distance from the mic.
For field recording, interviews, or handheld use, the foam windscreen is non-negotiable. You can't mount a pop filter to a roving reporter's mic, and even if you could, it wouldn't block the wind or handling noise.
Some people try to use both—a windscreen on the mic and a pop filter in front of it. That works for extreme situations, like recording outdoors with a stationary mic, but it's overkill for most scenarios and can slightly deaden the top end.
Author: Savannah Quillmere;
Source: lamat-records.com
Which Mic Accessory to Use for Vocal Recording
Mic accessories for vocals depend on your recording environment and workflow. Let's break it down by use case.
Podcasters and voiceover artists: Pop filter, no question. You're in a controlled space, speaking directly into a stationary mic, and plosives are your biggest enemy. Controlling breath noise on mics matters here too—some performers have heavy breathing between phrases. A pop filter helps, but proper mic technique (angling slightly off-axis) is even more effective.
Singers: Pop filter again, especially for close-mic techniques. Singers often work inches from the capsule to capture intimacy and detail. That proximity makes plosives worse. Metal mesh filters are popular in vocal booths because they're durable and easy to wipe down between sessions.
Mobile journalists and field recorders: Foam windscreen. You're probably using a handheld dynamic mic or a shotgun on a boom. Wind and handling noise are constant threats. Plosives are less of an issue because you're typically not eating the mic the way a studio vocalist does.
Live performers: Windscreen. Stage mics take abuse. They get dropped, swung around, and used in less-than-ideal acoustic spaces. The foam protects the capsule and reduces handling noise. Some stage mics have built-in internal windscreens for this reason.
USB microphones: Yes, they need pop filters too. USB mics are popular for podcasting and streaming, and they're just as vulnerable to plosives as XLR mics. Many USB mics come with small pop filters or foam covers in the box, but aftermarket options usually work better.
One mistake people make is assuming expensive mics don't need pop filters. Not true. A $500 condenser mic is more sensitive to plosives than a $50 dynamic mic. The better the mic, the more it needs protection.
Author: Savannah Quillmere;
Source: lamat-records.com
Pop Filter vs Windscreen: Key Differences
| Feature | Pop Filter | Windscreen |
| Primary use | Reducing plosive sounds (P, B, T) | Blocking wind and handling noise |
| Material | Nylon mesh or metal screen | Open-cell foam or synthetic fur |
| Plosive reduction | Excellent | Moderate |
| Wind noise protection | Poor | Excellent |
| Best for (indoor/outdoor) | Indoor studio recording | Outdoor or mobile recording |
| Typical price range | $10–$50 | $5–$30 |
| Mounting style | Clamp to stand with gooseneck arm | Slips directly over mic capsule |
Common Mistakes When Choosing Between Pop Filters and Windscreens
Author: Savannah Quillmere;
Source: lamat-records.com
The biggest mistake? Treating them as interchangeable. They're not. Using a windscreen for studio vocals will leave you with plosive problems. Using a pop filter for outdoor interviews will leave you with unusable wind noise.
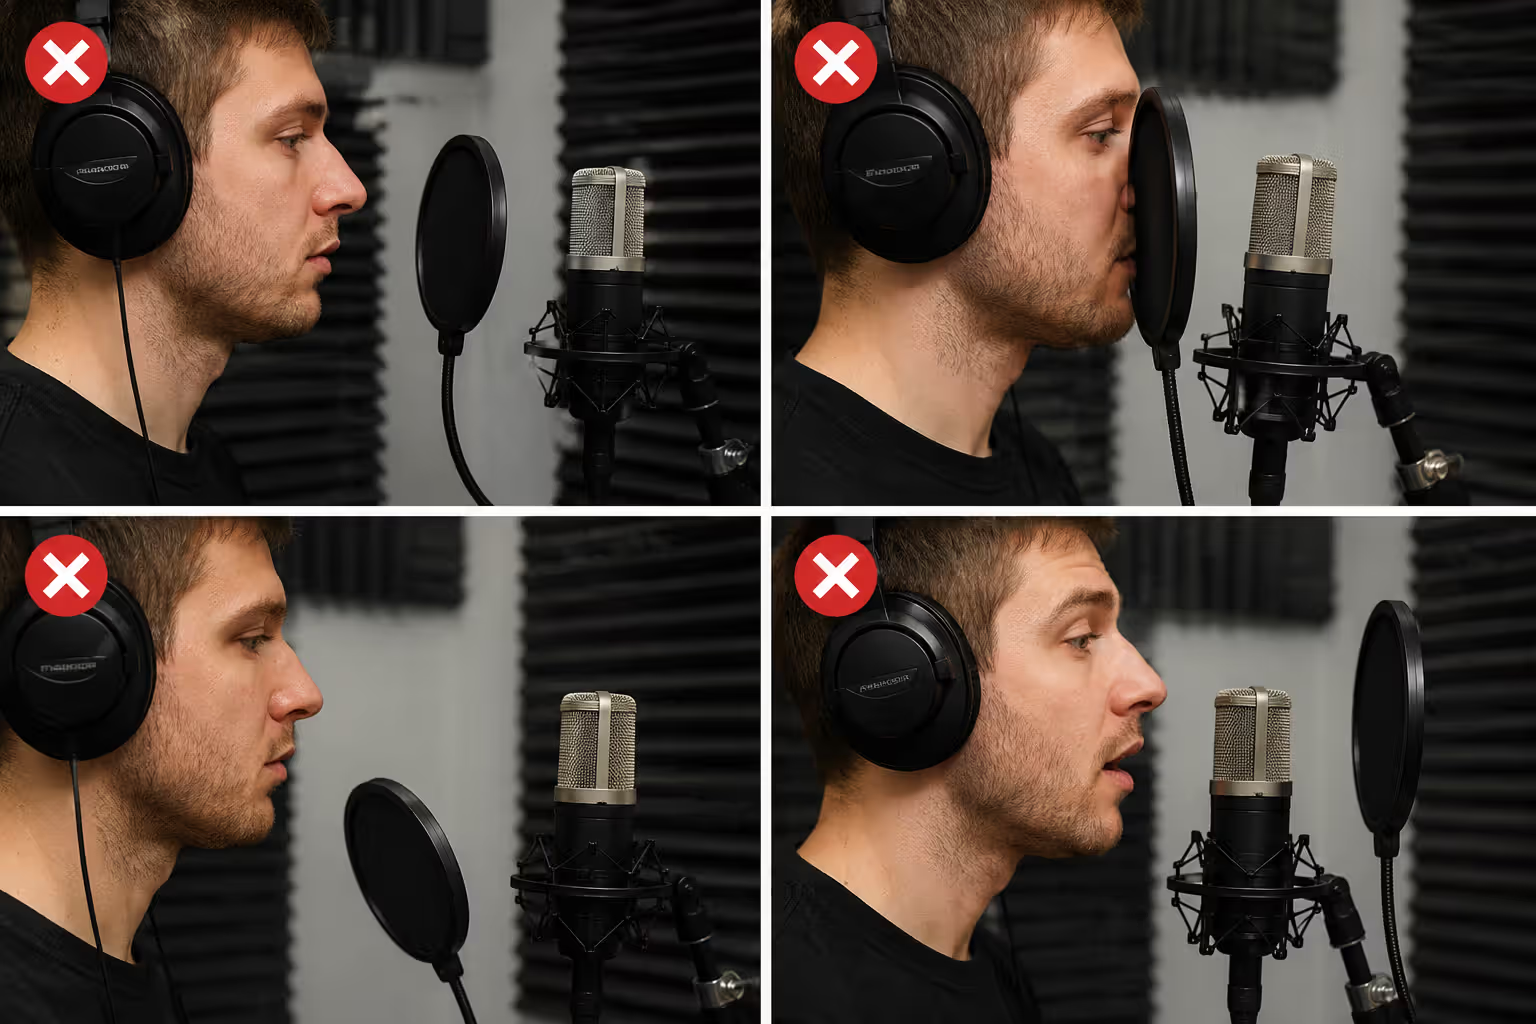
Another error is placement. Pop filters need distance—from the mic and from your mouth. If the filter is touching the mic grille, it's too close and won't diffuse air properly. If you're kissing the filter with your lips, you're too close and defeating the purpose.
Some people buy cheap pop filters with flimsy gooseneck arms. The arm droops mid-session, and the filter ends up in the wrong position. Spend an extra $10 for a sturdy mount. It's worth it.
Windscreens have their own pitfalls. Using a windscreen that's too small creates gaps where wind sneaks in. Using one that's too large or dense can muffle high frequencies. Match the windscreen size and density to your mic and environment.
There's also a weird myth that pop filters "improve" sound quality. They don't. At best, they're acoustically transparent. At worst, they introduce a tiny bit of high-frequency loss. Their job is preventing problems, not enhancing tone.
And don't assume you need both for indoor recording. If you're in a quiet room with no air movement, a pop filter alone is enough. Stacking accessories just adds clutter and potential acoustic issues.
The most common mistake I see in home studios is using a foam windscreen on a condenser mic for voiceover work. It'll catch some plosives, sure, but you're leaving performance on the table. A proper pop filter gives you cleaner takes and less editing time. Save the foam for when you're actually fighting wind or handling the mic. Match the tool to the problem, not the other way around.
— Martinez Carlos
FAQ: Pop Filter and Windscreen Questions Answered
Pop filters and windscreens solve different problems. Know your recording environment and choose accordingly. Studio vocals? Pop filter. Field work? Windscreen. It's that straightforward. Don't overthink it, don't stack accessories you don't need, and don't expect either one to magically improve your audio—they just prevent specific problems from ruining it. Get the right tool, position it correctly, and focus on your performance.
Related Stories
Read more
Read more

The content on this website is provided for general informational and educational purposes only. It is intended to explain concepts related to music production, recording, mixing, mastering, music industry roles, and distribution.
All information on this website, including articles, guides, and examples, is presented for general educational purposes. Results and success in music production may vary depending on skill level, equipment, and effort.
This website does not provide professional music production services or guarantees of commercial success, and the information presented should not be used as a substitute for consultation with qualified music producers, audio engineers, or music industry professionals.
The website and its authors are not responsible for any errors or omissions, or for any outcomes resulting from decisions made based on the information provided on this website.