
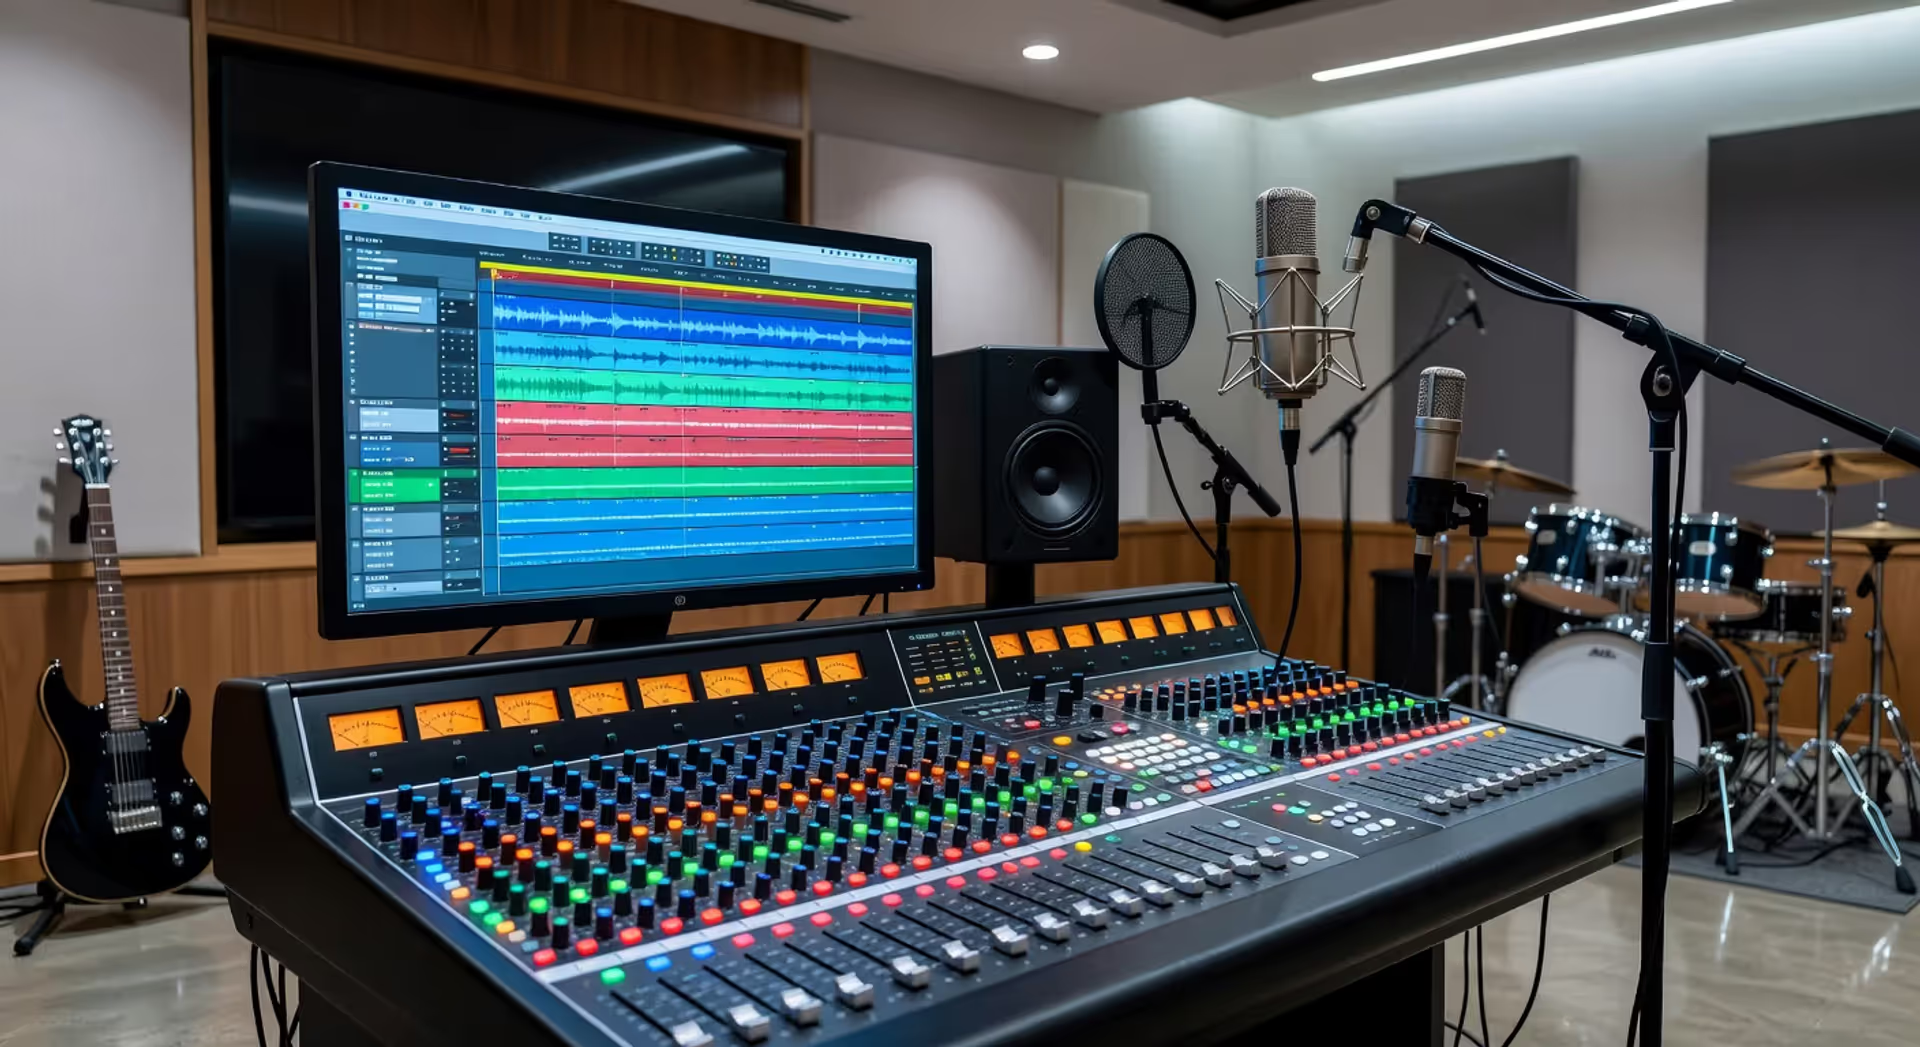
What Is Multitrack Recording and How Does It Work
What Is Multitrack Recording?
Recording music used to be a one-shot deal. You gathered everyone in a room, hit record, and hoped for the best. One mistake meant starting over. Multitrack recording changed everything. It lets you capture each instrument or voice on its own separate track, then mix them together later. This approach dominates modern music production because it gives you control that was unimaginable fifty years ago. Whether you're recording a podcast, a rock band, or a symphony orchestra, understanding how multitrack recording works opens up creative possibilities that simply don't exist with older methods.
Understanding Multitrack Recording Basics
Multitrack recording is a method where you capture multiple audio sources on separate, independent tracks that can be edited and mixed individually. Each track holds one element—a vocal, a guitar, a drum kit, or even a single drum from that kit. You can adjust the volume, tone, and effects of each track without affecting the others.
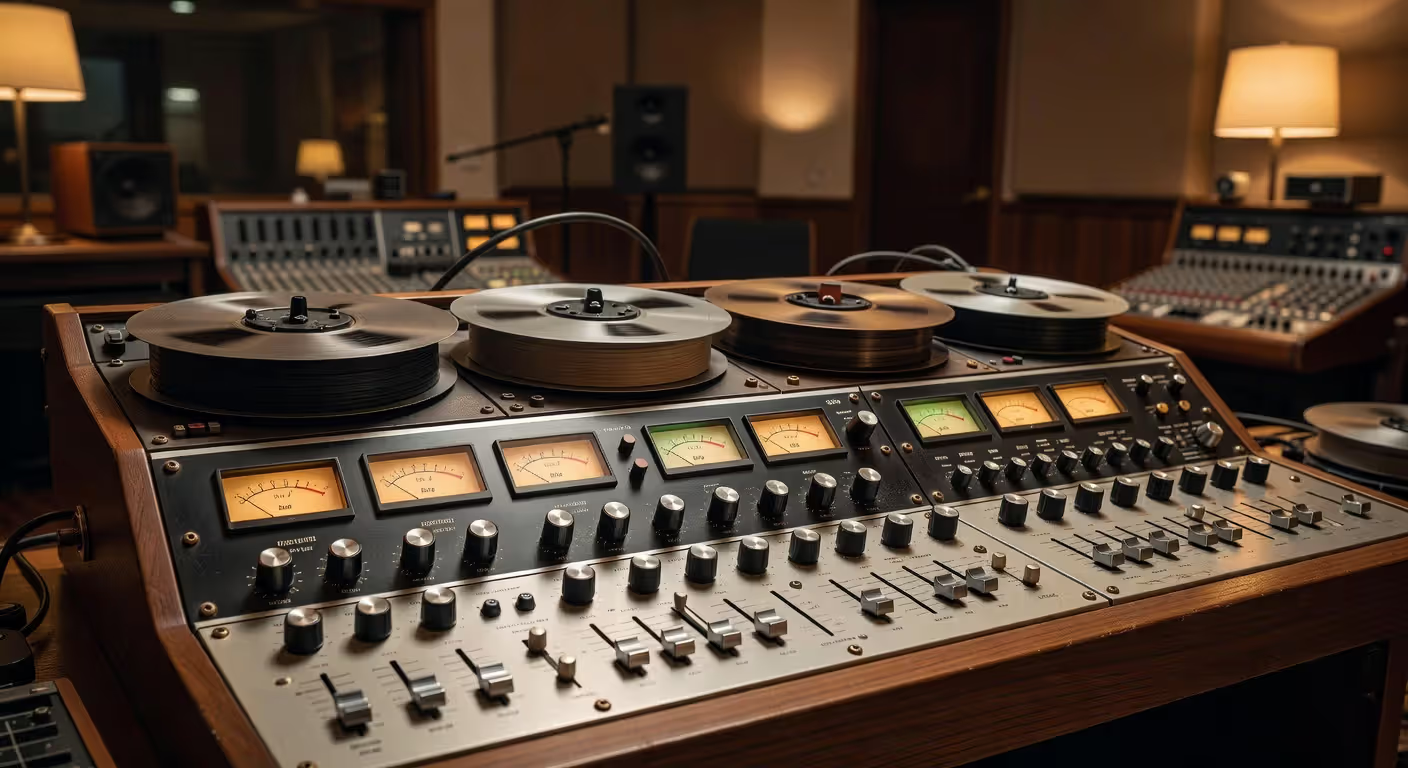
The concept emerged in the late 1950s when guitarist and inventor Les Paul experimented with recording on multiple tape machines simultaneously. Early systems used physical tape reels with multiple parallel tracks. The first commercial multitrack recorders offered just four tracks. That number grew quickly. By the 1970s, 24-track tape machines became the studio standard.
This technology replaced direct-to-disc recording and single-track tape methods where everything was captured in one pass. If the drummer made a mistake on take twelve, everyone had to play the song again from the beginning. Multitrack recording basics changed that workflow entirely. You could now record the drums first, then add bass, then guitars, building the song layer by layer.
The shift to digital in the 1990s made multitrack recording accessible to anyone with a computer. Track counts exploded. Modern digital systems routinely handle hundreds of simultaneous tracks without the hiss, wow, flutter, or degradation that plagued analog tape.
Author: Miles Arbordale;
Source: lamat-records.com
How Multitrack Recording Works in Practice
The process starts with capturing audio from a microphone or instrument into your recording system. That signal gets assigned to a specific track—think of it as a dedicated lane on a highway. Track one might hold the kick drum, track two the snare, track three the bass guitar, and so on. Each track records independently.
Recording multiple tracks doesn't mean you have to record everything at once. That's the beauty of it. You can record the rhythm section together as a group to capture their natural interaction, then overdub vocals and solos later. Or you can build the entire song one instrument at a time, starting with a click track to keep tempo consistent.
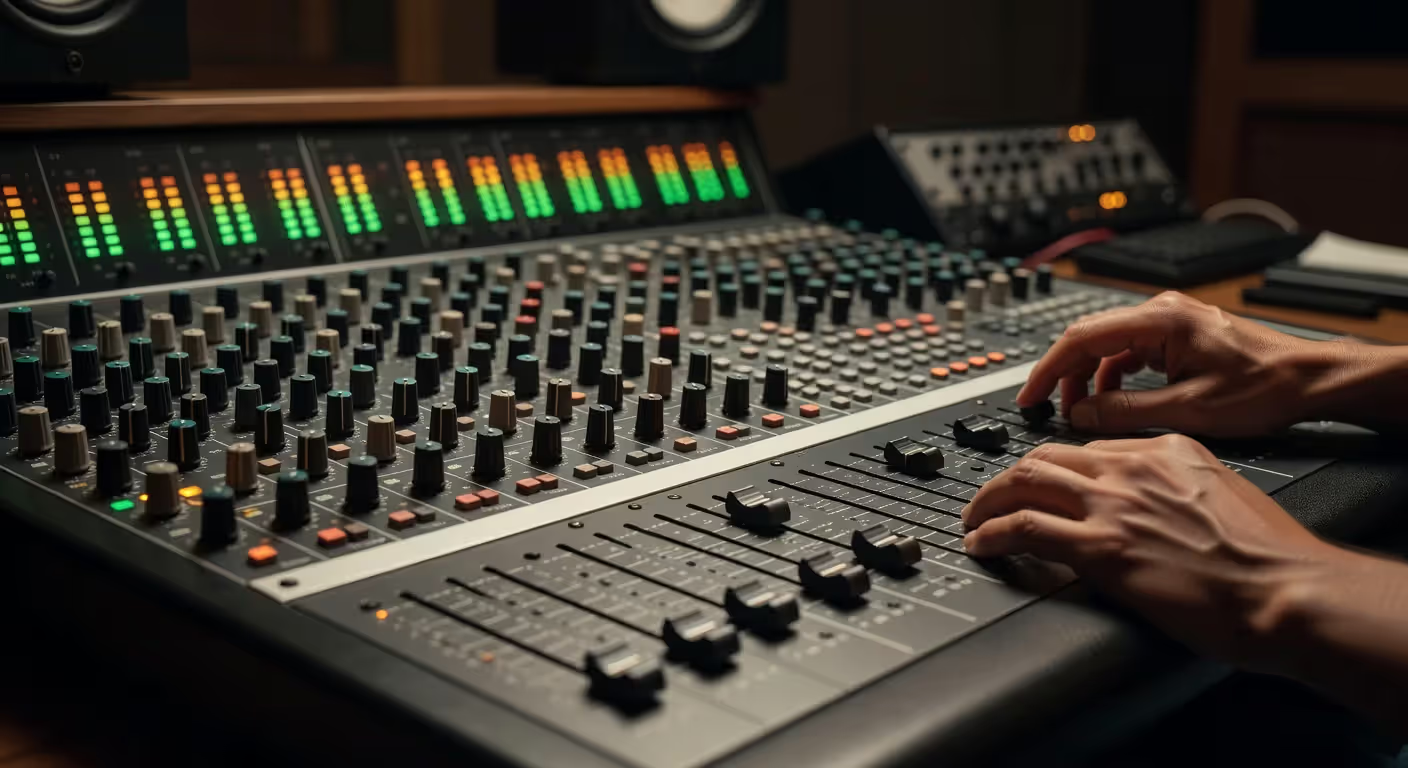
Each track has its own set of controls. You can adjust volume (called gain or level), pan position (left, right, or center in the stereo field), and apply effects like reverb or compression. These adjustments don't alter the original recording—they just change how it sounds in the final mix. The pattern I see most often is beginners recording too many tracks and then struggling to make them all fit together in the mix.
Recording Instruments Separately vs. Together
You've got two main approaches here. Recording instruments separately (called isolation or overdubbing) gives you maximum control. The guitarist can redo a solo without affecting the drums. The vocalist can punch in a single word that was flat. This method dominates pop, hip-hop, and electronic music production.
Recording together (called live tracking or tracking to tape) captures the energy of a group performance. Jazz ensembles, rock bands, and orchestras often prefer this approach because musicians respond to each other in real time. You still use multiple tracks—one microphone per instrument or section—but everyone plays simultaneously.
The choice depends on your goals. Need a perfect, polished result? Track separately. Want raw energy and spontaneity? Track together. Many projects use both. Record the band live to get the feel, then overdub vocals and solos for precision.
The Role of Digital Audio Workstations
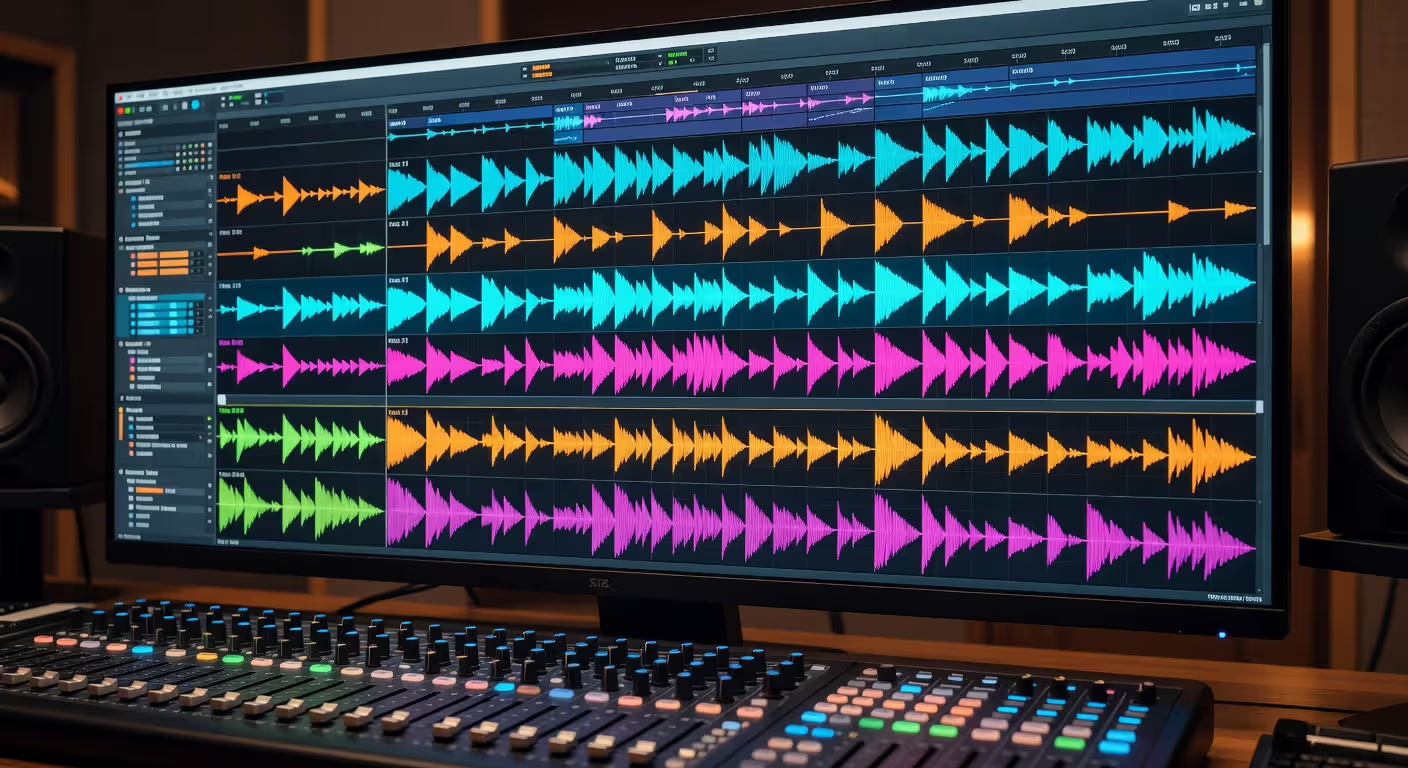
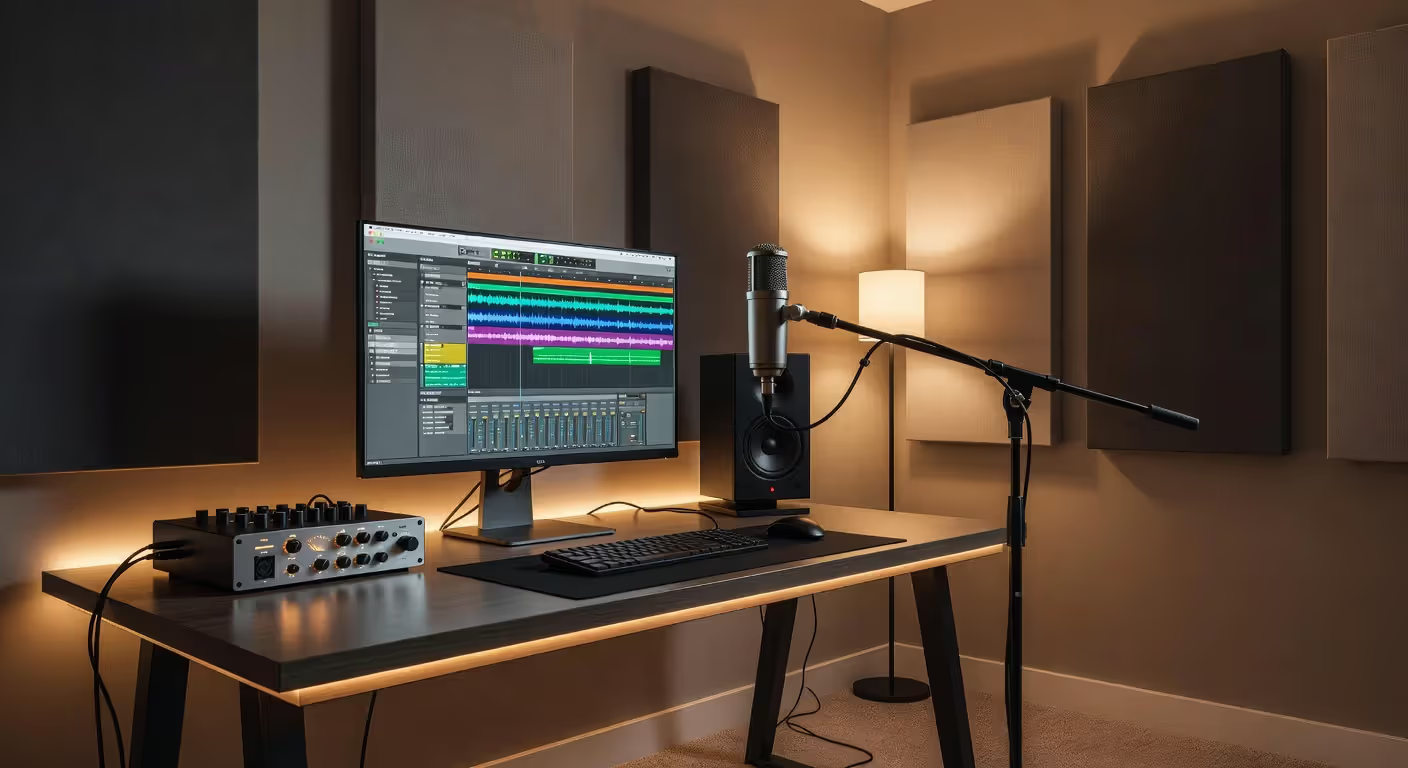
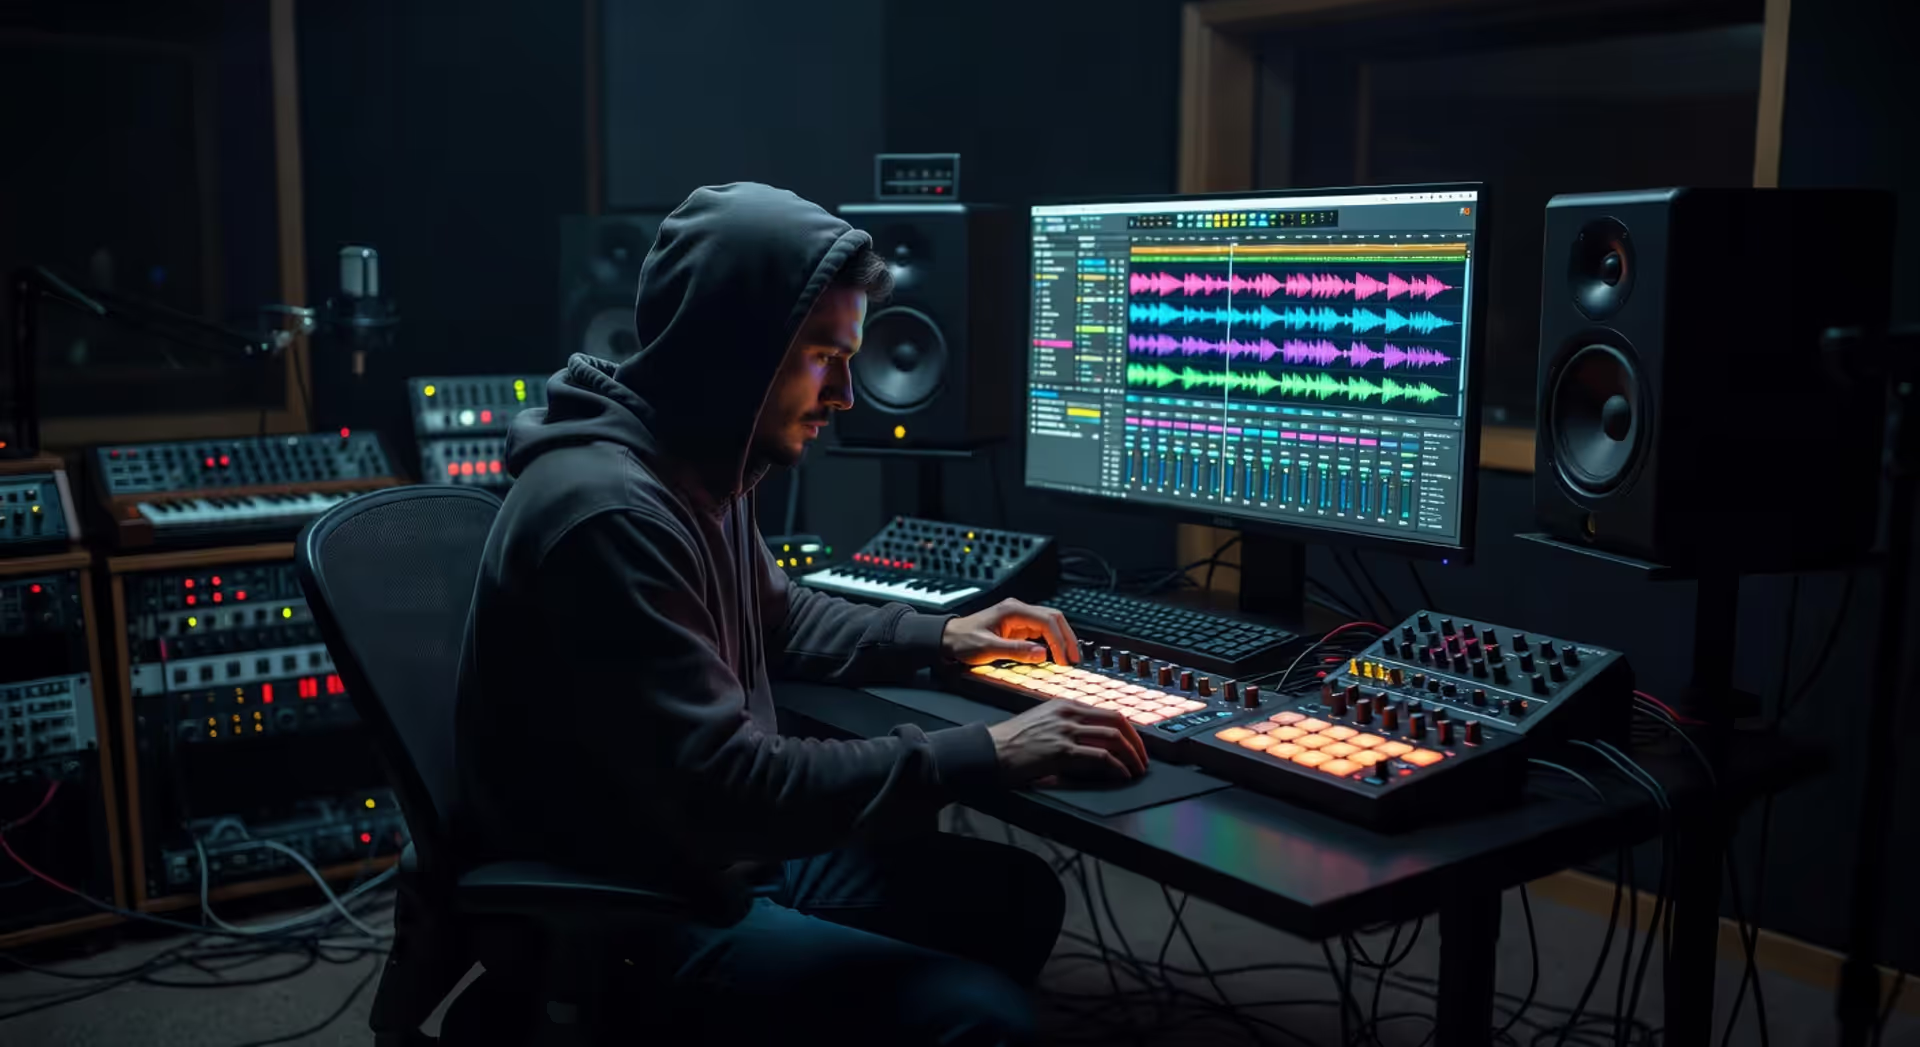
A Digital Audio Workstation (DAW) is the software that manages your multitrack recording. It's your tape machine, mixing console, and effects rack combined. Popular options include Pro Tools, Logic Pro, Ableton Live, Studio One, and Reaper.
The DAW displays your tracks as horizontal strips on screen. Audio appears as waveforms—those squiggly lines that show volume over time. You can see exactly where the kick drum hits, where the vocal phrase starts, and where someone played slightly off tempo.
DAWs let you edit with surgical precision. Cut, copy, paste, move, stretch, or reverse any piece of audio. Apply pitch correction. Align tracks to the beat grid. Comp together the best parts of multiple takes. These tools would have seemed like science fiction to engineers working with tape in the 1970s.
Author: Miles Arbordale;
Source: lamat-records.com
Multitrack vs Single Track Recording
Single track recording captures everything as one mixed signal. Think of a field recording of a live concert or a cassette recording of a rehearsal. Once it's recorded, you can't separate the guitar from the drums or turn down the vocals. What you captured is what you've got.
Here's how the two methods compare:
| Feature | Multitrack Recording | Single Track Recording |
| Editing Flexibility | Edit each element independently, fix individual mistakes without affecting other parts | No separation possible; any edit affects the entire recording |
| Mixing Control | Adjust volume, EQ, effects, and panning for each track separately during mixdown | Mix decisions are permanent at the moment of recording |
| Recording Time | Can take longer due to overdubbing and multiple takes per track | Faster—one take captures everything simultaneously |
| Equipment Needs | Requires multitrack recorder or DAW, audio interface with multiple inputs | Simple—just one microphone or stereo pair and basic recorder |
| Best Use Cases | Studio albums, podcasts, professional productions requiring polish | Live recordings, field recordings, lo-fi aesthetics, documentary audio |
| Skill Level Required | Demands understanding of signal flow, gain staging, and mixing principles | More straightforward—focus on microphone placement and performance |
The workflow differences are dramatic. With single track recording, you make all your mix decisions before you hit record. Microphone placement determines the balance between instruments. There's no going back.
Multitrack recording flips this around. You can defer mixing decisions until after the performance. That flexibility comes at a cost—more tracks mean more decisions, more potential for analysis paralysis, and more time spent tweaking.
Single track recording still has its place. It forces discipline. It captures the authentic sound of a space. Some genres—live jazz, classical, ambient field recordings—benefit from the cohesive sound that comes from recording everything together in one pass.
Key Benefits of Multitrack Recording
The advantages go way beyond just fixing mistakes, though that's certainly valuable. Here's what makes multitrack recording the standard approach for serious productions.
Individual track control means you can make the vocal louder without affecting the guitar. You can add reverb to the snare drum but keep the bass dry. You can automate the volume of the rhythm guitar to duck slightly during vocal phrases. This level of control is impossible with single track methods.
Mixing flexibility lets you experiment. Try the vocal louder. Now quieter. Pan the guitars wide. Bring them center. Add a delay. Remove it. You can create multiple mix versions—one for streaming, one for vinyl, one for radio—without re-recording anything.
Error correction saves projects. The bassist nailed the performance except for one note in the bridge. No problem—punch in that section and keep the rest. The vocalist's breath was too loud before one phrase. Edit it out. A truck drove by during the acoustic guitar take. Record that part again without redoing the whole song.
Creative possibilities expand exponentially. Layer three harmony vocals. Double the guitar and pan copies left and right. Record the same synth part with different sounds and blend them. Build complex arrangements that would require twenty musicians if recorded live.
Professional sound quality comes from treating each element appropriately. Drums might need aggressive compression. Vocals might need gentle de-essing. The bass might need low-end EQ adjustments. You can optimize each track's processing without compromising other elements.
One thing people don't realize: more tracks don't automatically mean better results. I've heard two-track recordings that sound fuller than projects with sixty tracks. The simpler option usually wins here. Record only what the song needs.
Author: Miles Arbordale;
Source: lamat-records.com
Common Multitrack Recording Techniques
Certain techniques show up in nearly every multitrack session. They're worth understanding even if you're just starting out.
Overdubbing is the foundation of multitrack work. You record one part, then record another part while listening to the first. The Beatles used this extensively on albums like "Sgt. Pepper's Lonely Hearts Club Band," building elaborate arrangements by adding layer after layer. Modern pop production takes this further, stacking dozens of vocal harmonies and instrument doubles.
Punch-in recording lets you replace a specific section of a track. Say the guitar solo is perfect except for two bars in the middle. You set the punch-in point just before the mistake and the punch-out point just after. The DAW automatically starts recording at the in point and stops at the out point, seamlessly replacing just that section.
Track grouping helps manage large projects. Group all the drum tracks together so one fader controls their overall level while maintaining their relative balance. Group backing vocals. Group the string section. This keeps your mix organized and speeds up workflow dramatically.
Parallel processing involves duplicating a track, processing the copy heavily (often with compression or distortion), then blending it with the original. This technique adds power and density without destroying the natural dynamics of the original recording. It's common on drums, bass, and vocals in rock and electronic music.
A common mistake here is using these techniques just because you can. Overdubbing seventeen guitar parts might sound impressive in isolation, but if they're all fighting for the same frequency range, the mix becomes muddy. Every track should have a purpose.
Getting Started with Multitrack Recording
Author: Miles Arbordale;
Source: lamat-records.com
You don't need a professional studio to start. A modest home setup can produce broadcast-quality results if you understand the basics.
Equipment needed: At minimum, you need an audio interface (the hardware that connects microphones to your computer), a DAW, a microphone, and headphones or monitors. An interface with two inputs lets you record stereo sources or two microphones simultaneously. Four or more inputs give you flexibility for recording multiple instruments at once.
Budget-friendly interfaces like the Focusrite Scarlett series or PreSonus AudioBox start around $100. Free DAWs like Reaper (technically paid but unlimited trial), GarageBand (Mac only), or Cakewalk (Windows) remove the software cost barrier. A decent condenser microphone runs $100–$300.
Software options vary in workflow and features. Pro Tools remains the industry standard in professional studios, but its subscription model and learning curve put off some beginners. Logic Pro offers incredible value for Mac users. Ableton Live excels at electronic music and live performance. Studio One and Reaper provide professional features at lower prices. Try several before committing—most offer free trials.
Basic workflow steps follow a consistent pattern across all DAWs:
- Create a new project and set your sample rate (44.1kHz for most music) and bit depth (24-bit minimum)
- Create tracks for each element you'll record
- Set input sources—tell each track which microphone or input it's listening to
- Check and adjust input levels—aim for peaks around -12dB to -6dB to leave headroom
- Enable recording on the track you want to capture
- Hit record and perform
- Listen back, then decide whether to keep the take, record another, or punch in corrections
- Repeat for each instrument or vocal part
- Once all tracks are recorded, mix by adjusting levels, panning, EQ, and effects
- Export the final stereo mix
Beginner tips: Start simple. Record yourself with one microphone and one track. Get comfortable with the workflow before attempting a full band. Learn your DAW's keyboard shortcuts—they speed up editing enormously. Record at reasonable levels—digital clipping (when the signal exceeds 0dB) sounds terrible and can't be fixed. Save multiple versions of your project as you work. Use descriptive track names like "Lead Vocal" and "Kick Drum" instead of "Audio 1" and "Audio 2."
Room acoustics matter more than expensive microphones. A $100 mic in a treated room beats a $1000 mic in a bathroom. Hang blankets, add bookshelves, or use portable acoustic panels to reduce reflections.
Multitrack recording fundamentally changed what music could be. Before it, you were documenting a performance. After it, you were building a sonic sculpture. That shift from documentation to construction opened up every sound you hear on modern records.
— Clearmountain Bob
FAQ: Multitrack Recording Questions Answered
Multitrack recording isn't just a technical method—it's a creative philosophy that puts control in your hands. You're no longer bound by the limitations of capturing everything in one pass. You can experiment, refine, and shape your sound with precision that earlier generations couldn't imagine. Start with the basics, learn your tools, and focus on serving the song rather than showing off your track count. The technology is just a means to an end. The music is what matters.
Related Stories
Read more
Read more

The content on this website is provided for general informational and educational purposes only. It is intended to explain concepts related to music production, recording, mixing, mastering, music industry roles, and distribution.
All information on this website, including articles, guides, and examples, is presented for general educational purposes. Results and success in music production may vary depending on skill level, equipment, and effort.
This website does not provide professional music production services or guarantees of commercial success, and the information presented should not be used as a substitute for consultation with qualified music producers, audio engineers, or music industry professionals.
The website and its authors are not responsible for any errors or omissions, or for any outcomes resulting from decisions made based on the information provided on this website.